Now that all the array objects have been created, you can use them in Boolean operations to define the tower contours.
 open \modeling\highrise\building2_floors.max.
Add detail to the upper floors:

 Create panel, click
  (Geometry), then choose
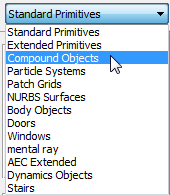
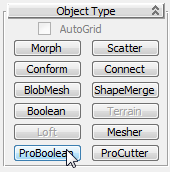
Compound Objects from the drop-down list.
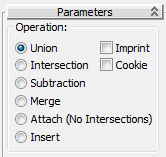
 Operation group, choose
Subtraction, if it is not already chosen.

The Boolean subtraction operation subtracts the common area shared by the array box and the Tower object.
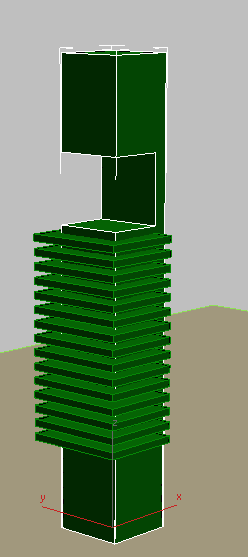
Later you will add a design element in the gap you just created.
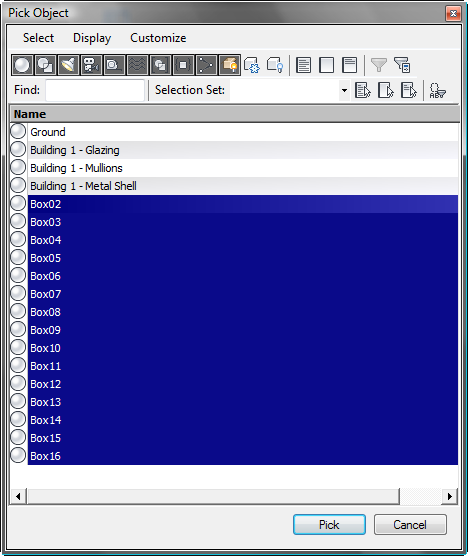
The subtraction operation creates gaps for all the selected array boxes.
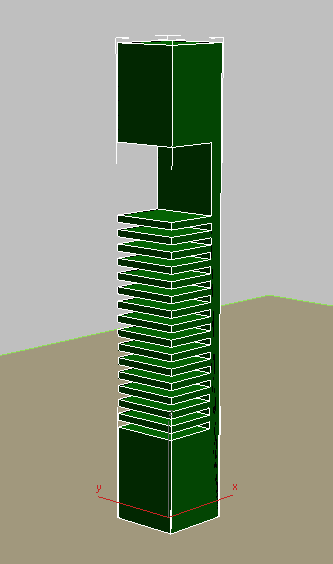
Next, you need to introduce recessed glazing to the first 15 floors created by the Boolean subtraction.
 Create panel, click
  (Geometry), then choose
Standard Primitives from the drop-down list. On the Object Type
rollout, click Box.
 Minimize the Perspective
viewport, activate the Top viewport, and drag out a box within the
tower. Exact dimensions are not important at this point.
 (Align), then click the Tower object
to display the Align Selection dialog.
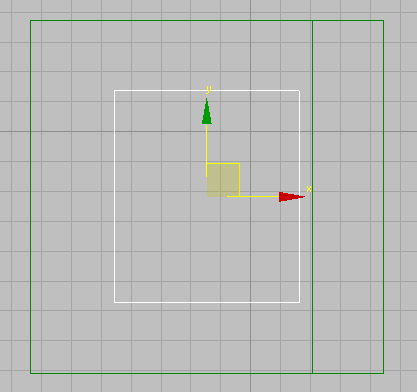
This aligns the box you just created to the center of the Tower object, as shown in the next illustration.
 Modify panel
  Parameters rollout,
set the dimensions of the box as follows:
This creates a box object that is two meters inset from the outer walls of the tower, with a height that stops just short of the gap in the tower’s upper structure.
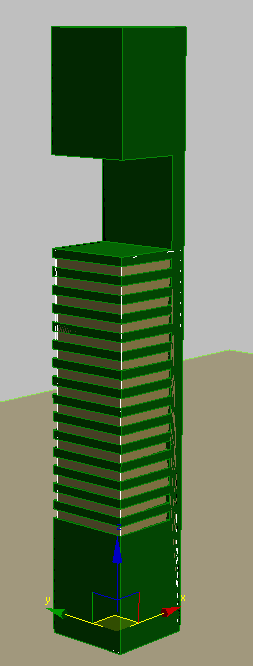
The next Boolean operation will join the newly-created box object to the Tower object.
 Select the Tower object and
in the Parameters rollout
  Operations
group choose Union.