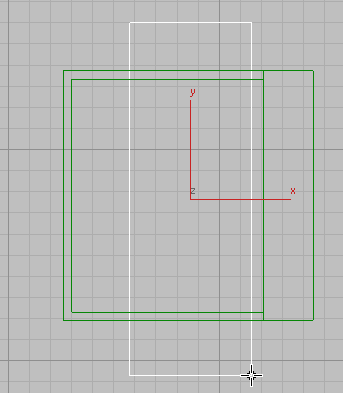
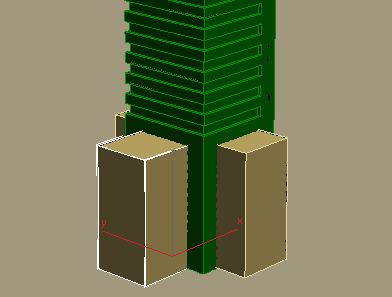
In this lesson, you will use the subtraction Boolean operation to add an open atrium in front of the entrance to the building.
Add an opening to the building entrance:
 Create panel, click
  (Geometry), then on the
Object Type rollout, click Box.
This box will be used in a subtraction operation to create an opening for the left and right sides of the building.

 (Align), then select the Tower object
to display the Align Selection dialog.
This aligns the box you just created to the center of the Tower object.
Next, you need to create a second box that will be used in a subtraction operation to create an opening for the front of the building.
 Create panel, click
  (Geometry), then on the
Object Type rollout, click Box.

 (Align), then click the Tower object.
 Align Position group,
turn on X Position and Y Position, then choose Center in both the
Current Object and Target Object groups. Click OK.
This aligns the box you just created to the center of the tower.
Next, you need to align the right side of the new box with the right side of the first box object, to create a back wall for the model.
 (Align) once again, then
click the Box001 object you created in step
2.
 Align Position group,
turn off Y Position so only X Position is on, then choose Maximum
in both the Current Object and Target Object groups. Click OK.
This aligns the box to the right-most edge of the first box object.


Subtract the geometry from the tower:
 Select the Tower object and
in the
  Modify panel
  Parameters rollout
  Operation group, choose
Subtraction.
