A controller in 3ds Max is a plug-in that manages the values involved in keyframe animation, such as changes in object scaling, color, or translation. List controllers combine two or more controllers and can be very useful when combining relationships between objects.
List controllers, for example, are helpful when using expressions and constraints to control a child object through a parent object, particularly if the child and parent objects are not using the same orientation. You can set up a List controller so a second controller maintains the local orientation of a child object, while the first controller is based on the global (World) orientation of the parent.

Local orientation of a child object can differ from its parent.
The child object (car wheel) of the rig you are about to animate in this tutorial, is oriented differently from the parent object (the car body). To turn the wheel using wiring, you would have to rotate the wheel on its Y axis (based on the orientation of the body of the car), not its X axis (the wheel’s local orientation). To regain control of the local orientation of the child object, you will add list controllers to the position and rotation tracks of the front left wheel animation.
 (Open File), navigate to the animation\car_rigging folder and open car_rig_01_start.max.
Manually assign List controllers:
In this procedure, you will manually assign List controllers to the position and rotation tracks of the front left wheel of your Chevy.
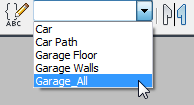

Notice how the four wheels, as well as the steering wheel, are children of the Chassis object. This hierarchy is typical of 3D car models.
 Motion panel and expand the Assign Controller rollout.
A list of default animation controllers displays as tracks in an Explorer format.
 (Assign Controller).
 Position:Position List track, click the + icon to expand the position list.
(Assign Controller) again.
Position:Position List track, click the + icon to expand the position list.
(Assign Controller) again. 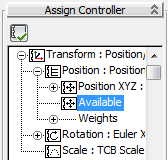
In the explorer, a second Position XYZ: Position track has been created below the first. This track represents the controller that will control keyframe information of X, Y, and Z axes based on the local position of the child object (the front left wheel).
Next, you will repeat the procedure by assigning a List controller to the rotation track of the front left wheel.
(Assign Controller).  (Assign Controller).
A second Euler XYZ track is created. This track controls rotation keyframe information of X, Y, and Z axes based on the local coordinates of the front left wheel.
Automating the assignment of List controllers:
MacroRecorder is a simple scripting utility that records your interactions in 3ds Max. It converts your actions into a script that you can reuse to accomplish repetitive tasks.
In the previous procedure, you manually assigned position and rotation list controllers to a single wheel on your Chevy. You will now use MacroRecorder to automatically assign list controllers to the remaining three wheels, as well as the car body and steering wheel, so that the entire rig uses the same coordinate system in its animation.
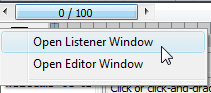
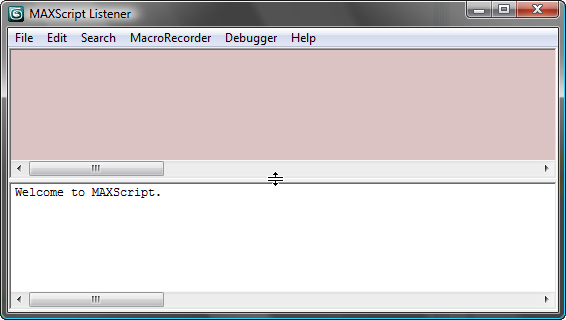
3ds Max opens the MAXScript listener dialog.
 Enable.
From this point onward, almost any action you perform in 3ds Max will be recorded in a script.
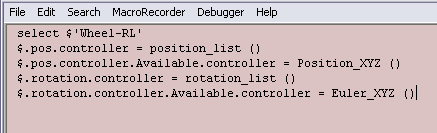
As you progress, notice how the pink Macro Recorder area accumulates scripting data.
 Close the Customize User Interface dialog and reposition the new toolbar to the right of the MAXScript Listener window.
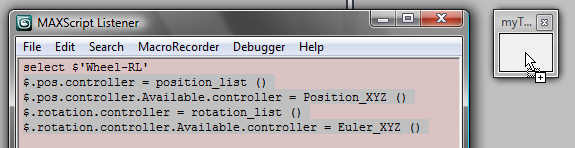
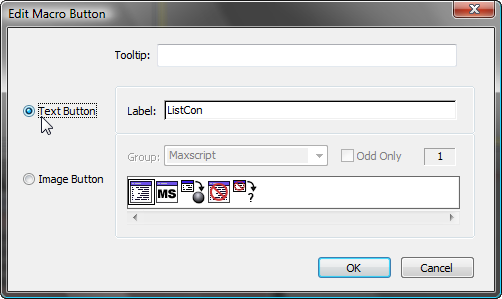
3ds Max creates a button on the toolbar.
 Enable to turn off script recording.
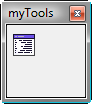
Close the MAXScript Listener window, then resize the myTools toolbar until the ListCon label is fully displayed.
Enable to turn off script recording.
Close the MAXScript Listener window, then resize the myTools toolbar until the ListCon label is fully displayed. 
You are now ready to use the ListCon tool to quickly assign list controllers to the remaining wheels of your car model.
On the Motion panel Animation Controller rollout, expand the Position XYZ track to display one of the list controllers that was assigned by the
script you just created.
The myTools toolbar you created in this procedure is now available for all future 3ds Max work sessions.
In the next lesson, you will learn how to animate the rotation of the car wheels.


