


In this lesson, you take a daylight image of a desert landscape, adjust its output to resemble nighttime lighting conditions, then incorporate the result into the scene as a background. You’ll add a Glare effect to enhance the appearance of the lights, then introduce a few more photometric lights to illuminate the interior of one barracks.
 open army_compound_lighting_no_bkrnd.max.
3ds Max opens the Material/Map Browser.

 Standard group.)
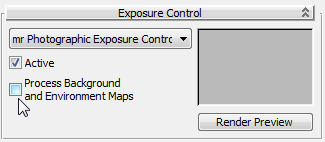
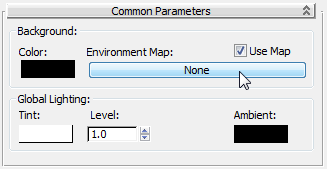
When this option is turned on, 3ds Max applies the exposure control to the background map itself. For most bitmaps (those that don’t save a high dynamic range), in effect this makes the background and other environment maps invisible.
 Render the Camera01 viewport.
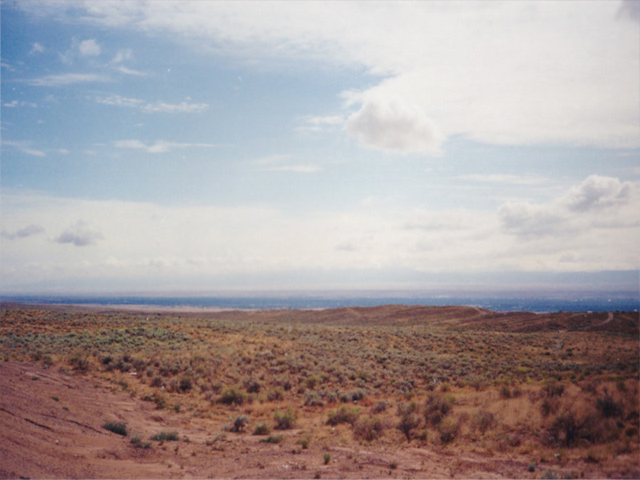
With all objects hidden, 3ds Max has rendered only the background image. It is apparent that you will need to make the image darker so it suits the nighttime scene.
 Slate Material Editor.

3ds Max asks if this should be an instance or a copy. Make sure Instance is selected, and then click OK.
 Close the Environment And Effects dialog.
Once again, 3ds Max asks if this should be an instance or a copy. Make sure Instance is selected, and then click OK.
 Render the Camera01 viewport again.
The result is a heavily underexposed image, resembling a night sky: a digital version of filming “day for night.”
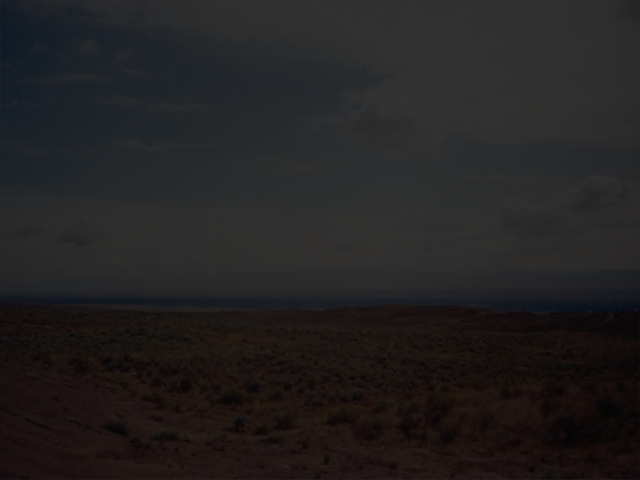
Background bitmap heavily underexposed to suit night scene
render the scene again. 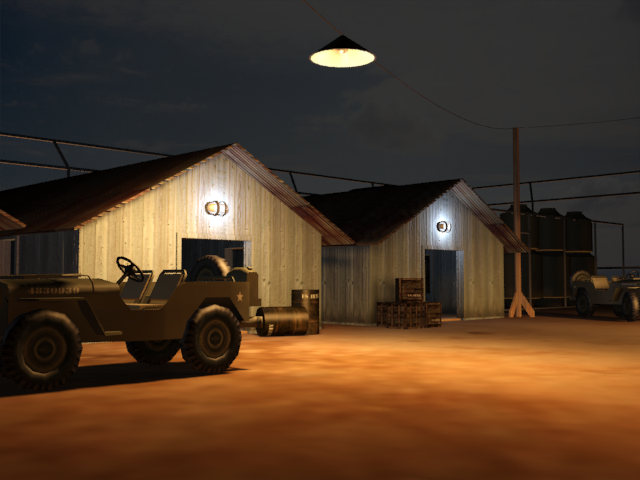
Bitmap image added to scene background
Close the Slate Material Editor.
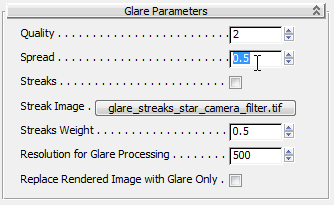
mental ray provides a number of special effects designed to give light objects added realism. Here, you will add a Glare effect to the army compound lights, to simulate their interaction with dust particles and ambient humidity.
 (Render Setup). On the Render Setup dialog, go to the Renderer tab. In the Camera Effects rollout Camera Shaders group, turn on the Output shader toggle.
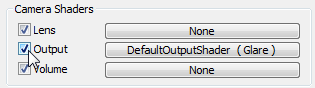
As the shader button shows, mental ray provides a Glare shader as a default shader for camera output, but by default this shader is turned off, so you have to enable it “by hand.”
Slate Material Editor, and move it so you can see both dialogs.
Output button from the Render Setup dialog and drop it onto an unused sample slot. The sample slot shows a red bar across
it when you are able to drop the map. 
3ds Max asks if this should be an instance or a copy. Make sure Instance is selected, and then click OK.
Close the Render Setup dialog.
Once again, 3ds Max asks if this should be an instance or a copy. Make sure Instance is selected, and then click OK.
 Close the Slate Material Editor.
 clone of the existing rendered frame, then render the scene.
Rendered scene with Glare effect added to light sources
Compare the two images to see the Glare effect. This effect is most pronounced on the suspended lamp over the jeep.
Close the Rendered Frame Windows.
Add lights to the interior of the barracks on the right:
 zoom and
  pan until the far-right barracks comes into view.
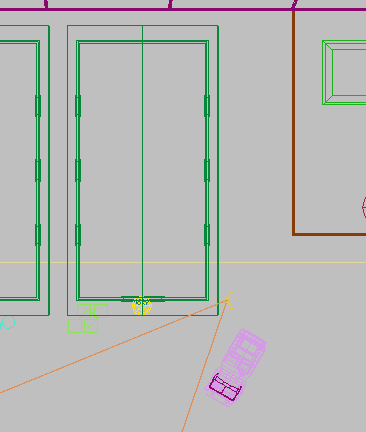
 Create panel, click
  (Lights). On the Object Type rollout, click Free Light to turn it on.
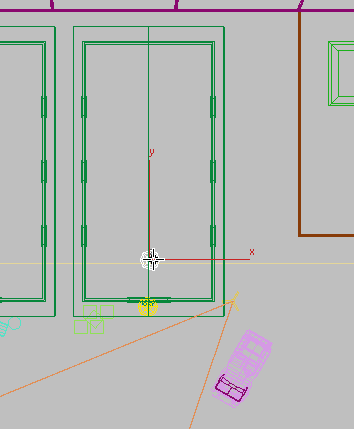
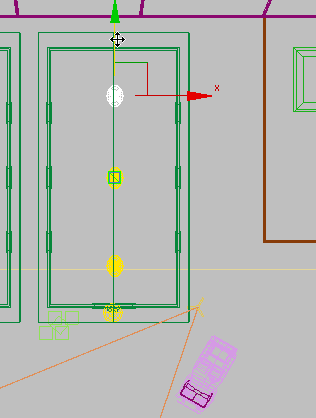
 zoom to see the front of the right-hand barracks, then use
  (Select And Move) to raise the light object on its Y axis until it is above the floor but below the roof, as shown in the
illustration.
(Select And Move) to raise the light object on its Y axis until it is above the floor but below the roof, as shown in the
illustration. 
The interior barracks lights are fluorescent, so the new light object should be suspended about two feet (about 0.6m) from the ceiling.
 Modify panel. On the Templates rollout, open the drop-down list and choose 4ft Pendant Fluorescent (Web).
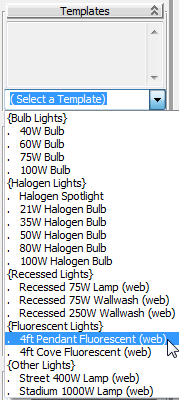

The scene calls for a standard fluorescent fixture consisting of four tubes. Rather than physically re-creating each tube, you can simply bump up the intensity of the single light object by a factor of four.
Dimming group, change the value of Resulting Intensity to 400% (percent). 
 render the scene again.
Rendered scene with interior lights added to the barracks on the right
The inside of the right-hand barracks is now illuminated, with light spilling out of the entrance.
In this tutorial, you learned how to use photometric lights to illuminate a night scene. You specified the color of the light source and defined how shadows were cast. You also learned how to take a background image, adjust its output, and apply it as a background to the night scene. Finally, you saw how a mental ray Glare shader can be applied to a light object to improve the realism of the rendering.