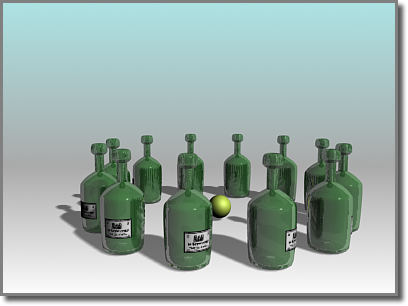
Creating circular and spiral arrays typically involves some combination of moving, scaling, and rotating copies along one or two axes and around a common center. The effects can vary from the uniform radial arrangement of bolts on a wheel hub to the complex geometry of a spiral staircase. You can model many circular patterns with these techniques.
See Using the Array Dialog for an explanation of interface terms used here. See Arraying Objects for the basic steps in making an array.
Both circular and spiral arrays require a common center for the arrayed objects. This can be the world center, the center of a custom grid object, or the center of the object group itself. You can also move the pivot point of an individual object and use that as the common center.

A circular array
Circular arrays are similar to linear arrays, but based on rotation around a common center rather than movement along an axis. The following procedure makes a circle of objects on the XY plane of the home grid with the Z axis as the center.
Play this to see an example of creating a circular array centered on the World origin:
 (Array) from the Array flyout, or on the Tools menu, choose Array.
3ds Max opens the Array dialog.
This is the total rotation for the array, a complete circle. To create a partial circle, enter a smaller value.
3ds Max arrays that number of clones within the total rotational angle you specify.

A spiral array
The simplest spiral arrays are rotated circular arrays with a movement along the central axis. The same circle is formed, but now the circle rises upward.
If Z is the central axis, enter a value for Incremental Move Z. Each clone is then moved upward this amount as the circle is formed.
By default, each object, when copied into the array, rotates around its own center to follow the main rotation around the common center. This is controlled by the Re-Orient option.
To cause objects to maintain their original orientation while being rotated, turn off Re-Orient. In effect, objects remain "facing the same direction" as the original object.