 Command entry:
Select a Loft object.


Modify panel

Deformations rollout

Fit
Fit deformation lets you use two Fit curves to define the top and side profiles of your object. Use Fit deformation when you
want to generate loft objects by drawing their profiles.
Fit shapes are really scale boundaries. As your cross-section shape travels along the path, its X axis is scaled to fit the
boundaries of the X-axis fit shape and its Y axis is scaled to fit the boundaries of the Y-axis fit shape.
NoteFit is not available when loft output is set to Patch.
Procedures
To use Fit deformation:
-
 Select a loft object.
- Click Loft in the modifier stack display.
- Click Fit on the Deformations rollout.
- In the viewport, click the shapes to use as fit curves.
Interface
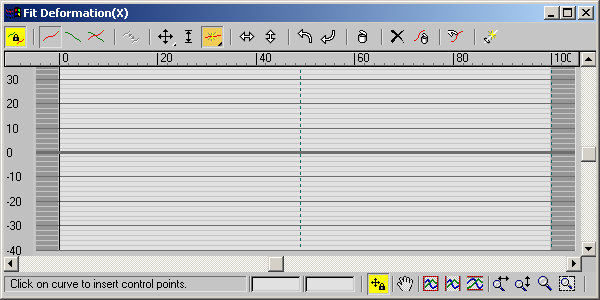
Fit Deformation dialog
The Fit Deformation dialog contains different buttons than the other deformations. For descriptions of the first eight buttons
on the toolbar, see Deformation Dialog. The following descriptions apply to the tools specific to Fit deformation, and are listed from left to right in the order
they appear on the toolbar.
Fit Deformation toolbar
-
 Mirror Horizontally
-
Mirrors the shape across the horizontal axis.
-
 Mirror Vertically
-
Mirrors the shape across the vertical axis.
-
 Rotate 90 CCW
-
Rotates the shape 90 degrees counterclockwise.
-
 Rotate 90 CW
-
Rotates the shape 90 degrees clockwise.
-
 Delete Control Point
-
Deletes the selected control point.
-
 Reset Curve
-
Replaces the displayed Fit curve with a rectangle 100 units wide and centered on the path. If Make Symmetrical is on, both
Fit curves are reset even though only one might be displayed.
-
 Delete Curve
-
Deletes the displayed Fit curve. If Make Symmetrical is on, both Fit curves are deleted even though only one might be displayed.
-
 Get Shape
-
Lets you select the shape to use for Fit deformation. Click Get Shape, and then click the shape to use in a viewport.
-
 Generate Path
-
Replaces the original path with a new straight-line path.

 Select a loft object.
