This section contains a number of topics intended to help you learn how to use modifiers and the Modify panel.

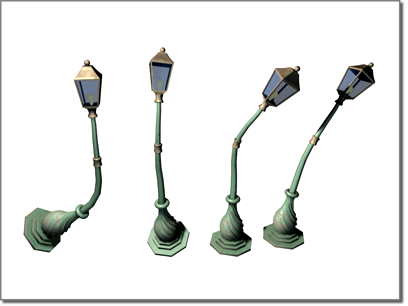
Bend modifier applied to a streetlight model
After adding objects to your scene from the Create panel, you often move to the Modify panel to change an object’s original creation parameters and to apply modifiers. Modifiers are the basic tools for reshaping and adjusting primitive geometry.
The modifier stack and its editing dialog are the keys to managing all aspects of modification. You use these tools to:
You can copy, cut, and paste modifiers within an object’s stack, or into the stacks of other objects. Among other features, you can give modifiers explicit names to help you remember the intended effect.
To achieve highly detailed modeling effects, you can directly transform, modify, and align the geometry of objects at a sub-object level, using the Modify panel. The following table shows the different object types and their respective sub-objects.
With editable objects such as meshes and splines, or modifiers with sub-object levels such as Mesh Select and Spline Select, you can continue to model a single sub-object selection by applying any number of other modifiers. When you go back and change the original selection, the new selection is "passed up the stack" to the modifiers that follow.
You can apply modifiers to multiple objects. In general, the process is parallel to modifying a single object. You make a selection set and apply an available modifier. The modifier then appears on a special stack that refers only to the commonality of that selection set.
When you apply a modifier to a selection set, the same modifier is carried on the stack for each individual object. These are instanced modifiers: they are all exactly the same, and a change to the instance for any one object will change all the others.