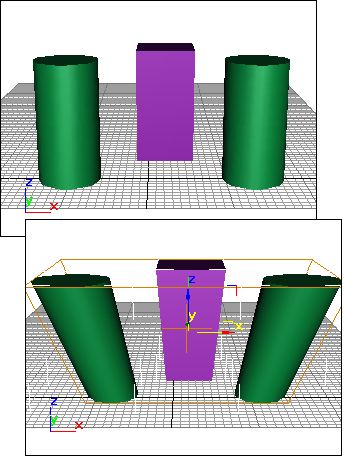
You can apply modifiers to multiple objects. In general, the process is parallel to modifying a single object. You make a selection set and apply an available modifier. The modifier then appears on a special stack that refers only to the commonality of that selection set.

Top: Original objects
Bottom: Single modifier applied to objects
When you select multiple objects, 3ds Max determines what the particular selected set of geometry has in common, if anything. Given any "commonality" among objects, 3ds Max presents the options as available modifiers. Unavailable modifiers represent areas where commonality does not hold.
You can apply modifiers to different categories of objects, depending on the modifier. For example, you might apply Bend to both a 3D object and a 2D shape. You can apply Mesh Select to a spline primitive and convert it to a mesh, but the reverse is not true: Spline Select is restricted to objects of the spline category.
 Select two or more objects.
For selection sets, the name at the top of the Modify panel changes to read "Multiple Selected." If the objects are grouped, the group name appears.
If you apply a Mesh Select modifier, you can select geometry on one or more of the objects to use as a sub-object selection set.
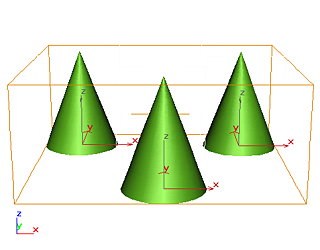
The first item in the Modifier List is a toggle called Use Pivot Points. This toggle is available only when multiple objects are selected.

Original objects

Single modifier applied to all objects

Single modifier applied with Use Pivot Points activated
When you apply a modifier to multiple objects, each object receives an identical version of the modifier. These are called instanced modifiers. They are interchangeable. A change to any one of the instances affects all the other instances. How Instanced Modifiers Work covers instanced modifiers in detail.