An “mr Sky Portal” is a 3ds Max Design light object that gathers sky light (as opposed to direct sunlight) generated by a Daylight system. When a Sky Portal is applied to objects such as glass doors and windows, these objects become light sources. The objects in turn cause adjacent areas, specifically the interior of buildings, to be illuminated.
In this lesson, you will add a Sky Portal to the beach house curtain window to boost the amount of daylight that enters the interior of the house.
 Continue from the previous scene or open beachhouse_skyportals.max. This file is in the folder \scenes\interoperability\Autodesk_Revit.
 dolly the camera forward so you have a closer view of the front of the beach house.
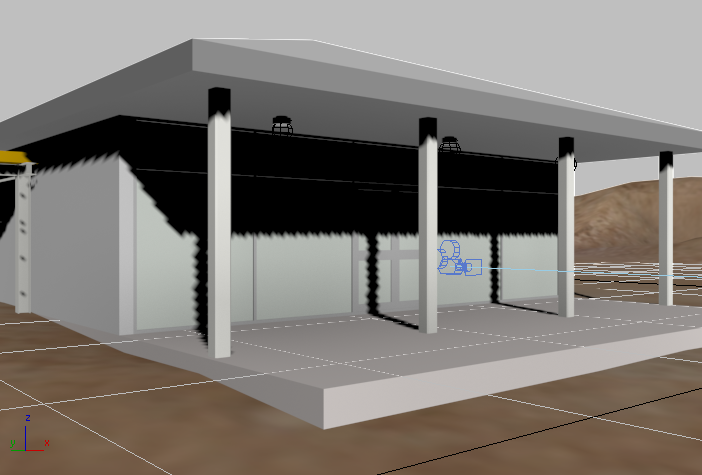
Add the Sky Portal and adjust scene exposure:
 Render the scene.
The rendered image is illuminated solely by the Daylight system, with indirect illumination evident on the underside of the terrace canopy as well as on the shaded surfaces of the columns and exterior walls.
Some sunlight is also penetrating the interior of the bungalow, but not enough to show much detail. You will correct this problem by adding a Sky Portal to the curtain window.
 clone of the image. You will compare this clone with image you will render a little later on.
 Create panel, click
  (Lights). On the Object Type rollout, click “mr Sky Portal,” then turn on AutoGrid.
AutoGrid lets you create objects directly on surfaces in the scene.
In the camera viewport, move the mouse over several objects in the scene and notice how AutoGrid changes the orientation of the axis tripod, depending on the cursor location.
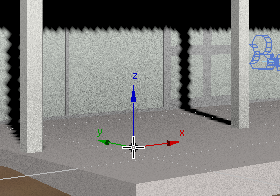
Creation axes oriented to the floor of the porch
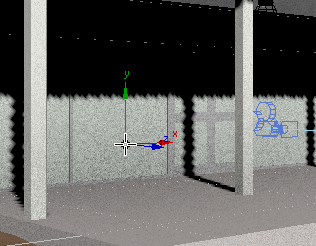
Creation axes oriented to the front window
When you position the “mr Sky Portal” on an object, your objective is to position the cursor so its Z axis is perpendicular to the surface.
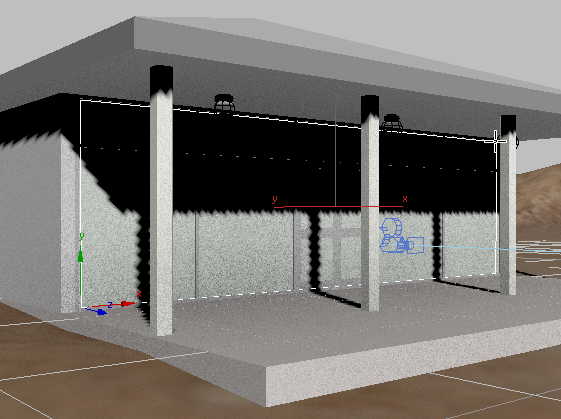
For a building with more and smaller windows, you would create a Sky Portal for every window and glass door in the model. In this case however, a single large portal is sufficient.
 Render the scene again, then compare the result with the rendered image you cloned earlier.
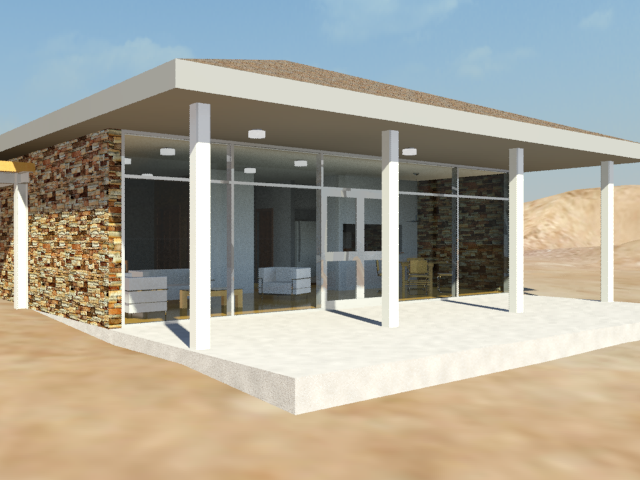
The differences are subtle. But the furniture inside the house is lit better, and you can see farther into the interior.
Turn off the Sky Portal temporarily:
 Modify panel
  mr Skylight Portal Parameters rollout, turn off the On toggle.
The benefits of a Sky Portal become most apparent when you adjust the interior daylight settings. You will do so soon, but first you need to create another camera to view the interior of the bungalow.
 zoom in to the floor plan of the house.
 Create panel, click
  (Cameras). On the Object type rollout, click to turn on Target.

 Camera002 to switch to the viewpoint of the camera you just created.
 (Pan) in the new camera view to raise both the camera and its target until the camera captures a better view of the interior
of the house.
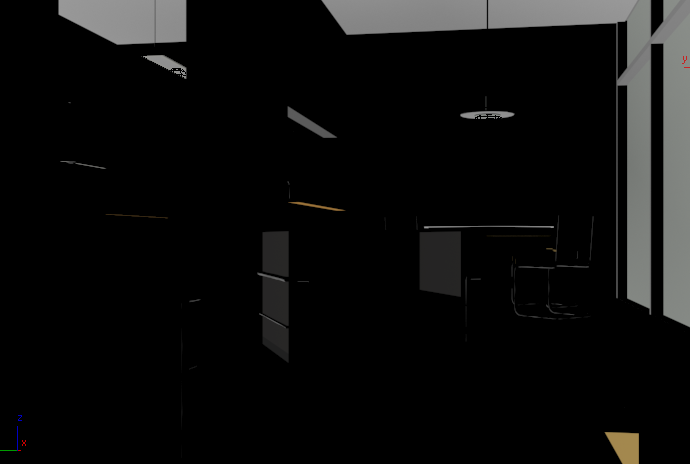

Hidden Line display makes it easier to frame the scene. The Shaded option can also help, as it doesn't use lighting levels.

The Hidden Line option is available only when you use the Nitrous viewport driver. If this option is not available on your system, then the dark viewport is probably not an issue; if it is, press F3 to see the view in wireframe mode.
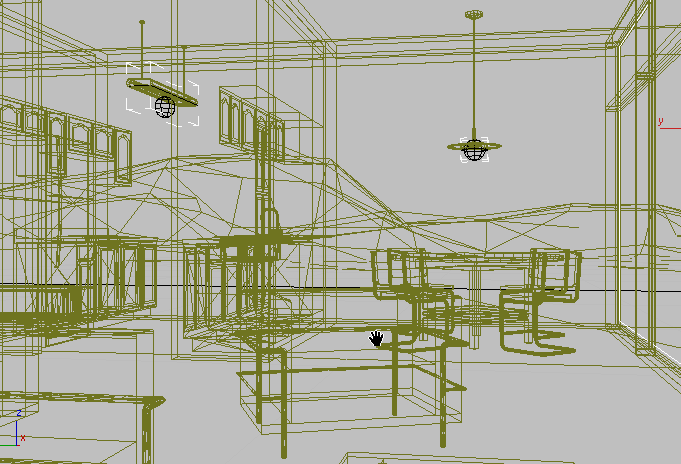
Adjust the exposure and render the interior:
 (Rendered Frame Window) to display the Rendered Frame Window.
 (Environment And Effects Dialog (Exposure Controls)) to display the Environment And Effects dialog.

The preview looks overexposed. To improve the rendering, you need to adjust the scene’s exposure settings.
 Exposure group, change Shutter Speed to 32.0 (1/32 Sec.).
The preview thumbnail updates dynamically to reflect your change.
 Render Setup Dialog to change the rendered frame to a resolution smaller than the size of 640 x 480 that we have provided
as the default for these scenes.
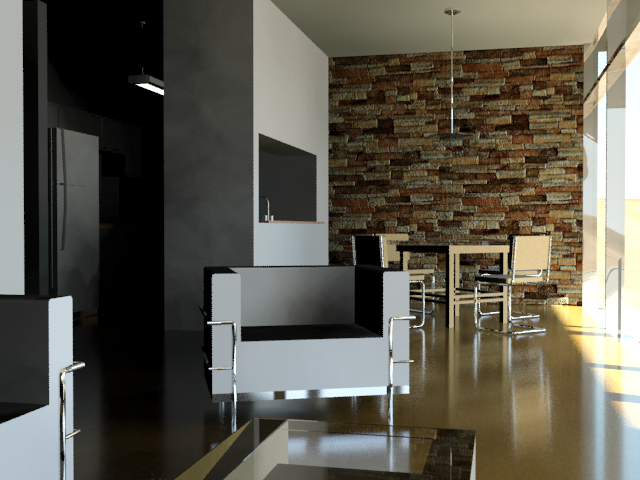
With the Sky Portal turned off, you can see how poorly the daylight is illuminating the room. One way to improve illumination without using the Sky Portal is by increasing the number of light ray bounces.
Add Final Gather to improve the lighting:
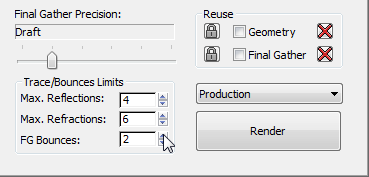

The interior is brighter now. However, the kitchen area remains unnaturally dark. This is where the Sky Portal comes in.
 Open the Select From Scene dialog and select the mr Sky Portal001 object. Click OK.
 Modify panel and on the mr Sky Portal Parameters rollout, turn the Sky Portal back on.
 clone of the previous rendering, then click Render.
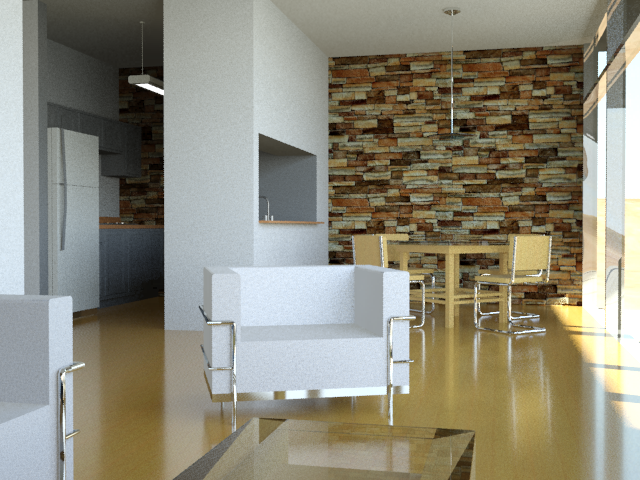
In the latest rendering, notice the detail now visible in the kitchen counter and cabinets. Also, the overall scene color has taken on a bluish tint from the skylight channeled by the Sky Portal.
A certain amount of graininess is also apparent, but this can easily be eliminated by adjusting the number of shadow samples taken by the Sky Portal.
Increase the number of shadow samples:
 Shadows group, change the value of Shadow Samples to 64.
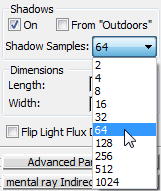
Before you render the scene again, you will make a slight adjustment to the light object in the kitchen.
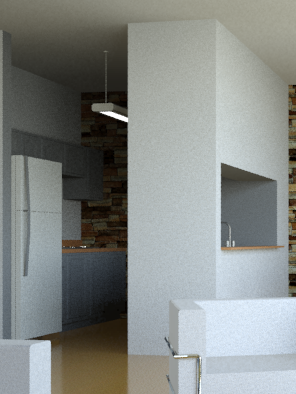
The light appears to be on, but it provides no illumination. This is because, while the light object is turned off like all others in the scene, its material is set to glow. This is a characteristic you will require later when you render the scene with artificial lights turned on.
Correct the self-illuminating kitchen light for a daylight scene:
 Slate Material Editor.
 (Pick Material From Object), and then in the Camera002 viewport, click the lower side of the Pendant Light object.
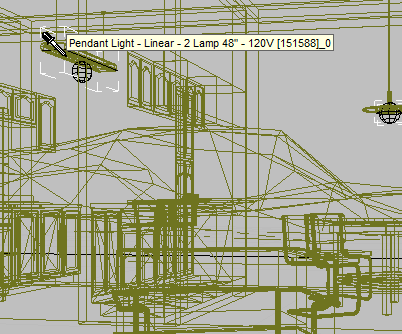
3ds Max Design displays the material nodes in the active View.

The material for the light assembly is a Multi/Sub-Object material with two sub-materials.
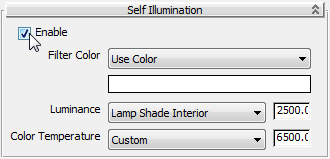
Make a final rendering of the interior scene:
 Make another clone of the rendered frame, then render the image again.
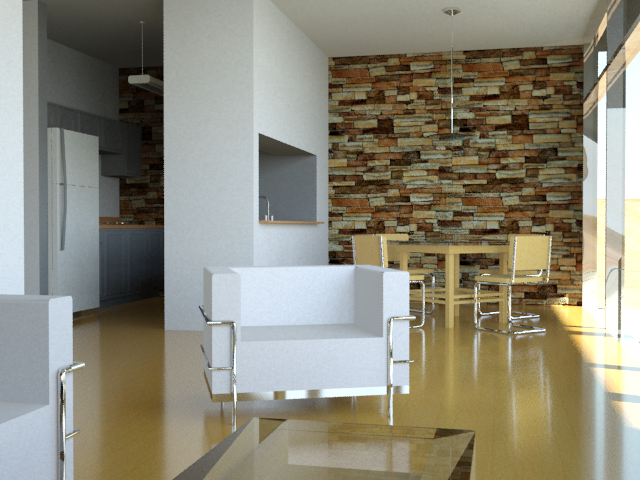
The kitchen light fixture is now dark and the graininess of the rendering is reduced.
The next illustration shows a rendered frame with even less grain. The shadows and reflections are more crisp.
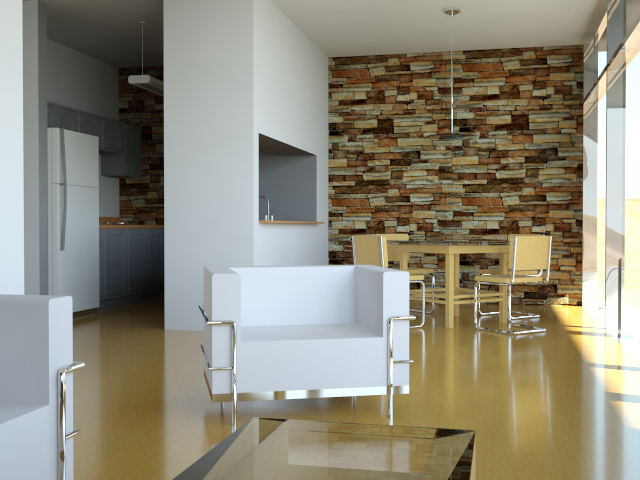
This image was produced with shadow samples set to 512 and the following render frame settings:

The image is improved, but typically it requires about 3 hours to render!
Restore self-illumination to the kitchen light:
You need to do this step because in the next lesson, you will illuminate the bungalow using the man-made lights you imported from the Revit scene.