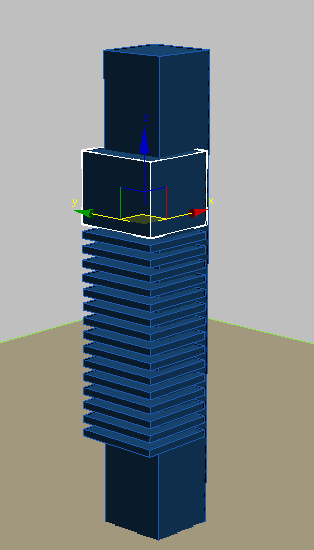
In this lesson, you will create the basic geometry of the model, then create an array of objects that you will use in a Boolean subtraction operation to create a set of floors in the building midsection.
 (Open File), navigate to the \scenes\modeling\highrise folder, and open building2_start.max.
Alternatively, continue working on your completed scene from the “Modeling Buildings Using Modifiers” tutorial.
Create the floors for the building:
 (Select And Move) to select the three objects that comprise the architectural model and move them to the right on the Ground object.
 Create panel, click
  (Geometry), then in the Object Type rollout, click Box.
Do not worry about dragging the box to an exact width, depth, or height. You set these values in the next step.

 Modify panel
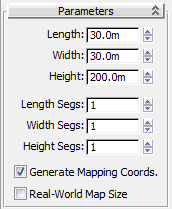
  Parameters rollout, set the parameters of the box as follows:
Make sure the Length Segs, Width Segs, and Height Segs fields are all set to 1 (the default).
Now that you have defined the footprint of your tower model, you are ready to define the floors in the mid-section of the structure.
 zoom in to the top of the Box001 object (the tower object you just created).
 Create panel, click
  (Geometry), then drag out a second box so that it is larger on three sides than the Box01 object, as shown in the next illustration.
The height of the box object is not important.
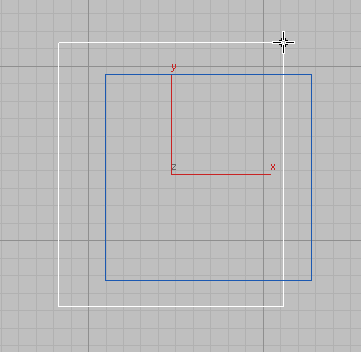
This object, Box002, will be used to define the tower floors. You now need to align its right side with the right side of the tower object.
 (Align), then click the Box001 object.
 Align Position group, turn on X Position and turn off Y Position and Z Position, so that only the left-right positioning
of the two objects is set for alignment.
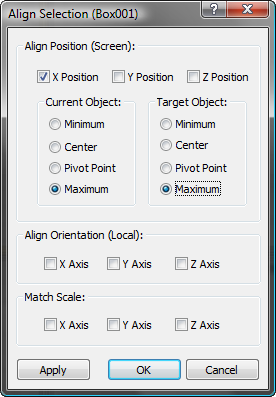
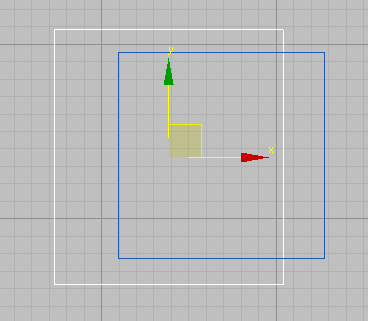
 move the aligned side of Box02 to the left by six meters. To do so, you should first switch the coordinate display from absolute values to local values.
Absolute values display the scene in world space, a universal coordinate system for all objects in the scene. World space
is constant and immovable. Local values use the coordinate system of the selected object.
On the status bar, click  (Absolute Mode Transform Type-In) to switch the display from Absolute Mode Transform to Offset Mode Transform.

In Offset Mode, the XYZ coordinate values reset to local values. Initially, each equals 0.
 Modify panel
  Parameters rollout, set the height of the box to 3.0m, the standard height for a typical floor of a building.
Now you will create an array of boxes that you will use later in a Boolean operation to create all floors above the current one.
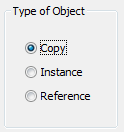
 Array.
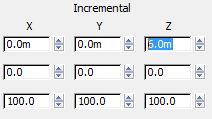
 Array Dimensions group, type 16 in the 1D Count field.
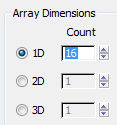
This creates an array of 16 objects to be spread out in one dimension. You want to build your array vertically.
 Incremental column go to the Move row, find the Z-axis spinner, and type 6.0.
A distance of six meters in Z space is inserted between each object in the array. This corresponds to the height differential you want to establish between each floor in the building.
