You add realism to scene objects by adding materials to their surfaces. Material texture can include information from bitmap images, as well as bump maps for a 3D effect. In this tutorial the battlefield terrain, as well as the tree, rock, cannon, and windmill, all get their appearance from bitmap texture mapping.

Cannon texture
Rock texture
 (Material Editor) from the
Material Editor flyout to open the Compact Material Editor.
(Material Editor) from the
Material Editor flyout to open the Compact Material Editor.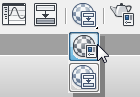
(A flyout is like a drop-down list, but with buttons instead of text.)
The Material Editor opens as a floating window.
The Compact Material Editor is usually more convenient when you want simply to assign materials that have already been designed. The Slate Material Editor, which takes up more screen space, is more convenient and versatile for designing materials.
 Compact Material Editor.

By default, the Compact Material Editor shows six sample slots, each of which is capable of holding a material. Typically, you would have multiple materials to choose from, so you might prefer to expand the number of sample slots selectable from the editor.
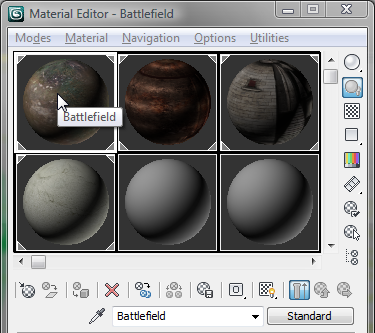
Notice that the name Battlefield appears in the Material Name field below the sample slots.
This material has already been constructed for you. It uses a bitmap as a texture and includes a bump map.
The viewport now displays a landscape covered by grass and dirt.
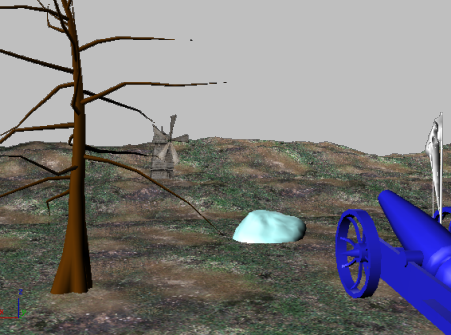
Next, you will apply a material to the cannon.
All parts of the cannon were previously grouped together into a single entity, called a selection set. This way, when you choose a material, it is applied to all components in the selection set in a single action.
 (Assign Material To Selection).
This method is another way to apply materials to selected objects.
The oak tree and windmill already have materials applied to them, so now you’re ready to begin animating the scene.


