In this lesson, you'll bring the battlefield scene to life by animating scene objects.
You'll do this with keyframe animation. The Auto Key tool in 3ds Max lets you record the physical characteristics of an object at any given point in time. This state in time is called a keyframe. 3ds Max then figures out all the in-between states from one keyframe to the next, for a smooth transition of the object.
The following procedure consists of two animations. Between frames 0 to 120, you will advance the cannon to its firing position, next to the rock. Between frames 120 and frame 160, you will raise the cannon barrel in preparation for the first shot.
3ds Max gives you three different ways to create keyframes. One is to turn on the Auto Key button, move to any point in time, and transform (move, rotate, or scale) the object. A second method is to right-click the time slider and then set keys using the Create Key dialog. There is also a Set Key animation mode, designed for professional character animators.
In this exercise, you’ll use the Auto Key button.
Animate the position of the cannon:
 zoom in and
  pan the scene so that the
cannon and rock are clearly in view.
pan the scene so that the
cannon and rock are clearly in view.
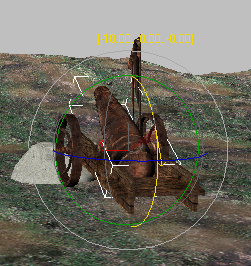
 (Select And Move), then hover
your mouse over the rear portion of the cannon.
(Select And Move), then hover
your mouse over the rear portion of the cannon.
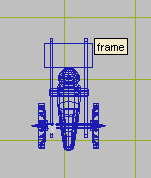
After a moment, a tooltip appears that says frame.
The tooltip indicates your selection tool is hovering over the frame object. In this scene, frame is the parent object of the cannon, meaning that if it moves, the rest of the cannon assembly moves with it.
 (Auto Key) to turn it on.
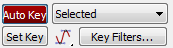
The button turns red. You are now in automatic animation mode.

 select the frame object
and drag it on its Y axis until the cannon is lined up next to the
rock.
select the frame object
and drag it on its Y axis until the cannon is lined up next to the
rock.
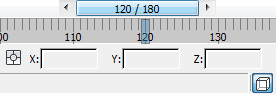
Autokey interpolates, or averages out, the cannon position at each frame from its start position at frame 0 to its final resting place at frame 120.
(Auto Key).
Notice how animation has already been applied to the windmill in the background.
Add a second animated movement:
(Auto Key) and advance to
frame 160.
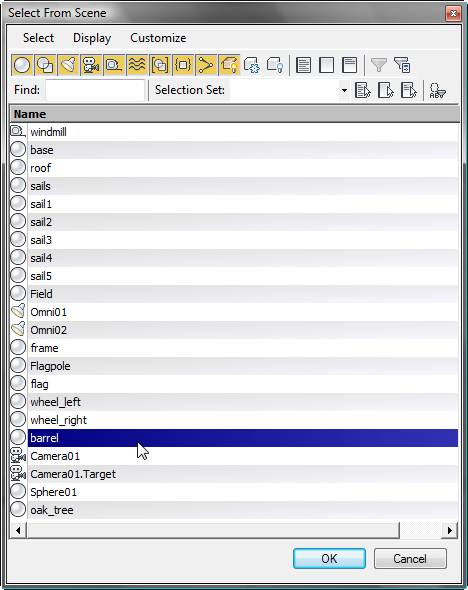
You might have to scroll, or resize the Select From Scene dialog, in order to find the barrel entry.
 (Select And Rotate).
As you modify the barrel rotation, the axis values update in yellow.
(Auto Key).
 (Go To Start), then click
  (Play Animation).
Watch the animated cannon prepare its deadly attack on the windmill.
 (Stop, in the same location
as the Play button) when you are done watching the animation.
(Stop, in the same location
as the Play button) when you are done watching the animation.


 open
open