The material that models
smoke uses maps with computer-generated patterns that have a naturalistic
appearance.
Set up the scene:
- Continue from the previous lesson or
 open pflow_02.max.
Use a Noise map to create a smoke-like
pattern:
- On the main toolbar, click
 (Material Editor) to open the
Slate Material Editor.
(Material Editor) to open the
Slate Material Editor.
(If you’re continuing
from the previous scene, you can just restore the Material Editor
window: Press M.)
- If the Smoke material isn’t already in
the active View, drag it into the View from the Scene Materials
group as an instance.
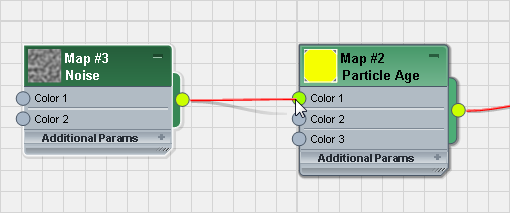
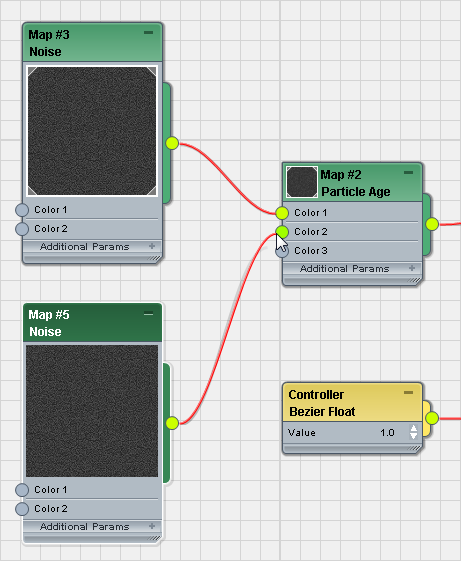
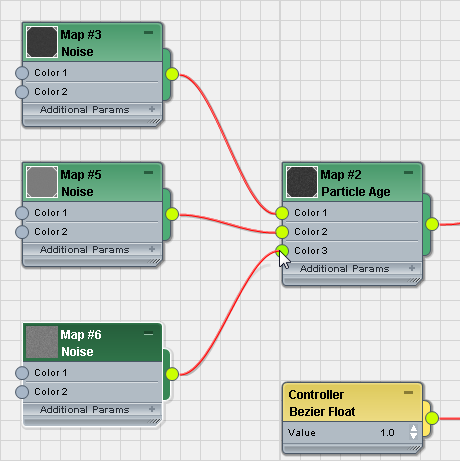
- Double-click the Particle Age map node
to display its parameters.
- Drag a Noise map from the Browser into
the Active View.
- Wire the Noise map to the Color 1 component
of the Particle Age map.
In the parameters for
the Particle Age map, you can see that the Color #1 map button now
shows the Noise map.
- Double-click the preview in the title
bar of the Noise node, to get a better view of the map.
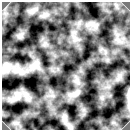
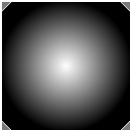
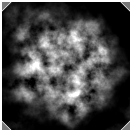
The Noise map is a mix
of black and white, and this is a good first approximation to a
smoke pattern.
- Double-click the Noise node (in an area
other than the preview) so you can see its parameters.
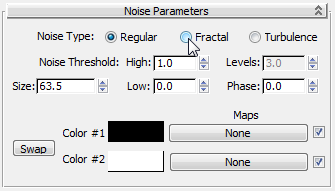
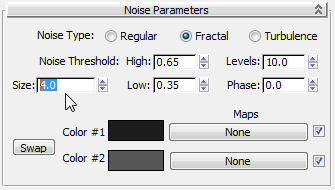
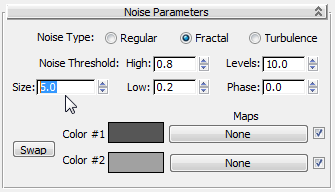
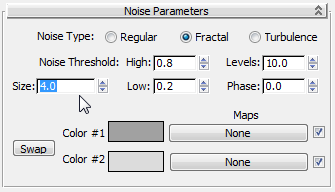
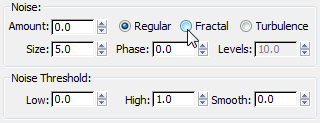
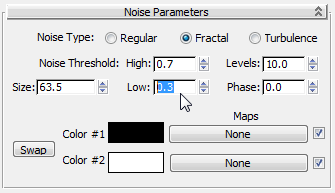
- On the Noise Parameters rollout, choose
Fractal as the Noise Type.
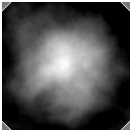
The Fractal pattern is
more sharply defined than the Regular pattern.
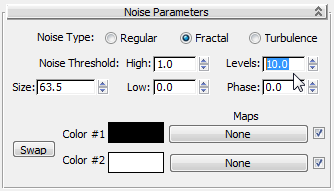
- Also on the Noise Parameters rollout,
change the value of Levels to 10.0.
Increasing the number
of levels increases the complexity of the Noise pattern.
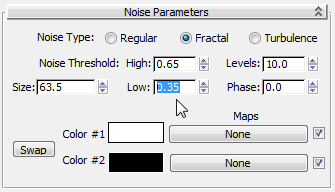
- Change the value of Noise Threshold
 High to 0.65 and
Noise Threshold Low
to 0.35.
High to 0.65 and
Noise Threshold Low
to 0.35.
This increases the contrast
of the Noise pattern.
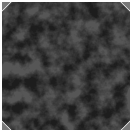
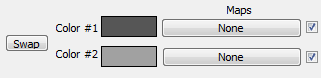
- Click the Color #1 color swatch. In the
Color Selector, set V=29.0 (a very dark gray; the RGB
values change to equal 29.0 as well), and then click OK.
- Click the Color #2 color swatch. In the
Color Selector, set V=86.0 (a moderately dark gray),
and then click OK.
The smoke in its initial
stages will be very dark, nearly black.
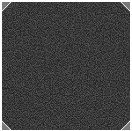
- Change the value of Size to 4.0.
The material preview
now shows a very fine-grained Noise pattern, but this Size value
matches the scale of the scene: Remember that when particles are
born, they are 5.0 units square.
Vary the map as particles age:
- Hold down the Shift key,
and in the active View drag the Noise map node to create a clone
of the node.
- Wire the second Noise map to the Color
2 component of the Particle Age map.
The second, mid-life
color now has a map assigned to it.
- Double-click the new Noise map node to
see its parameters.
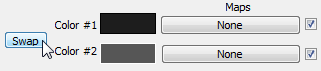
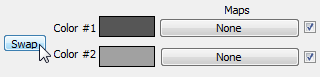
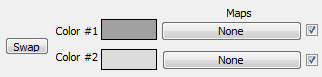
- By the Noise color swatches, click the
Swap button.
The idea is that, for
each succeeding Noise map, the lighter Color #2 becomes the darker
Color #1.
- Click the Color #2 color swatch. In the
Color Selector, set V=161, and then click OK.
- Also on the Noise Parameters rollout,
change these settings:
- Noise Threshold High = 0.8
- Noise Threshold Low = 0.2
- Size = 5.0
- Double-click the previews of the two
Noise map nodes, to make the previews small again.
- Hold down the Shift key
and drag the second Noise node to make a clone of it.
- Wire the new, third noise node to the
Color 3 component of the Particle Age map.
- Double-click the third Noise map node
to see its parameters.
- By the Noise color swatches, click the
Swap button.
- Click the Color #2 color swatch. In the
Color Selector, set V=220, and then click OK.
- Also on the Noise Parameters rollout,
change the value of Size to 4.0.
TipWhen you are done
adjusting the Noise map nodes, you can click the minus-sign (–)
icon in the title bar of each to minimize the size of these nodes.
- Minimize the Slate Material Editor, activate
the Camera01 viewport,
 go to the last frame, and
  render the scene.
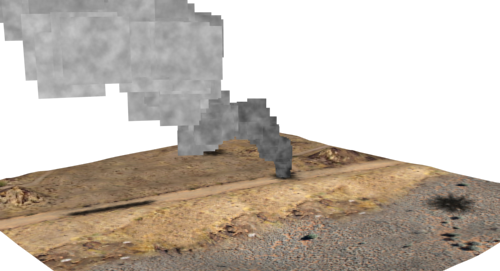
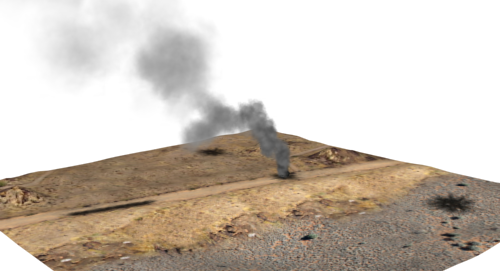
The particles now have
a good smoke pattern that begins very dark and grows lighter over
time.
The next step is to make
the particle edges transparent, so they blend together more naturally,
and don’t have sharp edges against the terrain or the sky.
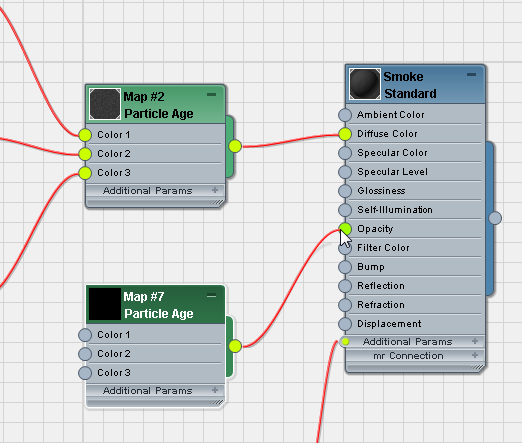
Add an Opacity map to hide particle edges:
- Drag a new Particle Age map from the
Browser to the active View.
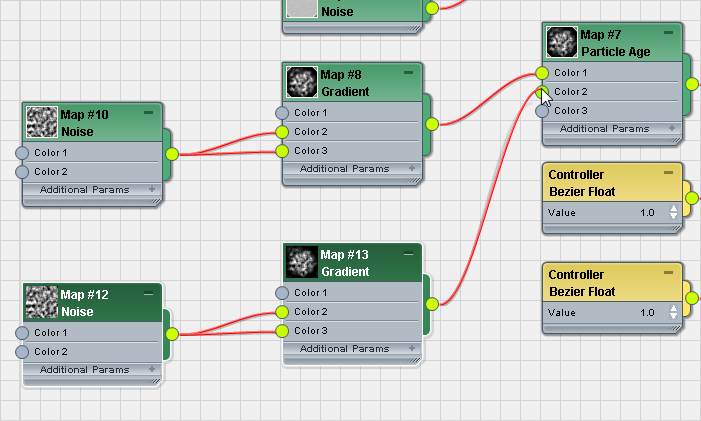
- Wire the new Particle Age map to the
Opacity component of the Smoke material.
If the Controller node
that 3ds Max creates for the new Particle Age map obscures the
new Particle Age node, move it out of the way.
TipYou can update the
layout of the active View by pressing L.
You will animate the
opacity to decrease over time, as the smoke disperses.
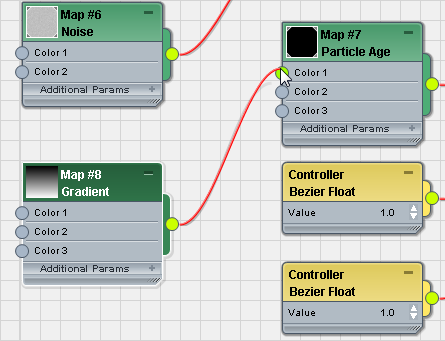
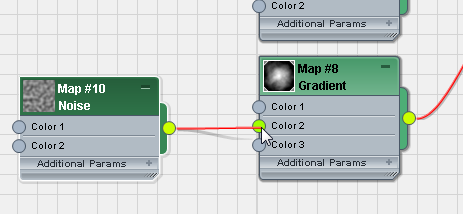
- Drag a Gradient map from the Browser
to the active View, and wire it to the Color 1 component of the
new Particle Age map.
- Double-click the new Gradient map node
to see its parameters.
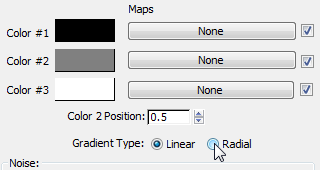
- On the Gradient Parameters rollout, change
the Gradient Type to Radial.
- Double-click the preview in the title
bar of the Gradient map node to enlarge the preview.
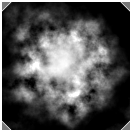
The center of the map,
where it is white, will be completely opaque, while the black areas
at the edges will be completely transparent.
You will use the Gradient
map’s Noise controls to make this pattern more irregular, to obtain
a more natural appearance.
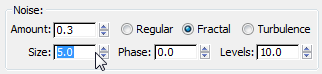
- In the Noise group, change the type to
Fractal.
- Also in the Noise group, change these
settings:
- Amount = 0.3
- Levels = 10.0
- Size = 5.0
Now the opacity pattern
appears more natural, but retains the opaque center and transparent
edges.
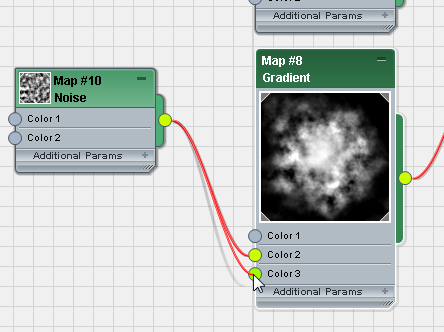
- Drag a Noise map from the Browser to
the active View, and wire the new Noise node to the Color 2 component
of the Gradient map node.
By now, you will have
to use some of the Slate Material Editor navigation tools to move
around the tree of the Smoke map, which is becoming fairly
elaborate.
- Double-click the Noise map node so you
can see its parameters.
- Change the Noise map settings as follows:
- Noise Type = Fractal
- Levels = 10.0
- Noise Threshold High = 0.7
- Noise Threshold Low = 0.3
(Do not change the colors
or the Size value.)
- Look at the preview for the Gradient
map.
Now the opacity map is
even more irregular.
- Drag a second wire
from the same Noise map, and wire it to
the Color 3 component of the Gradient map.
Now Color #2 and Color
#3 of the Gradient map both use the same Noise map.
Decrease opacity as the particles age:
- Click and Ctrl+click
to select both the Noise map and the Gradient map, then Shift+drag to clone both nodes.
(You need to select both
nodes; otherwise, the Gradient is copied but the Noise map remains
an instance, or vice versa.)
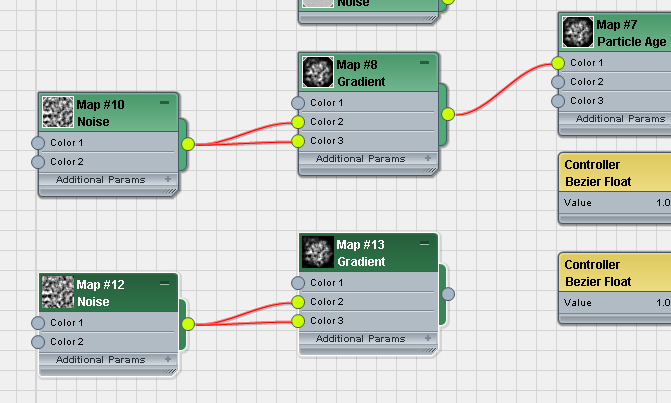
- Wire the new Gradient node to the Color
2 component of the Particle Age map.
- Clone the Noise/Gradient node pair again,
and wire this new combination to the Color 3 component of the Particle
Age map.
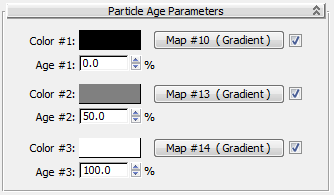
- Double-click the Particle Age map node
(for Opacity) to see its parameters.
Now all three particle
ages have a Gradient map with Noise.
- Double-click the Noise map node connected
to the Gradient map that is connected to Color 2.
- In the Noise Parameters rollout, click
the Color #2 color swatch. In the Color Selector, change V=161,
and then click OK.
The darker color makes
particles more transparent in midlife.
- Double-click the Noise map node connected
to the Gradient map that is connected to Color 3.
- In the Noise Parameters rollout, click
the Color #2 color swatch. In the Color Selector, change V=64,
and then click OK.
The new Color #2 value
makes the particles even more transparent as they near the end of
their life.
-
 Close the Slate Material
Editor.
Close the Slate Material
Editor.
- Activate the Camera01 viewport, go to the last frame of
the animation, and render the scene.
You now have good, realistic
smoke.
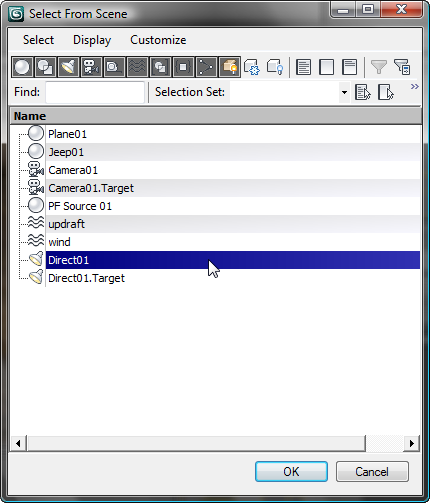
Add shadows to the scene:
- On the main toolbar, click
 (Select By Name).
- In the Select From Scene dialog, click
to highlight the light Direct01, and then click OK.
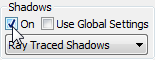
- On the
 Modify panel, General Parameters rollout Shadows group, turn
on shadows for the Directional light.
Modify panel, General Parameters rollout Shadows group, turn
on shadows for the Directional light.
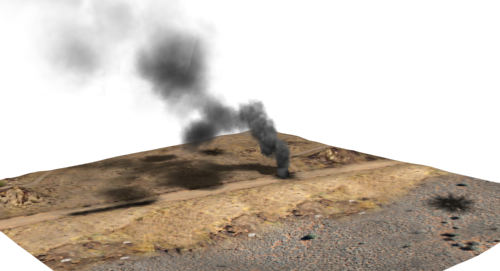
- Render frame 300 once more.
Now the smoke particles
cast shadows onto the landscape and also onto each other, making
the smoke effect even more convincing.
Now you have used Particle
Flow to create a realistic smoke simulation. In the next lesson,
you will add the smoke to other areas of the terrain,.
Save your work:
- Save the scene as smoke_material.max.