The trees in your scene
are casting shadows properly, but while they vary in size, they
are all identical in shape and color. To make a convincing forest,
you need to add a few more tree varieties into the mix.
Set up the lesson:
- Continue working on the scene file you
saved in the previous lesson, or
 open ptrees_shadows.max.
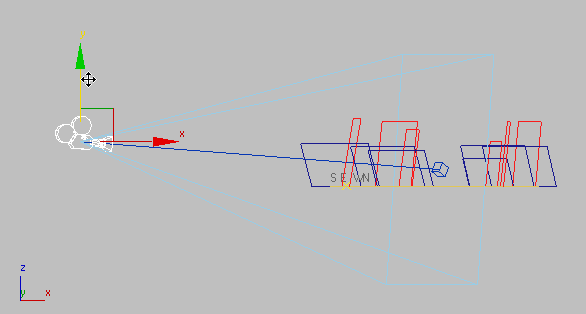
Adjust the camera view:
- On the main toolbar, click
 (Select And Move). In the Front
viewport, move the Camera01 object until it is closer
to the ground.
(Select And Move). In the Front
viewport, move the Camera01 object until it is closer
to the ground.
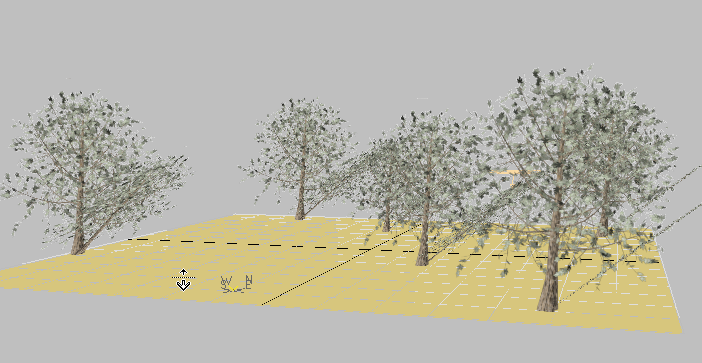
- Activate the Camera01 viewport, and
 dolly forward until the
trees are in full view.
dolly forward until the
trees are in full view.
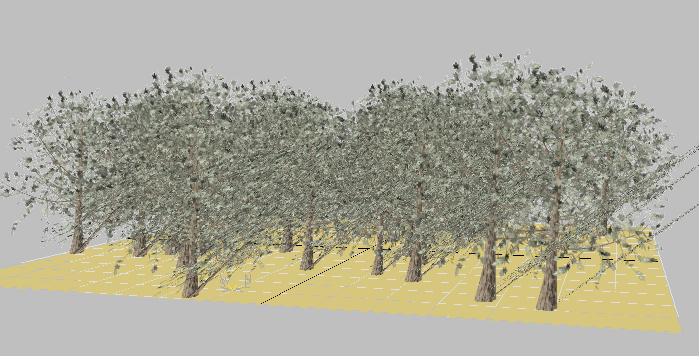
Increase the number of tree particles:
- In Particle View, in Event 01, click the Birth
01 operator to highlight it.
- On the Birth 01 rollout, change the Amount
value to 25.
-
 Close the Particle View
window.
Close the Particle View
window.
Now the particle system
generates 25 trees. Each particle uses the same image of the elm
tree you selected earlier. Next, you will change the particles to
reference three different types of trees.
Create a Multi/Sub-Object material to
contain multiple tree maps:
- Open the
 Slate Material Editor.
-
 Zoom out in the active View,
then drag a Multi/Sub-Object from the Browser into the active View,
and drop it to the right of the Trees material.
Zoom out in the active View,
then drag a Multi/Sub-Object from the Browser into the active View,
and drop it to the right of the Trees material.
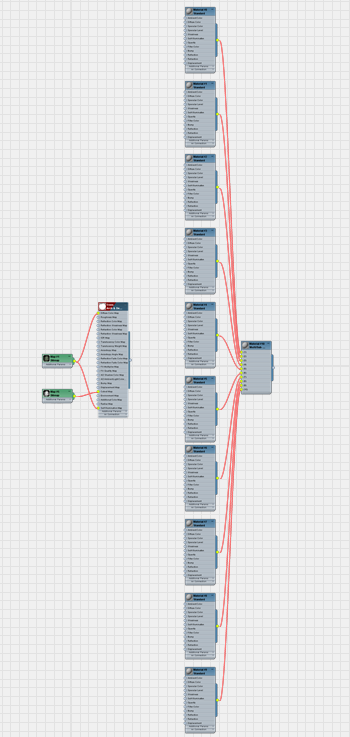
By default, the Multi/Sub-Object
material contains 10 entries, each of which allows you to specify
a sub-material. Fortunately, you don’t need all of these.
- Drag box to select all of the submaterial
nodes, then press Delete.
- In the Slate Material Editor, click (Zoom
Extents), then move the Multi/Sub-Object material node closer to
the main Trees material node.
- Double-click the Multi/Sub-Object material
node so you can see its parameters.
- Name this material Elm Trees.
- On the Multi/Sub-Object Basic Parametrers
rollout, click Set Number. On the Set Number Of Materials dialog,
change the value to 3.
You will specify three
different tree types to use on the particles.
- Wire the Trees material
node to the (1) sub-material socket of the Elm Trees node.
Now you need to create
the other two sub-materials.
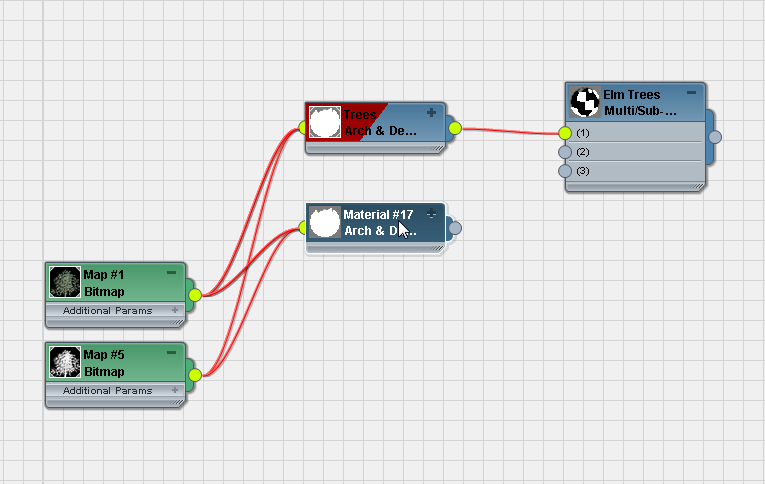
Create a fall sub-material, and then
another for winter:
- Click the minus-sign (-) icon on the
title bar of the Trees material node to collapse
this node display, then hold down the Shift key
and drag the Trees node to make a copy of it.
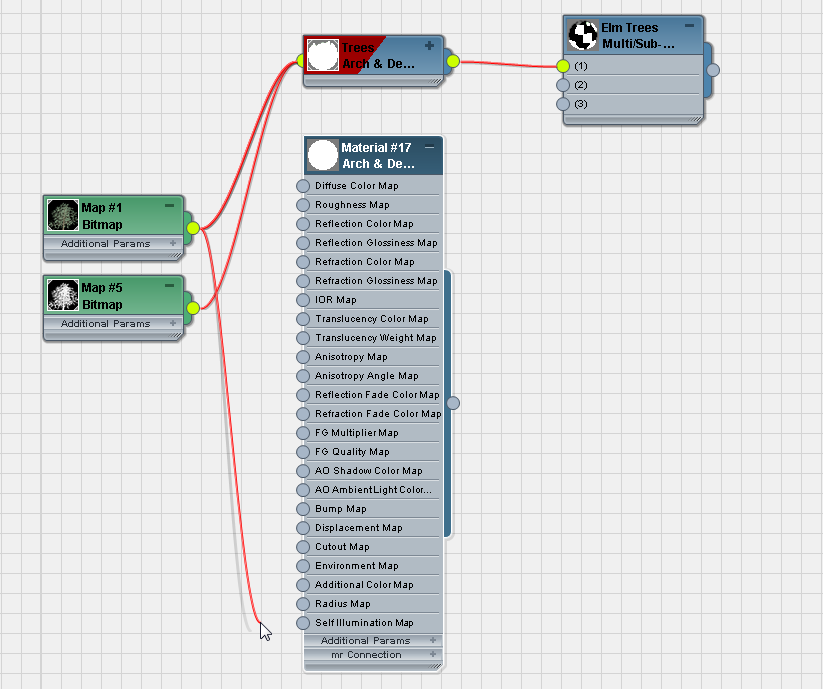
- Click the plus-sign (+) icon on the title
bar of the new material node to open the node display again, then
drag away from the input sockets to disconnect the wired bitmaps.
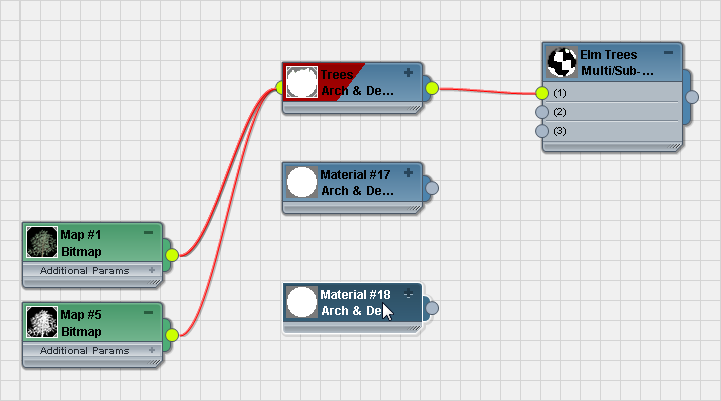
- Click the minus-sign (-) icon to collapse
the new material node again, then Shift+drag
to make another copy.
- Double-click the Trees material node
so you can see its parameters. Change the name of this sub-material to Elm
- Summer.
- Double-click the second material node,
and change its name to Elm - Fall. On the Slate Material
Editor toolbar, turn on
 (Show Standard Map In Viewport).
- Double-click the third material node,
and change its name to Elm - Winter. On the Slate Material
Editor toolbar, turn on (Show Standard Map In Viewport).
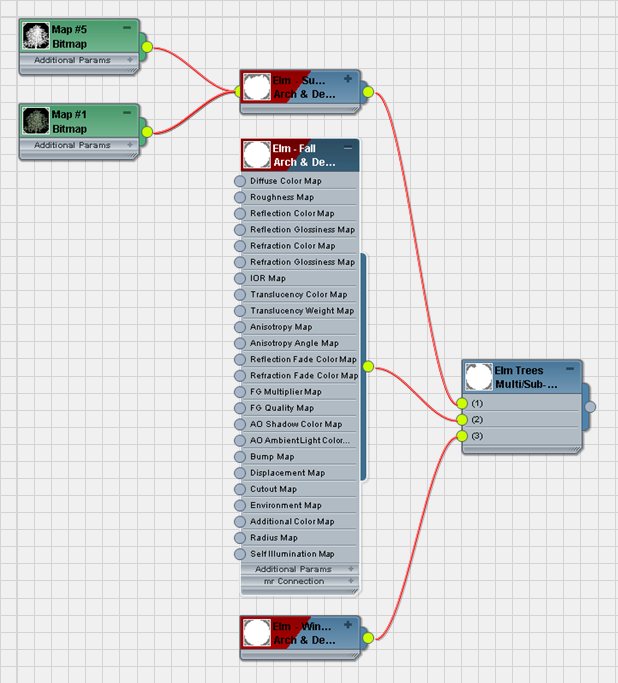
- Wire the second and third material nodes
to the (2) and (3) sockets of the Elm Trees material
node to make them sub-materials as well.
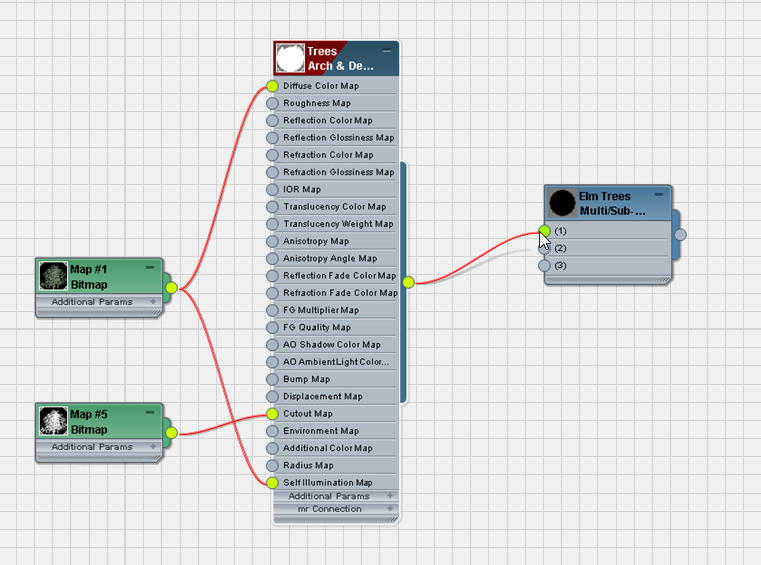
Add the bitmaps for the new sub-materials:
- Click the plus-sign (+) icon of the Elm
- Fall sub-material node to open the node, then press L so you can see all of the material
tree.
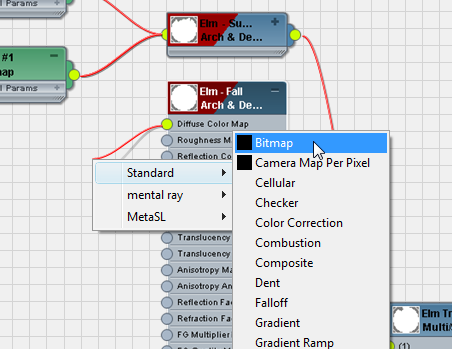
- Drag a wire from the Diffuse Color Map
socket of the Elm - Fall sub-material node,
then release the mouse. From the pop-up menu, choose Standard
 Bitmap.
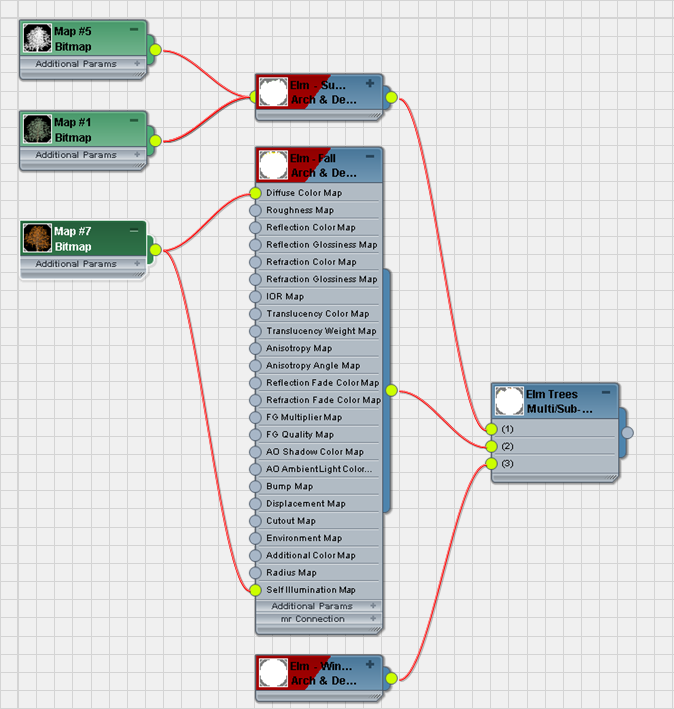
3ds Max opens a file
dialog. Choose the elm tree with autumn foliage you rendered in
the previous lesson, or navigate to \sceneassets\images and
choose elm_fall.tif.
- Wire the new Bitmap node to the Self
Illumination Map socket as well.
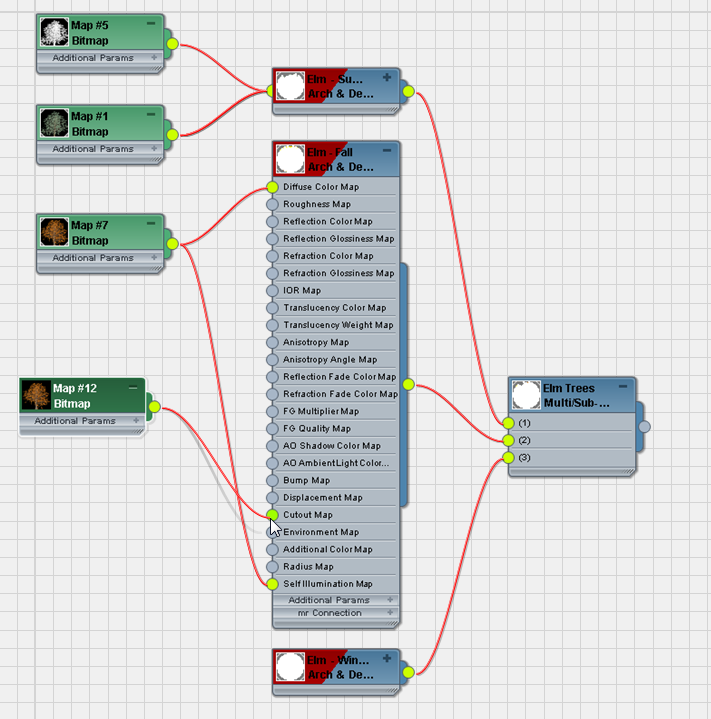
- Shift+drag
the new Bitmap node to make a copy of it, then wire the copy to
the Cutout Map socket of the Elm - Fall sub-material.
- Double-click the Bitmap node that is
wired to the Cutout Map socket. On the Bitmap Parameters rollout,
change Mono Channel Output to Alpha, and RGB Channel Output to Alpha
As Gray.
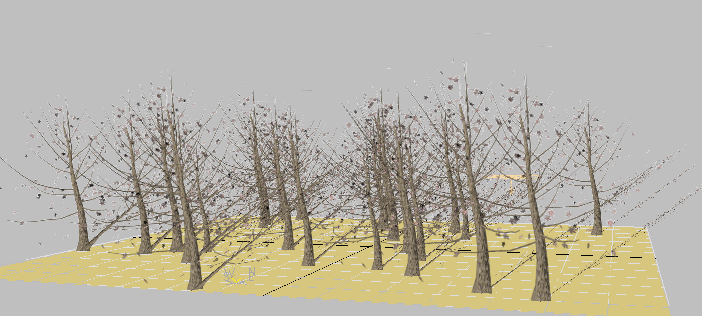
- Repeat steps 1 through 5 for the third
sub-material node, this time using \sceneassets\images\elm_winter as
the bitmap.
Change the particle system to use randomly
chosen trees:
- Press 6 to
display the Particle View window. Arrange the windows so you can
see both the Material Static 001 rollout on Particle View, and the
output socket of the Elm Trees material in the Slate
Material Editor.
- In Particle View PF Source 001, click Material
Static 001 to highlight it. Drag a wire from the output
socket of the new Elm Trees Multi/Sub-Object material
node, and drop it on the Material Static 001 rollout Assign Material button.
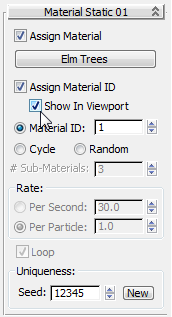
- On the Material Static 001 rollout, turn
on Assign Material ID and Show In Viewport.
- Change the Material ID value from 1 to
2 and 3 to display one of the three different tree sub-materials
you set up earlier.
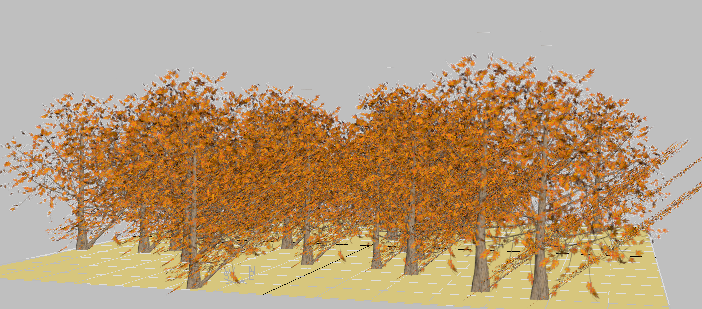
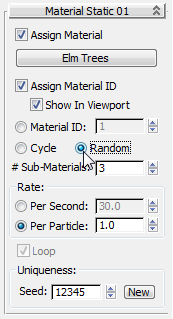
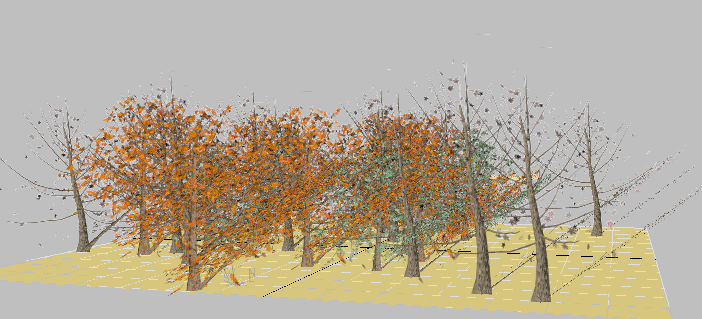
- To get a mix of all three tree types,
choose Random.
The Camera01 viewport
updates to show a random selection of all three tree types.
NoteThe Random option
is not available unless the # Sub-Materials value is greater than
1, so you can’t choose this setting until you assign the Elm Trees material to the operator.
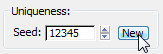
- In the Material Static 001 rollout Uniqueness group, click
New repeatedly until you obtain a mix of tree types that you like.
-
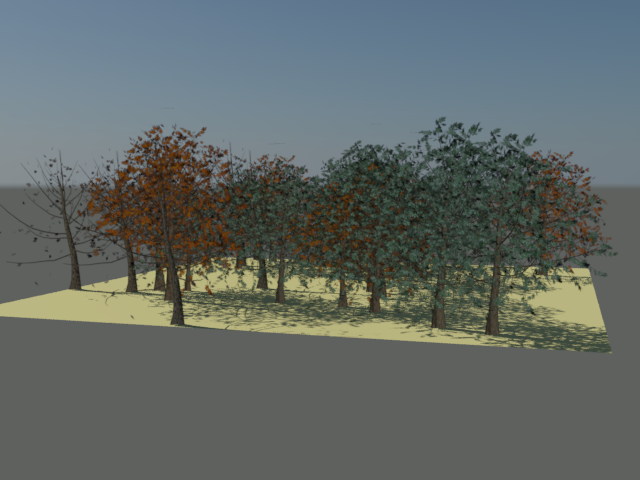
 Render the Camera01 viewport
to see the result.
Render the Camera01 viewport
to see the result.
Save your work:
- Save the scene as my_ptrees_various.max.