


Texturing the House: More
Mapping Techniques
The house is of stone, not of wood, but for the most part, the mapping techniques you use should be familiar from previous lessons. This lesson introduces a couple new techniques that can be useful.
Texture the walls of the house:
The walls of the house present familiar techniques.
 Click an empty area of the
viewport to clear the selection, and then click the House object
to select the walls.
Click an empty area of the
viewport to clear the selection, and then click the House object
to select the walls.
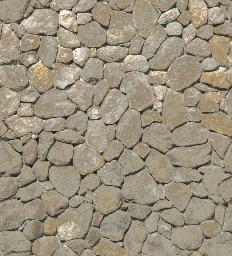
Texture for the house walls
 (Assign Material To Selection),
and then turn on
(Assign Material To Selection),
and then turn on  (Show Map In Viewport).
 Apply a UVW Map modifier
to the house walls. Change the map projection to Box, and set Length
= Width = Height = 5.0m.
Apply a UVW Map modifier
to the house walls. Change the map projection to Box, and set Length
= Width = Height = 5.0m.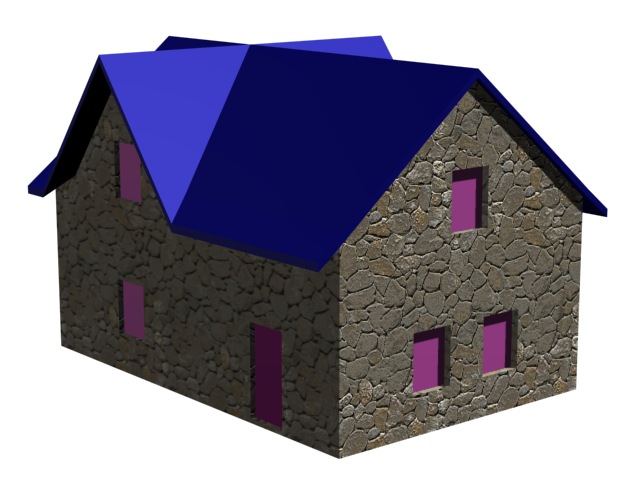
House walls with a masonry texture
Use a Mapscaler to texture the roof:
The roof, on the other hand, presents a problem. With its two gables, there is no straightforward way to map the pattern using UVW Map.
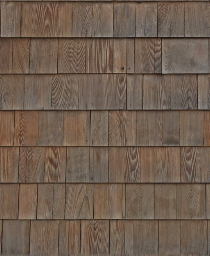
Shingle texture for roof of house
With default mapping (you don’t need to go through these steps, yourself), the texture doesn’t look right. Even if you were to adjust the scale or change the projection type, the shingles wouldn’t conform to the direction of the gables.
Default texture mapping for the roof
The solution is to use a different modifier, Mapscaler, to handle the texture mapping.
Select the House-Roof object.
(Assign Material To Selection),
and then turn on (Show Map In Viewport).
Modify panel. From the Modifier
List, choose MapScaler.
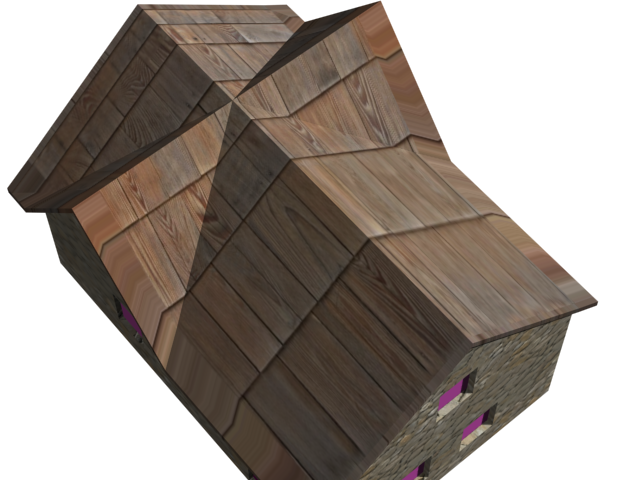
The MapScaler modifier maintains the map scale relative to the object (in this case, the roof), and by default it wraps the texture so the shingles follow the angles of the roof.

Shingle texture mapped using MapScaler
The windows use another small feature to ensure correct mapping.
Click one of the purple
windows to select it. The windows are a single grouped object named Windows.
When Face Map is on, a texture map is applied to each face of an object individually.
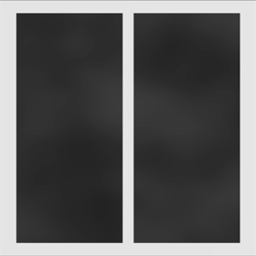
Bitmap for the window texture
(Assign Material To Selection),
and then turn on (Show Map In Viewport).
Like the walls, the front door of the house is a straightforward texture mapping.
Click to select the Door object.
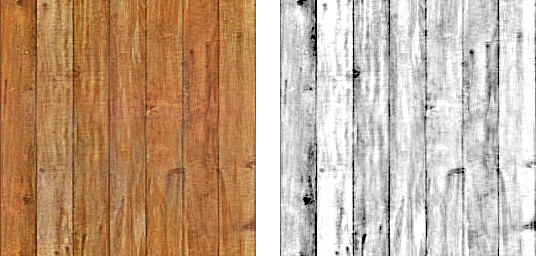
Left: Texture for the wood boards that make the house door
Right: Bump map for the wood boards
(Assign Material To Selection),
and then turn on (Show Map In Viewport).
Apply a UVW Map modifier
to the door. Change the map projection to Box, and set Length =
Width = Height = 4.0m.
This completes your texturing of the house.
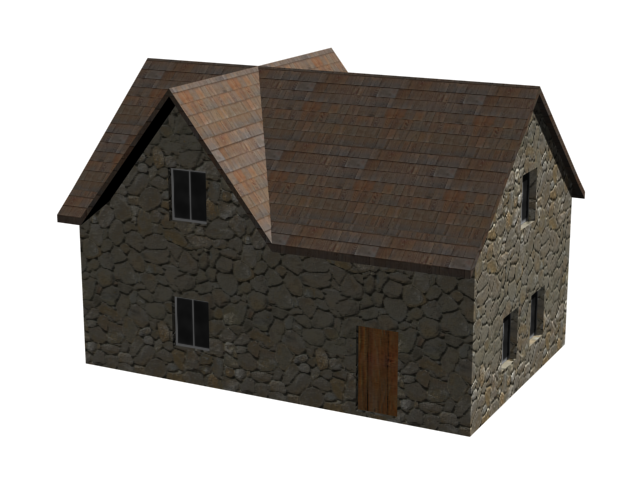
The house with all its textures
 open army_compound03.max.