In this lesson, your objective is to divide the seating in the stadium scene into four distinct groups, and use multi/sub-mapping to assign each group its own color, with red representing the most expensive seats and green the cheapest.
 (Open File), navigate to \scenes\materials_and_mapping\multi_maps\ and
open multi_maps_start.max.
(Open File), navigate to \scenes\materials_and_mapping\multi_maps\ and
open multi_maps_start.max.
Choose mental ray and group objects by ID number:
 (Render Setup).
 Common tab Assign Renderer rollout,
make sure the Production field is set to mental ray Renderer.
Common tab Assign Renderer rollout,
make sure the Production field is set to mental ray Renderer.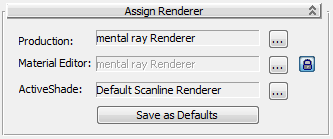
The Multi/Sub-Map is a mental ray feature. It is available only when you choose mental ray or the Quicksilver Hardware renderer as your renderer.
 Close the Render Setup dialog.
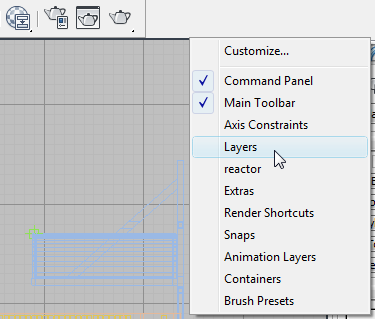
3ds Max opens the Layers toolbar.

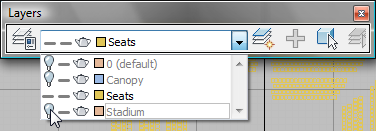
Now only the seats objects are visible, making their selection much easier.
 maximize the Top viewport.
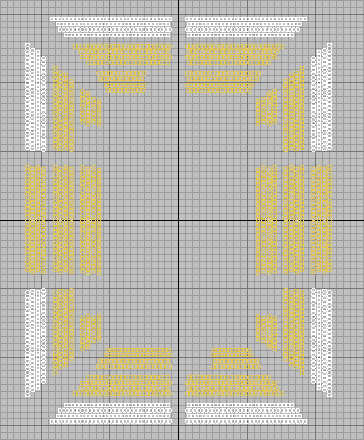
 Select any seat object,
right-click and from the quad menu, choose Object Properties.
Select any seat object,
right-click and from the quad menu, choose Object Properties.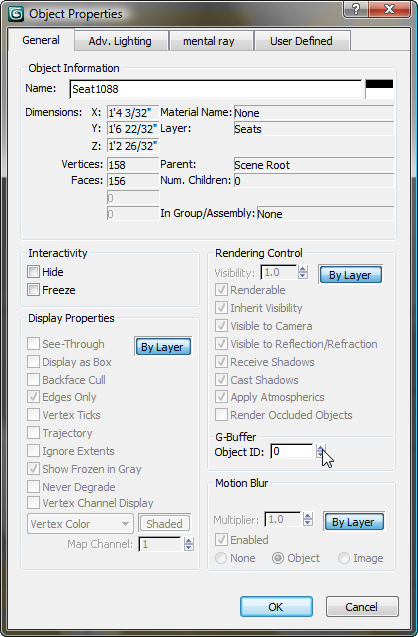
Notice that in the Object
Properties dialog General
tab G-Buffer group, the
Object ID displays as 0. All objects when they are first created
are assigned an ID of 0. Later on, you will change this number in
order to assign certain groups of seat objects their own material
variations.

Be sure to hold down the Ctrl key when you select additional seats.
General tab G-Buffer group, change
the Object ID to 1. Click OK.
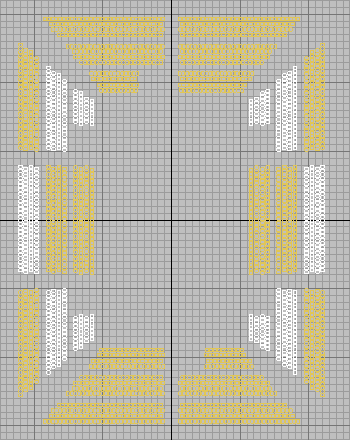
Be sure to hold down the Ctrl key when you select additional seats.
General tab G-Buffer group, change
the Object ID to 2. Click OK.

General tab G-Buffer group, change the Object ID to 3. Click
OK.
Now all the stadium seats have an object ID of 1, 2, 3, or 4. With this in place, each seat is ready to receive its own material variation and sub-object maps.
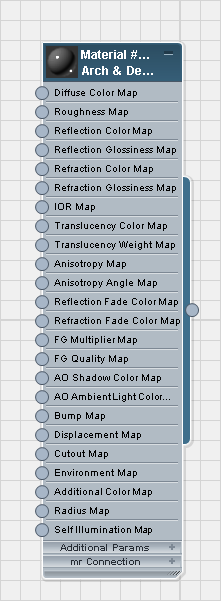
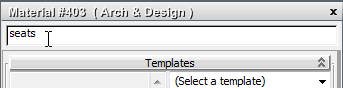
Create a material for the seats:
In the Browser, the Arch
& Design material is in the Materials mental ray group.
A node for the Arch & Design material appears in the active View.
select all the seats, then
on the Slate Material Editor toolbar, click  (Assign Material To Selection).
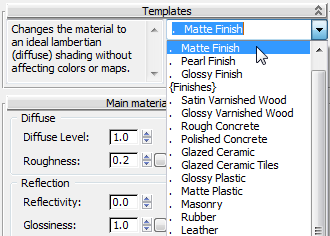
The matte-finish seats material is assigned to all the seats.
Now you will add multiple sub-object maps to the seat material’s diffuse color channel.
Define a multi/sub map for the seats:
You can find the Multi/Sub-Map
entry in the Maps mental
ray group.
A node for the Multi/Sub map appears in the active View.
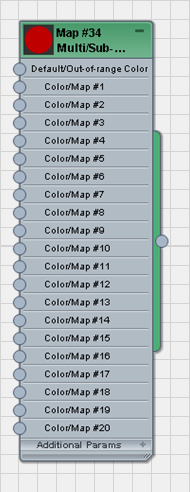

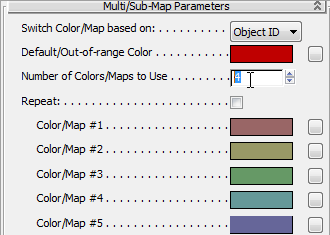
By default, Switch Color/Map Based On is set to Object ID, meaning that the sub-maps will be distributed among the objects by their ID number. You have already set up the object IDs.
The Default/Out-Of-Range Color is set to red. This means the material of any object in the scene with an ID other than 1 to 4 will display in red. Red is one of the seat colors we are using, so click this color swatch and use the Color Selector to change this color to a neutral gray.
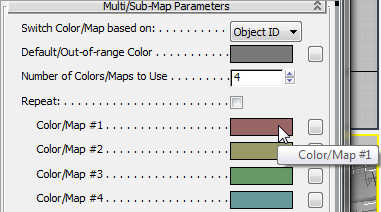
These colors will not show up in the viewports, but they will be visible when you render the image.
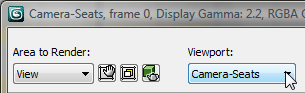
 (Render Production) to render
the scene. Keep the rendered frame window open.
(Render Production) to render
the scene. Keep the rendered frame window open.
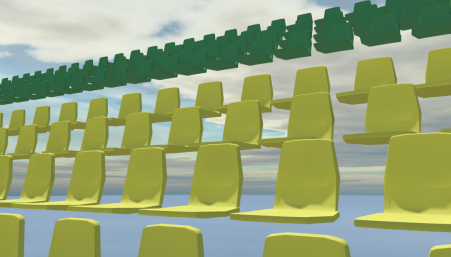
The rendered image shows seats with their sub-map material clearly visible. Seats with an object ID of 1 show the red sub-map applied, seats with an object ID of 2 show the blue sub-map applied, and so on.
Close the rendered frame
window.


