The seats you mapped in the previous lesson appear too uniform: They lack individual signs of wear and tear. Now you will introduce another level of randomness to the seat material by adding sub-maps that contain blemishes and other discolorations.
To accomplish this, you will composite two layers of sub-maps onto one another. One layer will contain the four diffuse colors you specified in the previous lesson, the other layer will contain sub-maps with a mixture of image maps of dirt patterns.
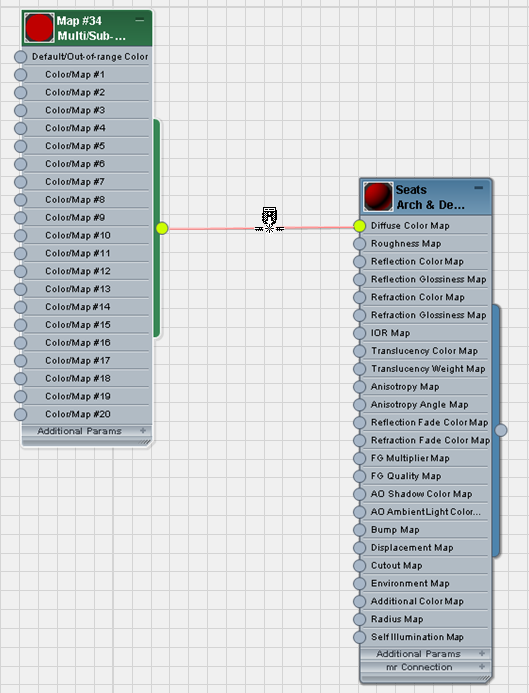
 (Zoom Extents) so you can
see both the material node and the Multi/Sub map node.
(Zoom Extents) so you can
see both the material node and the Multi/Sub map node.
 Standard Composite) from the
Browser. In the active View, drop the map on the wire that connects
the Multi/Sub map and the seats material.
Standard Composite) from the
Browser. In the active View, drop the map on the wire that connects
the Multi/Sub map and the seats material.
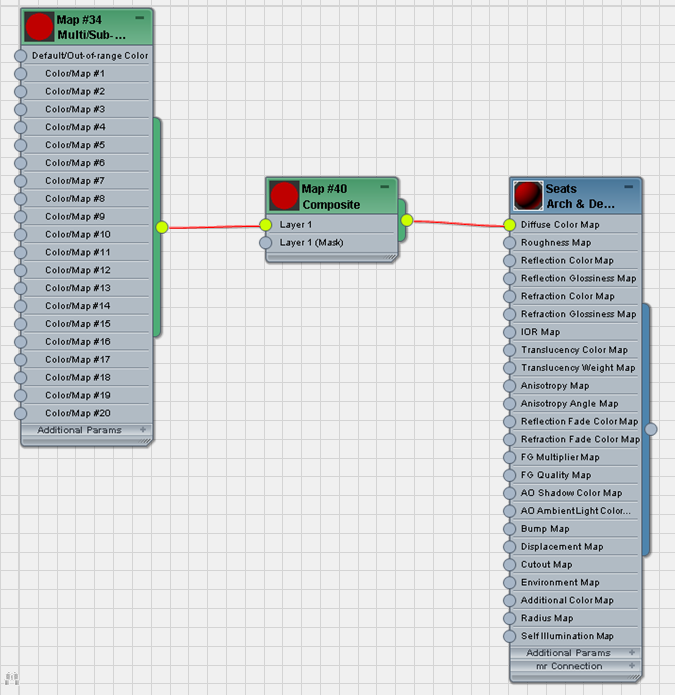
3ds Max displays a cursor that indicates you are inserting the map into the wire. Release the mouse when this cursor appears.
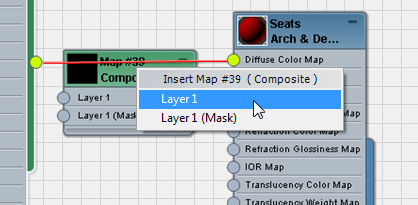
This incorporates the Multi/Sub map as the base layer of the composite.
Add a Multi/Sub map to Layer 2:
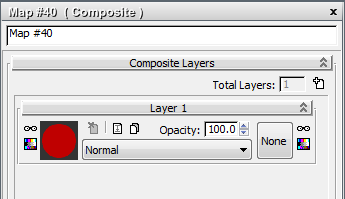
 (Add A New Layer).
mental ray Multi/Sub-Map) from
the Browser into the active View, then wire the new Multi/Sub map
to the Layer 2 component of the Composite map.
(Add A New Layer).
mental ray Multi/Sub-Map) from
the Browser into the active View, then wire the new Multi/Sub map
to the Layer 2 component of the Composite map.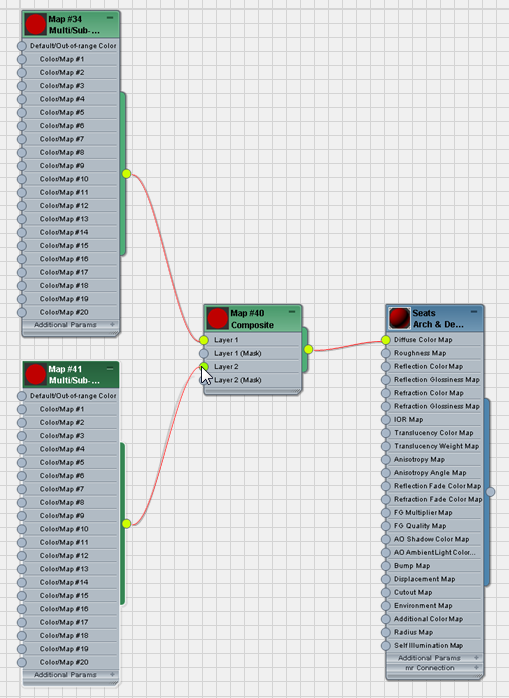
This time, rather than change colors, you will add six bitmap images to the sub-map.
Add the first dirt bitmap to the Multi/Sub map:
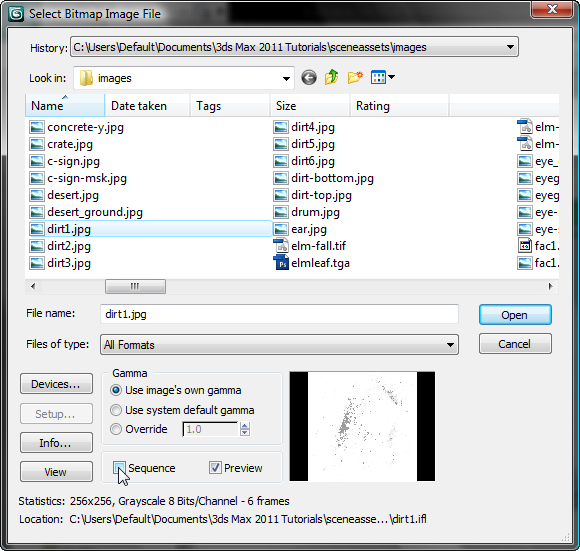
The thumbnail at the bottom right of the dialog gives you an idea of what the dirt1.jpg image looks like.
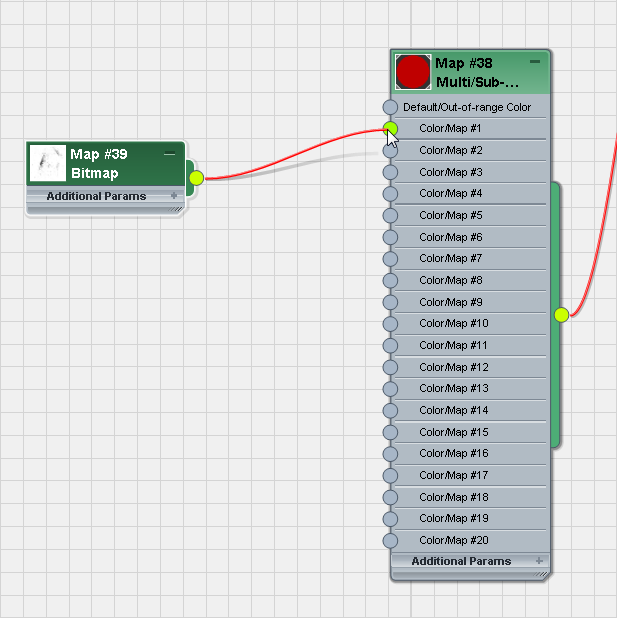
Add the other bitmaps to the Multi/Sub map:
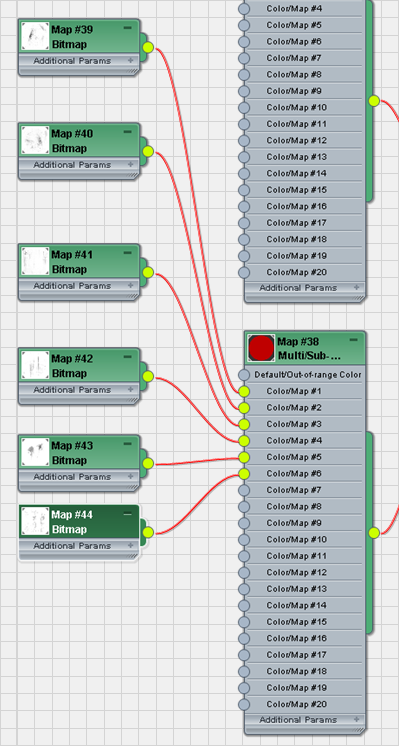
All six bitmaps wired to the second Multi/Sub map
Define how the two layers composite together:
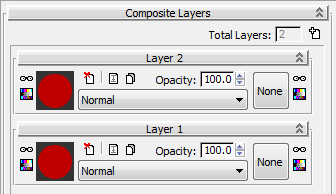
The Operations drop-down list for each layer is set to Normal, which means that the layer with the highest number obscures all layers beneath it. You need to add an operation that will blend the layers together.
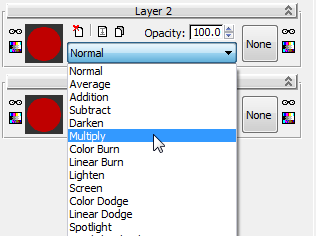
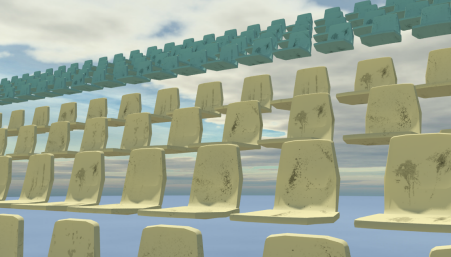
Now the Composite map combines the color and dirt map layers.
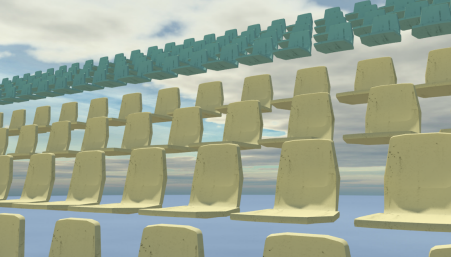
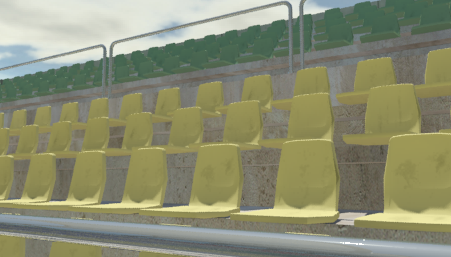
Notice how each group of seats shows the same dirt map. The dirt1.jpg map is applied to all objects in the scene with an ID of 1. The dirt2.jpg map is applied to all objects in the scene with an ID of 2, and so on. You now need to distribute a random mix of all six dirt maps for all seats groups in the stadium.
Define the sub-map distribution method and fine tune the composite image:
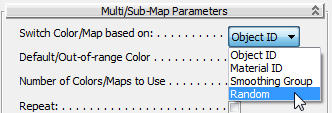
Now, all six dirt maps appear at random for all seats groups in the stadium. The dirt patterns, however, stand out too clearly.
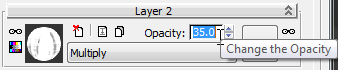
The dirt layer is reduced in visibility to 35 percent of its full opacity.
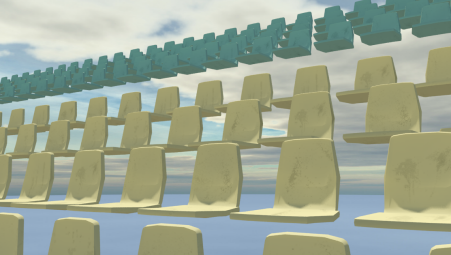
The dirt maps appear more faded, giving the seats a subtle variation that appear more realistic.
In this tutorial, you learned how to give similar objects individual character by adding sub-maps to their base material.


 open
open