To complete the wings, you adjust some details and improve the curvature of the trailing edges.
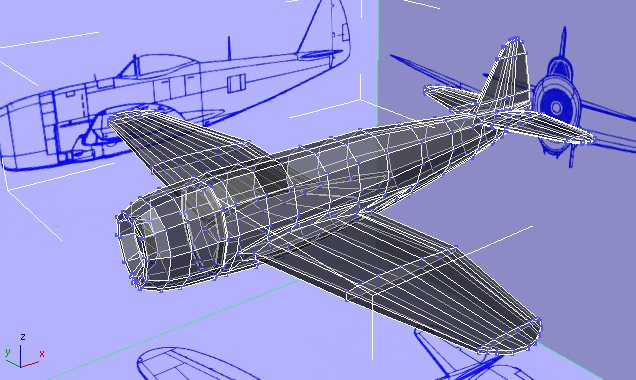
 orbit around the model to
make sure the wings are even.
orbit around the model to
make sure the wings are even.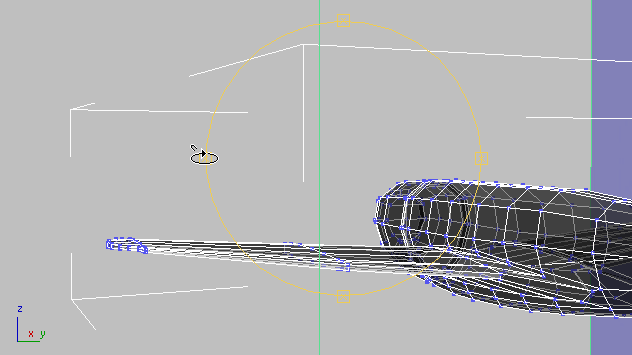
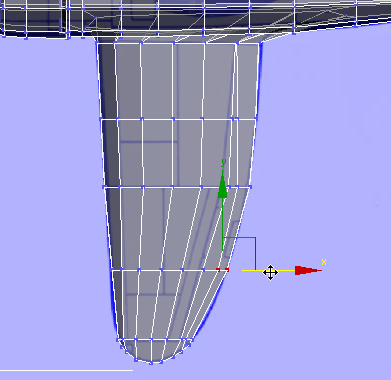
If any vertices seem
out of place, especially along the vertical axis, move them  to improve the wing’s appearance.
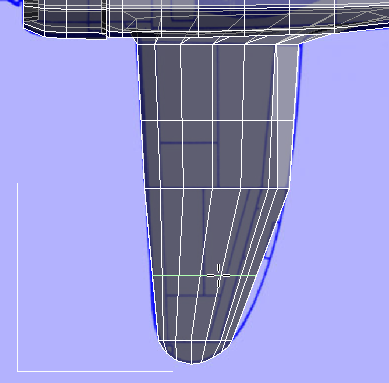
 (Select Object) to turn
off Orbit.
(Select Object) to turn
off Orbit.
 select the wingtip vertices,
and
select the wingtip vertices,
and  scale them down a bit vertically.
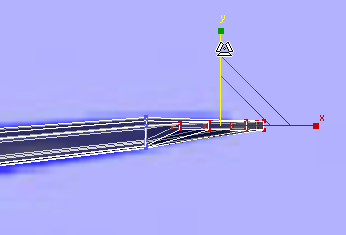
These adjustments are more intuitive than quantitative: Aim for a result that is visually pleasing to you.
 (Vertex) again to exit the
Vertex sub-object level.
(Vertex) again to exit the
Vertex sub-object level.
Refine the curvature of the wings:
 Zoom and
  pan the Top viewport so
you can see all of the left-hand wing.
pan the Top viewport so
you can see all of the left-hand wing.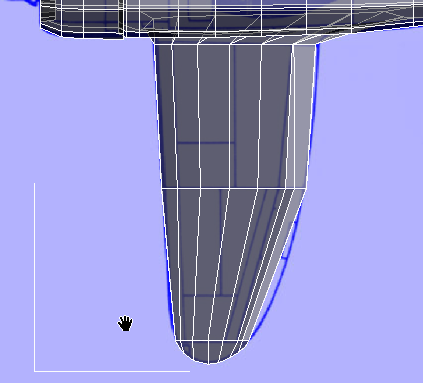
 Edit rollout, turn on
  (SwiftLoop). Then in the
Top viewport, use SwiftLoop to add two new edge loops that subdivide
the long faces on the wing.
(SwiftLoop). Then in the
Top viewport, use SwiftLoop to add two new edge loops that subdivide
the long faces on the wing.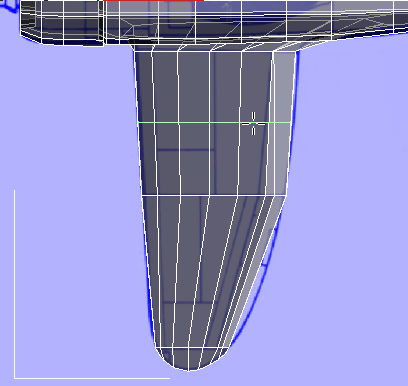
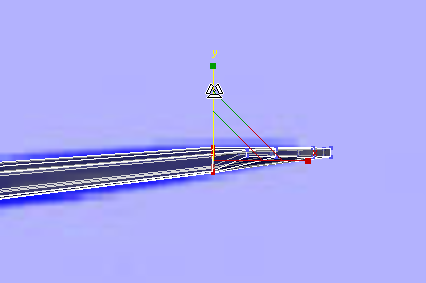
 (Vertex) sub-object level
again, region-select vertices at the trailing edge of the wing,
then move them to better match
the curvature of the wing, as shown in the blueprint image.
(Vertex) sub-object level
again, region-select vertices at the trailing edge of the wing,
then move them to better match
the curvature of the wing, as shown in the blueprint image.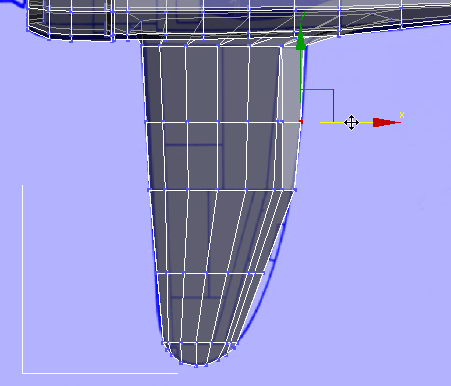
(Vertex) again to exit the
Vertex sub-object level.


