As you will see, adding an edge loop for the wing geometry created a problem with the air intake. In this lesson, you correct that problem and further refine the shape of the intake.
Use NURMS again to check your work:
 Edit rollout, turn on
  (NURMS). On the Use NURMS
panel, increase the number of iterations to 2.
(NURMS). On the Use NURMS
panel, increase the number of iterations to 2.
 Zoom and
  pan the Left viewport so
you have a good view of the air intake. Press F4 to turn off Edged Faces.
pan the Left viewport so
you have a good view of the air intake. Press F4 to turn off Edged Faces.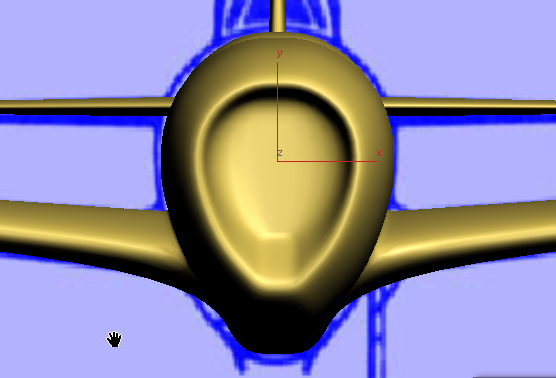
Two edges at the lower edge of the intake are sharper than they should be: These come from the additional contour you created with SwiftLoop when you were preparing to extrude the wings. You will correct these in the next procedure.
 (NURMS) again to turn it off.
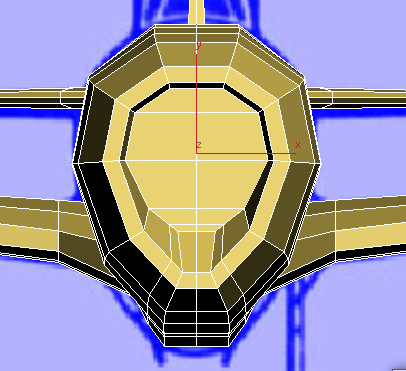
 (Edge) sub-object level.
On the very front of the engine cowl,
(Edge) sub-object level.
On the very front of the engine cowl,  select the new edge that
is to the lower right of the viewport.
select the new edge that
is to the lower right of the viewport.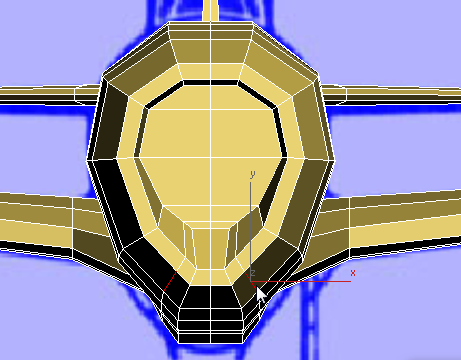
Edit rollout, activate  (Constrain To Edge), then
  move the edge upward to
about the center of the face it is on.
move the edge upward to
about the center of the face it is on.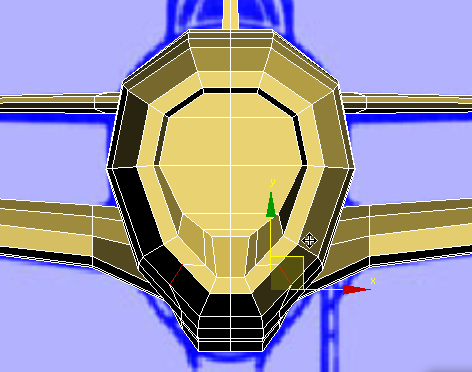
Edit rollout, activate  (Constrain To None), then move the edge again, outward
this time, so the intake portion of the engine cowl is a bit more rounded.
(Constrain To None), then move the edge again, outward
this time, so the intake portion of the engine cowl is a bit more rounded.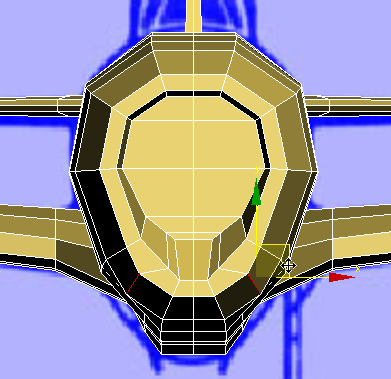
move it down along the Y
axis.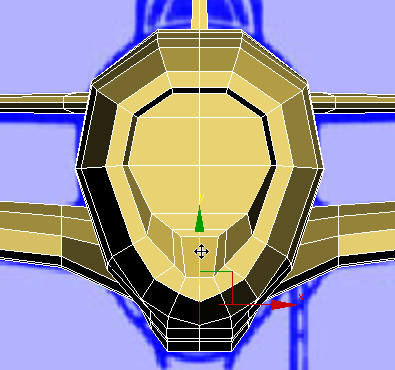
move it up slightly along
the Y axis.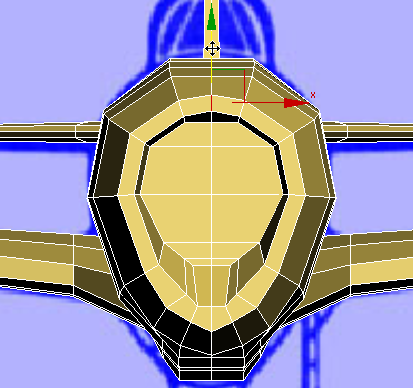
(NURMS) again, and press F4 to turn off Edged Faces.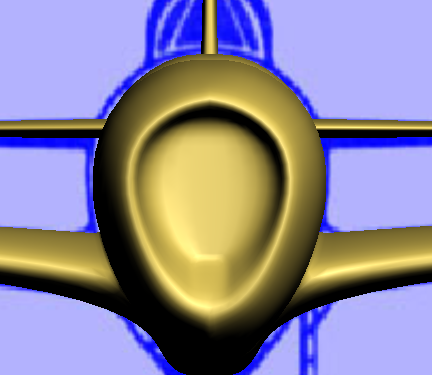
Now the intake portion of the cowl looks a good deal better.
(NURMS) again to turn off
smoothing.


