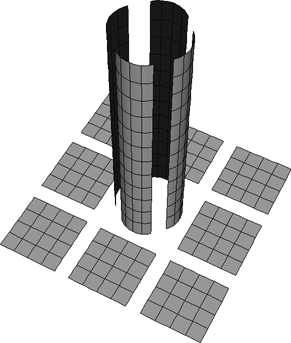
Create a collection of separate surfaces. These will become the surface mesh's subsurfaces.
For example, you can import the component surfaces from scanning software, you can shrinkwrap curves onto a high-resolution polygon mesh and use the curves to build the surfaces, or you can build surfaces from isolines or other curves on existing surfaces.
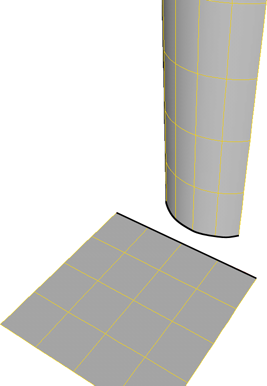
Optionally, apply the Snap Boundary operator to help align control points along the surfaces' boundaries.
|
|
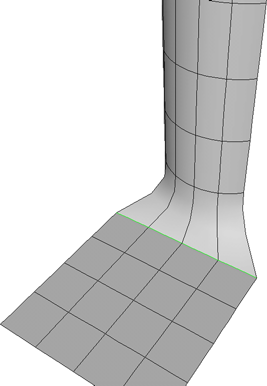
Assemble the surfaces into a single surface mesh. The continuity manager ensures that the continuity is preserved at the seams.
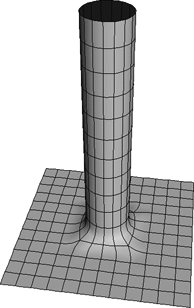
You can then deform and animate the surface mesh as desired. Each of these stages is explained in more detail in the sections that follow.
 Except where otherwise noted, this work is licensed under a Creative Commons Attribution-NonCommercial-ShareAlike 3.0 Unported License


