Warping distorts an image or sequence by stretching so that a source shape fits a destination shape. For example, you can enlarge eyes or lengthen a nose.
A still warp progressively distorts a staic image over one or more frames.
A moving warp distorts each frame of a sequence, for example, a woman walking whose legs get longer with each step.
Add a Warper node from the Transform group, and connect its input.
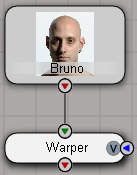
On the Warper tab of the Warper property editor, make sure that Source Shapes is active.
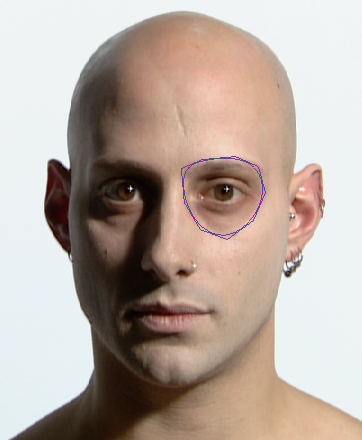
Use the Shape Tools to draw a shape that outlines the area you want to warp. A corresponding destination shape is created automatically.
The Shape Tools work the same way as when creating garbage mattes. See Creating Garbage Mattes.
If you are warping a moving sequence, set keys on the source shape at the first frame.
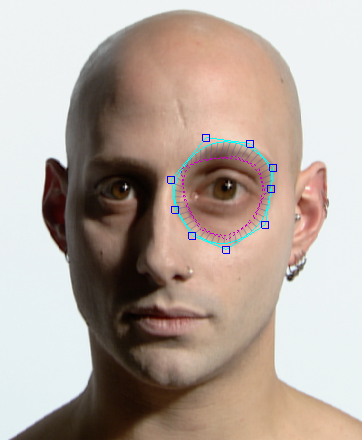
Select the destination shape and key its points on the first frame.
Use the Shape Tools to modify the destination shape.
Set keys on the destination shape's points at the last frame.
Repeat steps 2 to 9 to warp additional areas, if desired.
If you want to protect areas from warping, add a source shape but do not move the corresponding destination shape.
If you are warping a moving sequence or want to set intermediary keys on the destination shapes, move to another frame, adjust the source and destination shapes, key the shape points again, and repeat. Remember that you must set keys separately on source and destination shapes.
You can display the unwarped image by clicking the input node's view hotspot. This makes it easier to adjust the source shape for each frame. The shapes remain visible and selectable as long as the Warper tab of the Warper property editor is open.
Set any other options as desired. See Warper [Fx Operator Reference].
 Except where otherwise noted, this work is licensed under a Creative Commons Attribution-NonCommercial-ShareAlike 3.0 Unported License


