


The following process shows you how you can easily load and play sound files in the animation mixer. For more information in general about markers, see Marking Frames on Clips.
Load an audio source file on an audio track in the animation mixer to create an audio clip.

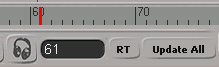
In the Playback panel at the bottom of the window, click the All button so that RT (real-time playback) is selected.
See Setting the Playback Rate.
Play the audio clip, including scrubbing in the timeline and looping.
See Playing Audio Files.
Synchronizing audio with animation usually requires marking particular frames. Markers let you delimit different portions of the audio clip and give their wave patterns a corresponding meaningful name to help you sync more easily with the animation.
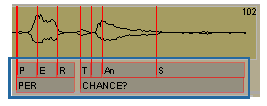
Markers appear as red lines and as gray boxes below the clip in the mixer.
Move the playback cursor to the portion of audio wave you want to mark. Create markers with the Create Marker tool by pressing the M key, then dragging over a range of frames on the clip — see Marking Frames on Clips.
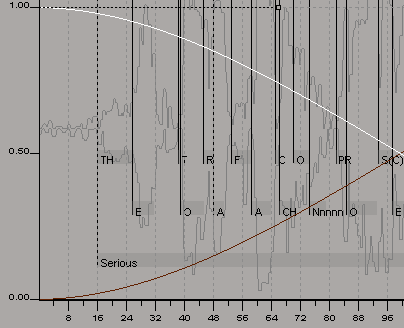
Adjust the animation of the character (such as shape animation) to match the marked audio waveforms.
If you like, you can view the audio waveform in the fcurve editor to help sync with the animation, as shown on the left. See Viewing Audio Waveforms.
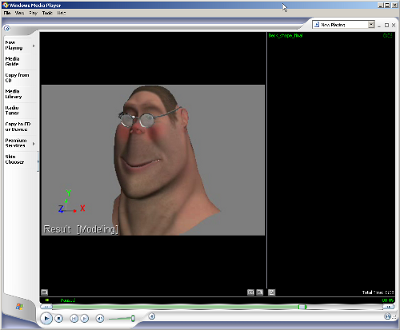
You can create a flipbook to show the animation with audio. See Previewing Animation in a Flipbook [Basics].
When you're satisfied with the results, do a final render and use an editing suite to add the sound to the animation.
 Except where otherwise noted, this work is licensed under a Creative Commons Attribution-NonCommercial-ShareAlike 3.0 Unported License