In the render tree, you can hook up shaders together and set their values to create an effect. Once you have things set up as you like, you can then create a compound that contains all of these shaders, just as you can with nodes in the ICE tree. This allows you to create an effect and save it in one container, then use it in different scenes or share it with other users. You can expose only the parameters of each shader that you want others to see and adjust.
In addition to putting several shaders together, you could also put a single shader into a compound and then expose only a handful of necessary parameters that often need to be set. This is useful if you have a very large shader, such as the Particle Volume Cloud shader.
The process of creating a shader compound is similar to creating node compounds in the ICE tree, but is a little different. To create your own shader compound, see Shader Compounds.

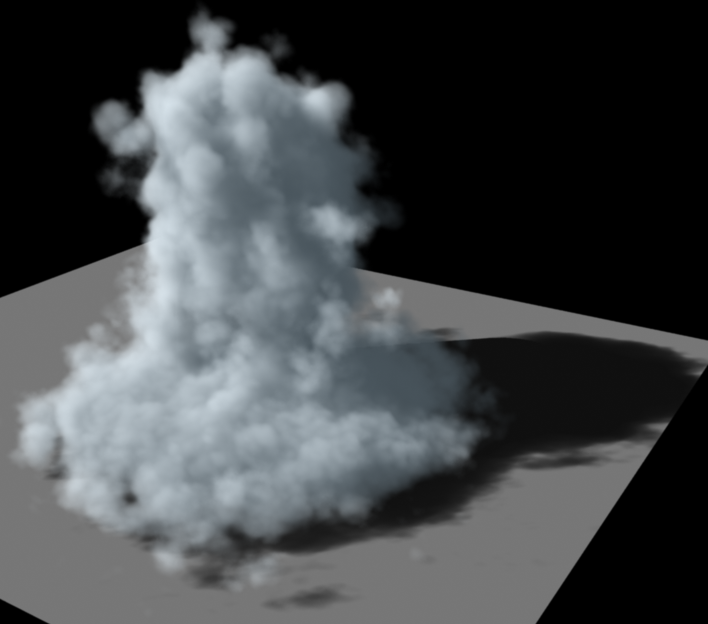
Dry ice created with the Particle Renderer and Particle Gradient Fcurve compounds plus a Fractal Scalar shader to add noise detail.
There are some shader compounds available in the render tree that you can use and examine. These include:
Particle Renderer compound creates up a basic volume shader setup using the Particle Volume Cloud shader and the Particle Density shader. See Particle Renderer Compound for information on usage and parameters.
Particle Shaper compound helps you shape the particles in the volume using fractals. It contains two Fractal Scalar shaders (each one creating a different level of detail), and a Cell Fractal shader. See Particle Shaper Compound for information on usage and parameters.
Particle Strand Gradient compound sets up a color/alpha gradient for rendering particle strands. It contains the 2D Gradient shader. You can also plug this compound into the Particle Renderer or Particle shaper compounds. See Particle Strand Gradient Compound for information on usage and parameters.
Particle Gradient Fcurve compound creates a curve that you can plug into a Gradient port of a shader to control the gradient's falloff over distance. It contains a Gradient Control shader and a Curve shader. See Particle Gradient Fcurve Compound for information on usage and parameters.
Choose Get  Material
  ICE Particle Volume from the Render toolbar.
This applies the Particle Renderer shader compound to the Volume port on the point cloud's Material node. As well, the Particle Shaper shader compound is plugged into the Shape Density port on the Particle Renderer shader compound.
Open a Render Tree view and click the Update icon to update the point cloud's tree with the new shader compound.
Open a Render Tree view and click the Update icon or press F6 to display the render tree for the selected point cloud.

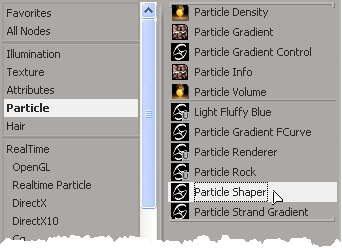
In the render tree, drag any of the shader compounds from the Particles group in the preset manager on the left, or choose
them from the Nodes  Particle menu from the render tree toolbar.

 Except where otherwise noted, this work is licensed under a Creative Commons Attribution-NonCommercial-ShareAlike 3.0 Unported License