In a crowd simulation, it's all about the actors, or at least that's what they'll tell you. Actors are copies of the original models that you have chosen to be the "characters" in the crowd simulation. You can use several different models as actors in a single crowd simulation for variation, but be aware that the more models you load as actors, the slower the crowd simulation.
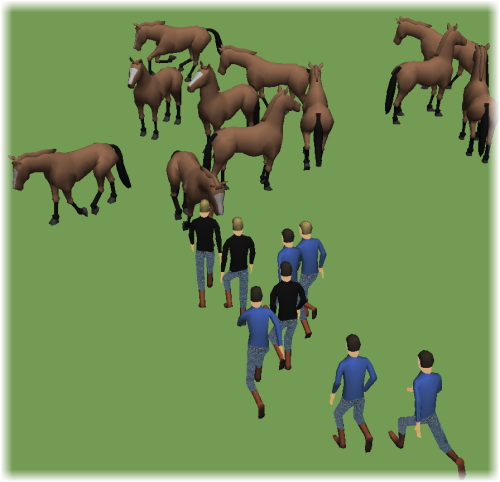
In the image below, the horses and the cowboys are both actors in the same crowd simulation.
To quickly add variety to the crowd, you can duplicate the same source model multiple times, then modify the envelope geometry or materials of each one, then import each one into CrowdFX. One advantage of doing this is that these actors will have identical deformer rigs. This allows them to all share the same action sources that you have loaded for just one of the actors.
To start a crowd simulation, you must first identify the models that you want to use for actors. This model can be in the scene or saved as a model (.emdl file) in a Softimage database. If you import a character from another 3D software, you can save it as a model (.emdl file). See Preparing a Model for CrowdFX for more information on these issues.
To load models as actors for the crowd simulation:
 Actors Get Actor commands from the ICE toolbar:
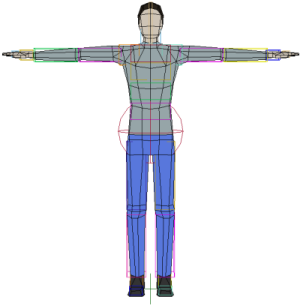
After the model is assigned for CrowdFX, a Crowd model is created. The model's mesh and rig is duplicated and becomes known as an actor proxy (or just actor). An actor proxy model node is added under the Actor_Proxies node in the Crowd model, and contains all the data needed for using this actor in the crowd simulation - see Anatomy of a Crowd Simulation for details.
When you assign a model to a crowd, an Actor ID value (CrowdFX_Actor_ID attribute) is given to the actor proxy model in the order that the model is loaded, starting at 0 and continuing consecutively. This attribute is assigned to instances in the simulation point cloud's Initialize Move Locomotion Data compound.
The Actor ID is actually the index of the actor whose action sources are used in the crowd simulation. If an actor is using the same action sources that were loaded with it, its Actor ID is the same as its actor mesh's ID. You can find out the ID of the original actor's mesh with the Get Actor ID compound.
To toggle the hidden state of the source model, click the Actor Source Model Show/Hide button in the CrowdFX Actor Proxy Property Editor.
You can also branch-select the source model in the explorer and press the H key.
After you import an actor, you may want to make some adjustments to the source model's envelope. If you want to have these changes propagated to the actor's envelope, you need to make sure that the mesh proxy object that's created for the actor uses the updates from the original source envelope, as described here.
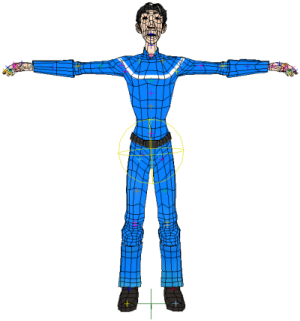
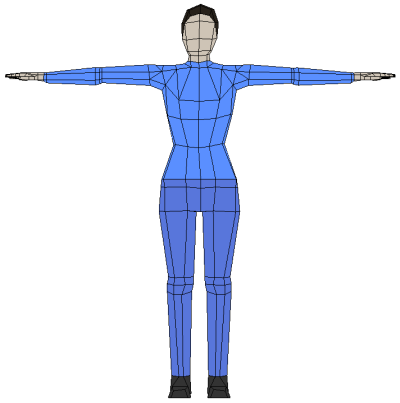
This image shows the original envelope's geometry of the source model.
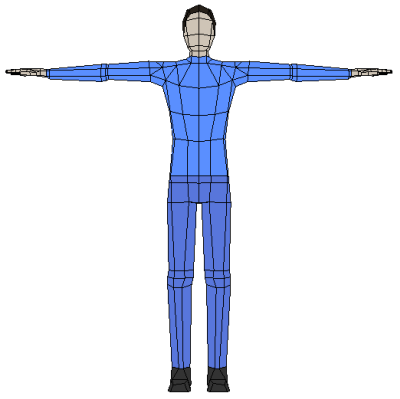
Make changes to the geometry of the original source's mesh envelope. In this case, "he" becomes a "she" just by moving a few points!
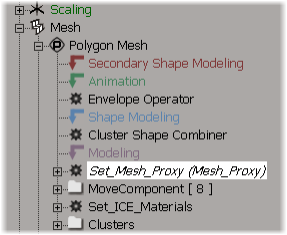
In an explorer, expand the original source model's Mesh > Polygon Mesh node to see the construction regions.
Move the Set Mesh Proxy operator so that it's at the top of the Modeling stack. This way it gets evaluated after any modeling operations you've done to the mesh.
All actors in the crowd simulation whose mesh proxy objects are created from this model are immediately updated with these envelope changes.
 Except where otherwise noted, this work is licensed under a Creative Commons Attribution-NonCommercial-ShareAlike 3.0 Unported License