Occasionally, you may need to create your own custom script to address your own particular needs.
The following steps will guide you into creating a custom import script and adding it to the Autodesk Showcase interface.
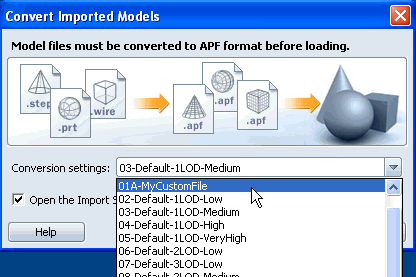
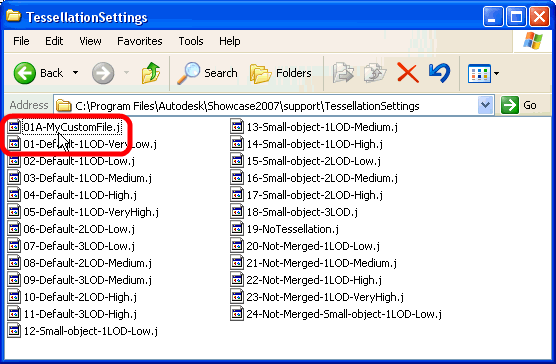
Create a text file containing an import script, either by copying and pasting the sample script, or by duplicating and renaming one of the default script files.
Save the file with a *.j extension in the following folder: C:\Program Files\Autodesk\Showcase2007\support\TessellationSettings
The name you give the file will be the name that appears in the Autodesk Showcase interface.
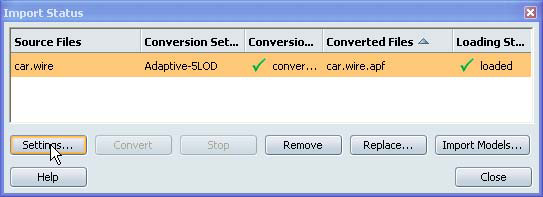
When you have customized the new script, you can update any existing models to use the new tessellation.
In the Import Status window, click Settings.
The name of the new script file is displayed in the Change Settings window:
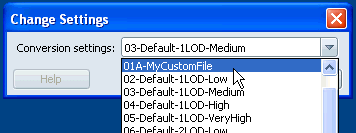
Select the new script from the list to update the imported file's settings.