


Once you have created your custom interface, you can display it from the scene interface. The steps are as follows:
Toggling the Display and Changing Position of a Custom UI
Toggling the display of your custom UI is done via Present > Browser Panel.
To modify the position of the customized scene interface select File > Scene Settings. Under Interface Style, select one of the Position options to place the interface to the left, right, top, or bottom of the main window.
Embedded Custom Interface Sample
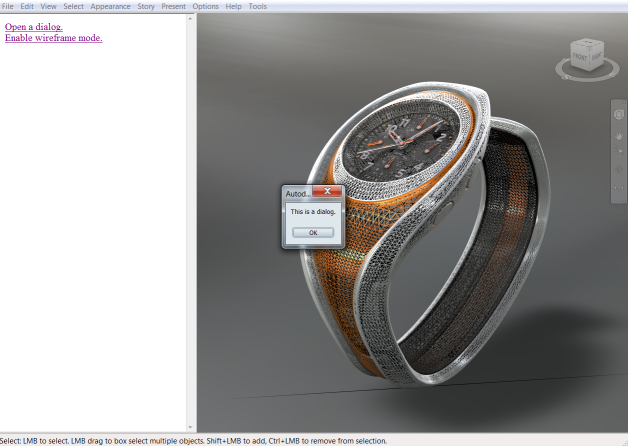
The image above illustrates how the following embedded HTML messaging system appears within Showcase.
<html>
<body>
<a href="autodesk:UI_CONFIRM_DIALOG:,This is a dialog.,,">Open a dialog.</a>
<br>
<a href="#" onClick="document.location = 'autodesk:SET_DRAW_MODE:WIREFRAME';">Enable wireframe mode.</a>
</body>
</html>