Set up a turntable

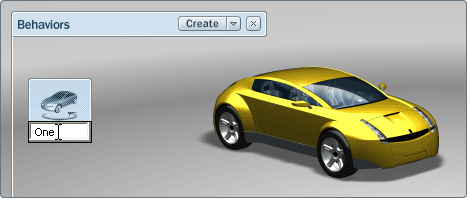
This will help you identify the turntable if you create several turntables.
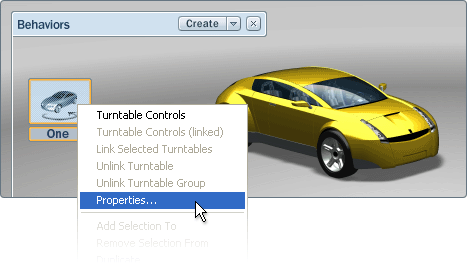
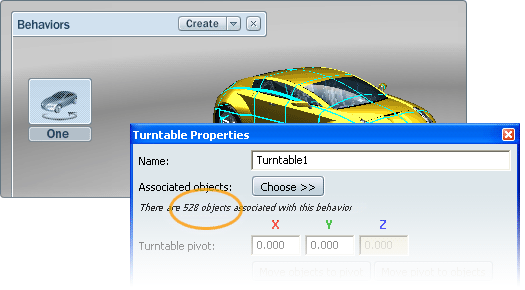
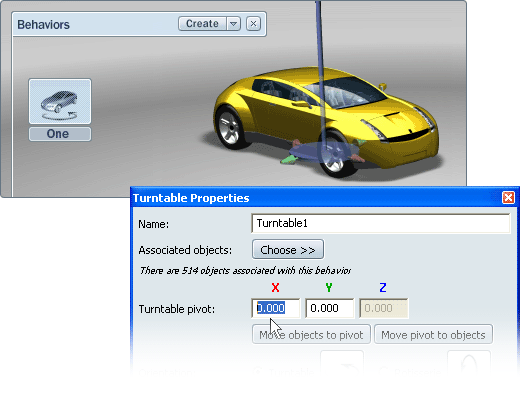
The Turntable Properties window appears.

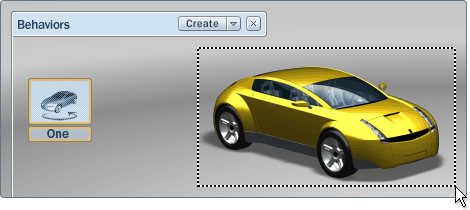
Drag a selection box around an entire object (for example, a car) to ensure all of its component objects are selected.
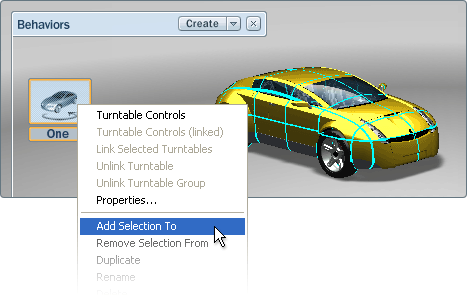
The number of selected objects is shown in the window.
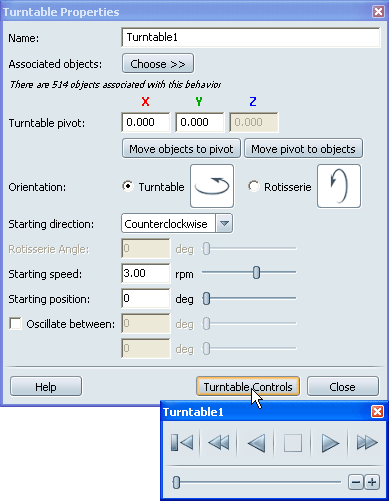
(You can also adjust the speed using the + and - buttons in the turntable controls.)
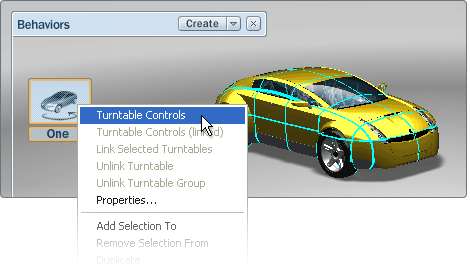
The Turntable Play Controls window appears.

The window provides the following controls:
This feature is available only in Autodesk Showcase Professional.
Turntables can be added to Storyboard slides and triggered with different playback options when the slide is played. For more information, see Add behaviors to a slide.
To learn more about Storyboards, see Set up a storyboard.
Adjust how objects rotate around the turntable pivot
After you set up the turntable animation and play it, you may want to change the pivot so that the assigned objects rotate more tightly or loosely. For example,
By default, the pivot is at the origin of the environment.
Change the pivot location

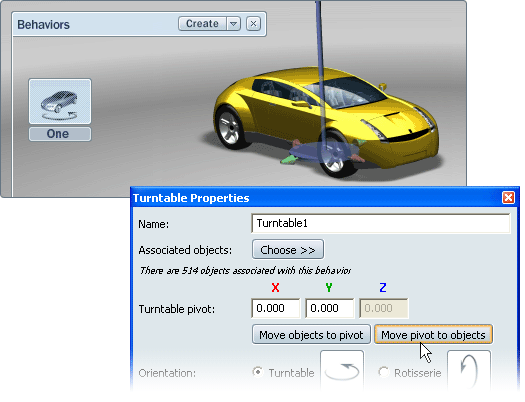
The pivot appears when the Turntable Properties window is open:

Or, click the Move pivot to objects button to move the pivot to the center of the objects.
Add more objects to the turntable

(Or, from the Turntable Properties window, click the Choose button and select the menu choice Add selection to.)The selected objects are included in the turntable animation.
Remove selected objects from the turntable animation
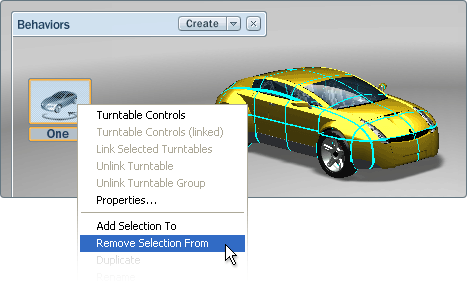
(Or, from the Turntable Properties window, click the Choose button and select the menu choice Remove selection from.The selected objects are removed from the objects associated with the turntable animation, and will no longer turn when the animation is played.
Remove all objects from the turntable

All objects associated with the turntable animation are selected.
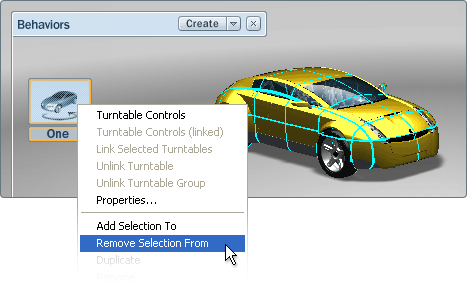
All of the objects are removed from the turntable animation.