The File menu options enable you to perform various operations such as:

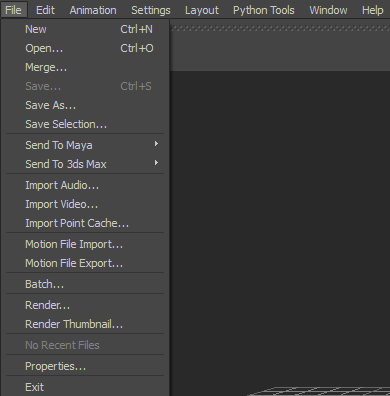
File menu options
 New
New
The File New menu option (Ctrl-N) enables you to save your current scene prior creating a scene.
Open
The File Open menu option (Ctrl-O) enables you to load .3ds, .dae, .dxf, .fbx, and .obj files.
Choosing the File Open menu option (Ctrl-O) displays the Open File dialog.

Open File dialog
The default file type is .fbx.
After you select a file and click Open, the Open Options dialog appears.
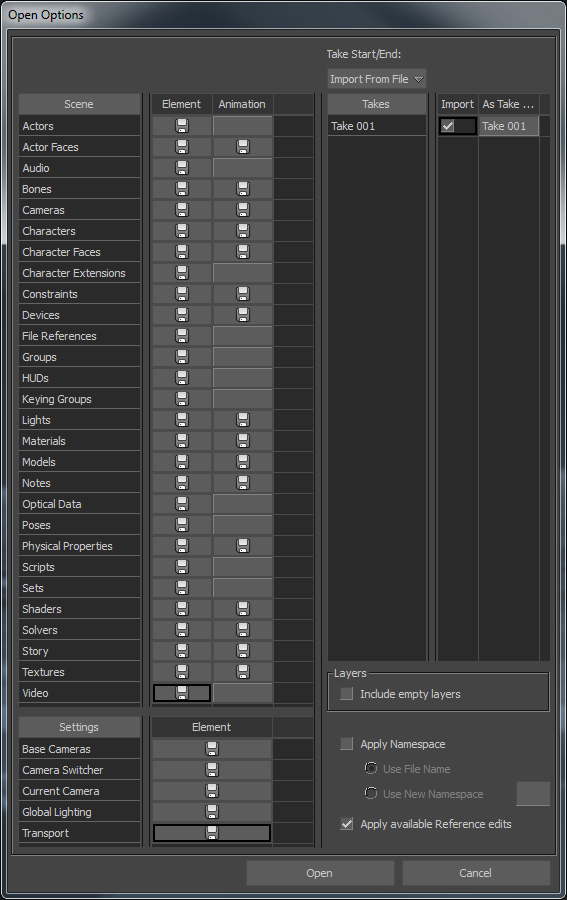
Open Options dialog
The Open Options dialog enables you to select assets, settings, takes, layers, and Reference edits —if applicable—to load, prepend (if you wish) a namespace to all objects included in the incoming file, and click Open. specify the scene elements, animation, settings, and takes to include in the incoming file, and to prepend a namespace to elements (selected to be included) in the incoming file.
See Open Options dialog.
Merge
The File Merge menu option enables you to select scene elements, animation, settings, and takes from a .3ds, .dae, .dxf, .fbx, or .obj file to merge with or append to the current scene, or to discard prior merging with the current scene.
Choosing the File Merge menu option displays the Open File dialog.
After you select a file and click Open, the Merge Options dialog appears.
The Merge Options dialog enables you to specify the scene elements, animation, settings, and takes to merge with / append to the current scene, and to discard prior merging with the current scene. The Merge Options dialog also enables you to prepend a namespace to elements (selected to be included) in the incoming .3ds, .dae, .dxf, .fbx, or .obj file.
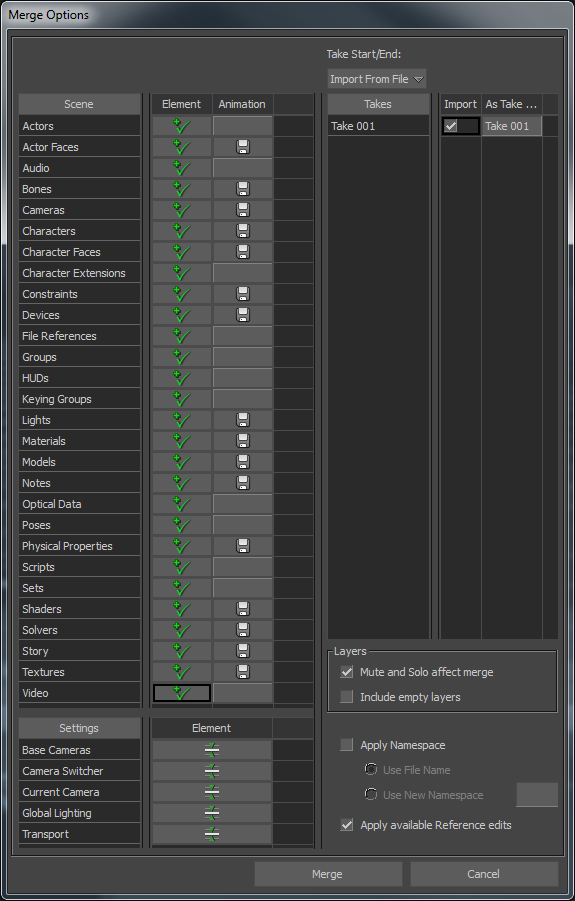
Merge Options dialog
See Merge Options dialog.
Save As
The File Save As menu option enables you to save a new scene and save under a new name a scene that has already been saved previously.
Choosing the File Save As menu option displays the File Save dialog.
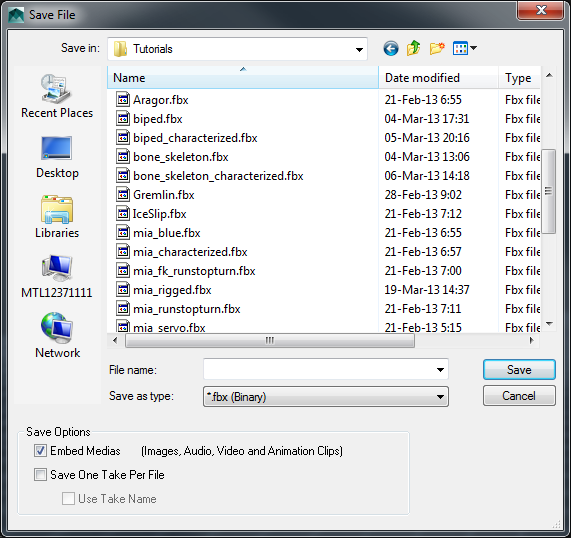
Save File dialog
After you enter the name of the .fbx file, specify the type of .fbx file, select the save options (such as embedding media and saving one take per file), and click Save, the Save Options dialog appears.
The Save Options dialog enables you to specify the scene elements, animation, settings, and takes to save with the scene.
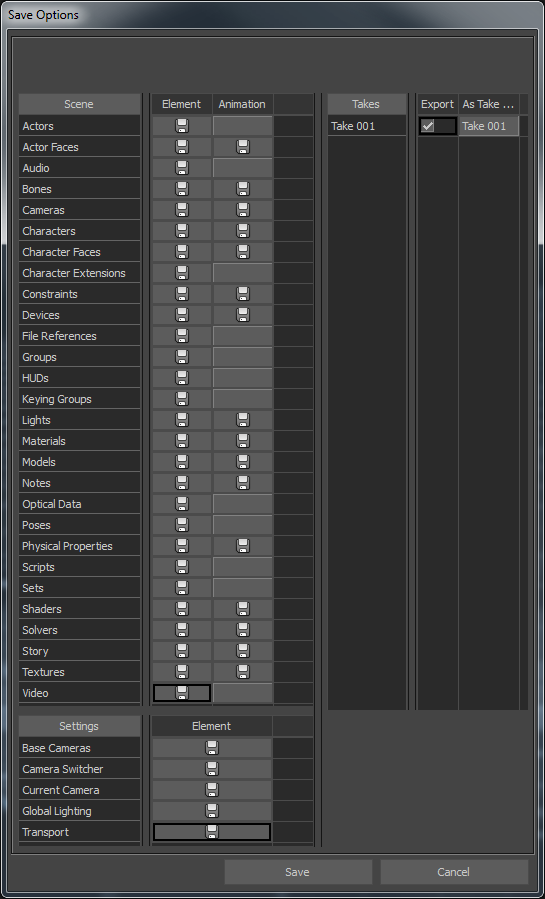
Save Options dialog
See Save Options dialog.
Save Selection
The File Save Selection menu option enables you to save as a new .fbx file the elements animation, settings, and takes you selected from the current scene.
Choosing the File Save Selection menu option (after selecting the elements to save) displays the File Save dialog.
Save File dialog
After you enter a name for this new .fbx file, specify the type of .fbx file, select the save options (such as embedding media and saving one take per file), and click Save, the Save Selection Options dialog appears.
The Save Selection Options dialog enables you to specify the selected scene elements, animation, settings, and takes to save as a new .fbx scene.
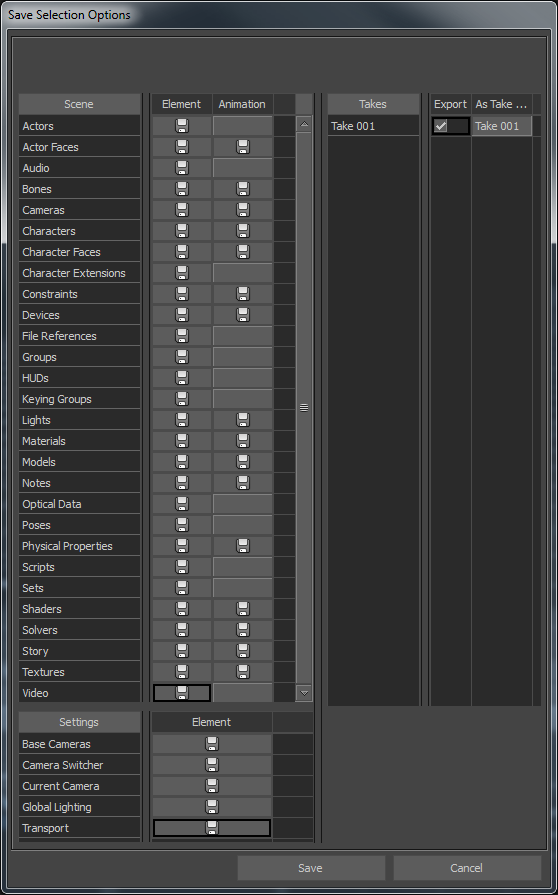
Save Selection Options dialog
To ensure the appropriate assets are selected, select in the Scene browser the entire branch of the asset you want to save.
For example, if you want to save a model and the constraint used by the model, you must select both the model and constraint
before choosing File Save Selection. Otherwise, only the model is saved.
Save Selection menu option, the constraint's connection to its source and constrained objects is lost when the file is re-loaded.
The workaround for this issue is to either:
Send To Maya
The File Send To Maya menu option displays options that enable you to send from MotionBuilder to Maya new scene data or updates to currently open
scenes.
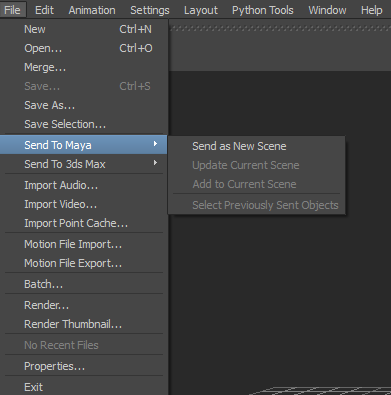
File Send To Maya options
See Send to Maya.
Send To 3ds Max
The File Send To 3ds Max menu option displays a list of options that enable you to send new scene data or updates to currently open scenes from MotionBuilder
to 3ds Max.

File Send To 3ds Max options
See Send to 3ds Max.
Import Audio
The File Import Audio menu option displays the Import Audio dialog which enables you to select any of the following file formats as audio assets:

Import Audio dialog
The directory displayed in the Import Audio dialog is the directory you last opened.
The following figure displays the supported audio files.

Supported audio file formats
See also Loading audio files.
Import Video
The File Import Video menu option displays the Import Video dialog which enables you to import files as video assets.
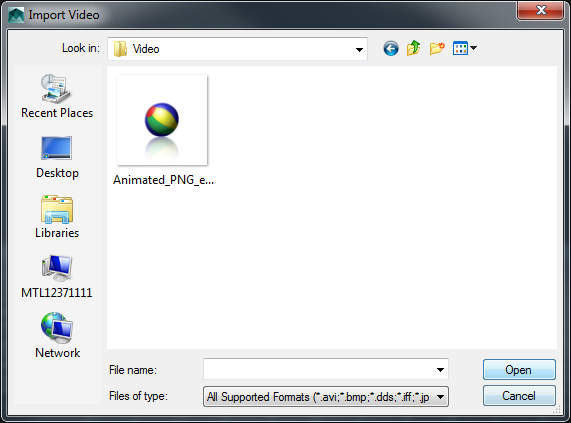
Import Video dialog
The directory displayed in the Import Video dialog is the directory you last opened.
The following screen shot displays the supported file formats as video assets.

To import a file as a video asset, see Loading files as video assets.
Import Point Cache
The File Import Point Cache menu option displays the Import Point Cache dialog, which enables you to import and edit models with Point caching.
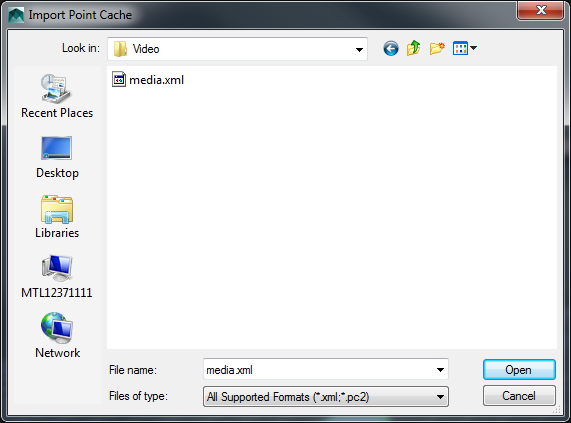
Import Point Cache dialog
The supported import point cache file formats are .xml and .pc2.
See Point Cache.
Motion File Import
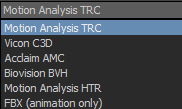
The File Motion File Import... option enables you to import motion capture data files.
The following screen shot displays the supported motion capture data file formats.

Supported motion capture file formats
Choosing the File Motion File Import... menu option displays the Import Files dialog.

Import Files dialog
After you select a file and click Open, the Import Options dialog appears.
The Import Options dialog differs depending on the file format you selected to import or merge.

Import Options dialog for .bvh file format

Import Options dialog for .c3d file format

Import Options dialog for .fbx file format
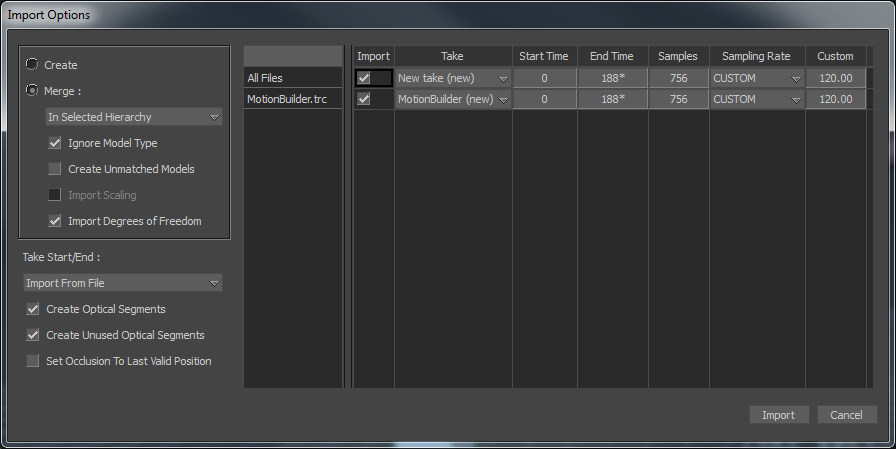
Import Options dialog for .trc file format
See Importing.
Motion File Export
The File Motion File Export menu option displays the Export Files dialog which enables you to export motion capture files to various
file formats.
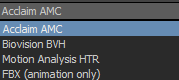
The following motion capture file formats are supported for export.

Supported motion capture file formats for export

Export Files dialog
See Exporting.
Batch
The File Batch menu option enables you to convert multiple data files between different formats. You can batch load a series of data
files onto your current character, or save all your takes to a single data format.
The following input file formats are supported for batch processing.
Batch input file format
The following output file formats are supported for batch processing.
Batch output file format

Batch dialog
When loading Acclaim files, you can retain dummy nodes. You can also write translation of all nodes when saving both Acclaim and Biovision files.
You can also use the Batch window to save all takes mapped to a selected Actor, Character asset, or Control rig as separate motion files, and convert files from one format to another. Unused fields are disabled, depending on the current mode, which can be either set to Load, Save, or Convert. See Batch processing.
Render
The File Render menu option enables you to set various options for rendering your takes.
The following rendering output file formats are supported.
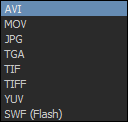
Supported rendered output formats
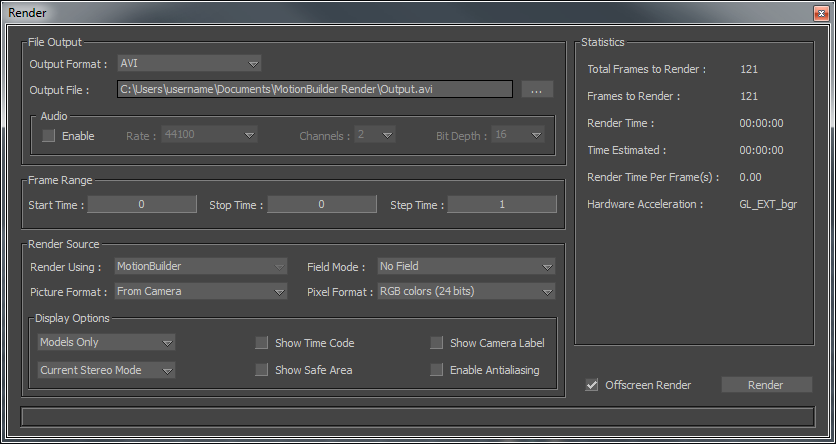
Render dialog

Render window
Depending on the file type that you select, additional options and windows may display. For information on all options and instructions on how to use the Flash renderer, see Rendering.
Render Thumbnail
The File Render Thumbnail menu option opens the Thumbnail Preview window, which lets you create thumbnail images for .fbx files. Thumbnail images appear as custom icons in the Asset browser.
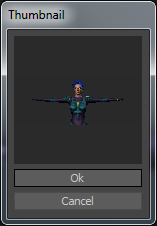
Thumbnail Preview window
You can also create custom thumbnails using a specially named .tif image. See Assets.
Recent Files
The File Recent Files menu option displays the locations and names of the 10 files that were used by MotionBuilder. Files are only added to the list if they were either opened or saved with the Open, Save, or Save As items in the File menu.
Files dragged from the Asset browser are not added to the list.
Properties
The File Properties menu option displays the Properties dialog that enables you to enter a title, subject, author, keywords, revision
number, and comment for the loaded file, and to save this information with the file.

You can view and edit the information you entered in the Properties dialog the next time you load the file.
Exit
The File Exit menu option enables you to end the current session or display the Save Changes dialog asking you whether you want to
either save or not save your changes or whether you want to cancel exiting the session.
 Except where otherwise noted, this work is licensed under a Creative Commons Attribution-NonCommercial-ShareAlike 3.0 Unported License


