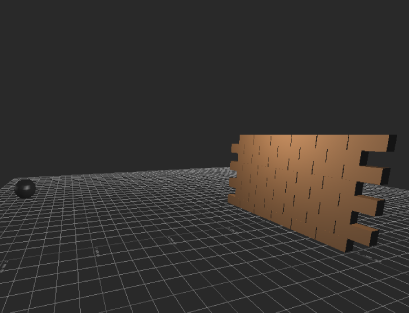
Sometimes you might want to animate collisions between more than one object. In this example, a cannonball is animated destroying
a brick wall.
- Open a file with elements you want to animate.
- Create the animation you want to create the collision effect. In this example, the cannonball is keyframed to pass through
the wall.
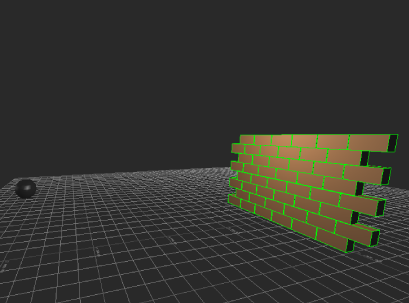
- Select all the objects you want to affect with the collision.
- In the Asset browser, expand Physical Properties and drag a Rigid Body Physical property onto the wall.
- Drop another Rigid Body Physical property onto the cannonball.
- In the Rigid Body Physical property setup pane for both the Rigid Body assets, set Activation to Active at Collision.
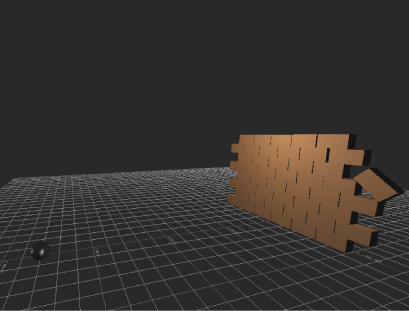
This ensures that the behavior of both objects changes only at the moment a collision occurs. Otherwise, the cannonball would
fall to the ground and the wall would collapse under its own weight.
- Drag the Physics solver asset from the Navigator window Solvers folder anywhere into the Viewer window.
- In the Navigator window Solvers > Physical Properties settings, click Online and Live to activate the solving.
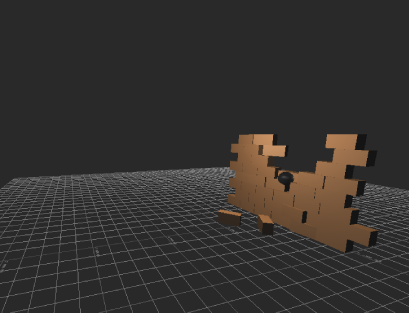
- Press Play in the Transport controls to view your results. Adjust both objects Rigid Body settings.
See Rigid Body settings.
Note Change the Rigid Body settings when the Physical Properties solver is not online. Also, you cannot add Physical properties
(for example Rigid Body, Ragdoll or Joint) to objects while the Physics solver is online.
- When you are satisfied with your result, press Record, followed by Play in the Transport controls. A dialog box appears asking
if you want to overwrite the take or create a take. Select an option.
- Press Record in the Transport controls.
- Press Play in the Transport controls and Stop when the animation is over.
- In the Physics Properties Setup pane, deactivate Online.
- To view the recorded keyframes, select one of the animated objects. Keyframes appear in the Transport controls, and the FCurves
window. Your object receives key-frame data corresponding to the Physical solve.
You can also press Ctrl-Home and then Play to replay your animation.
 Except where otherwise noted, this work is licensed under a Creative Commons Attribution-NonCommercial-ShareAlike 3.0 Unported License