In the following procedure, you match and blend the two clips to remove the jump in the animation.
To match and blend the two clips:
See .Create poses.

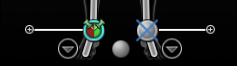
Right Ankle Effector shown selected
 .
.

The Match Options dialog displays.

 Add Asset Settings.
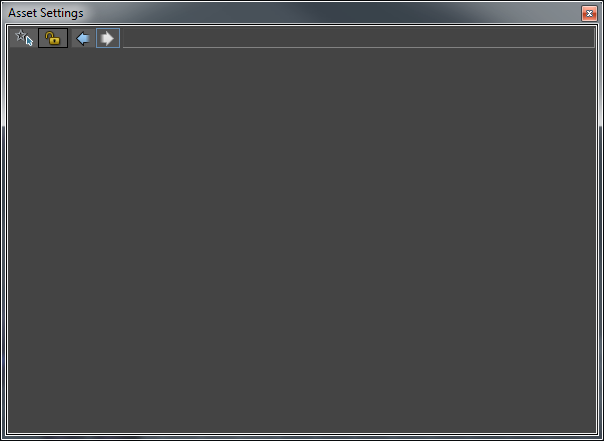
An empty Asset Settings dialog displays.
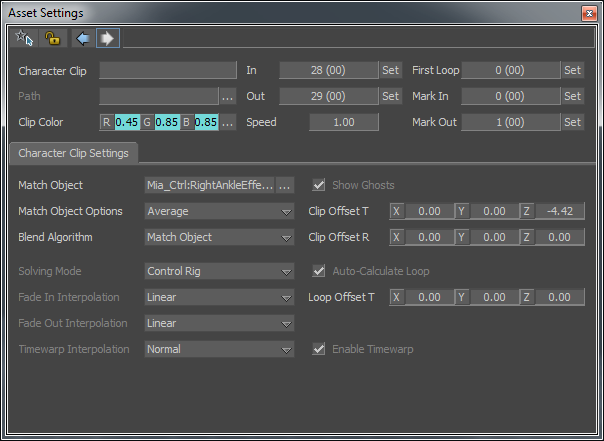
The Asset Settings dialog displays the Character Clip settings and options.

The second clip now starts at frame 23, and cross-blends with the first clip to end at frame 29. This blend creates a slightly smoother transition between the clips.


 Except where otherwise noted, this work is licensed under a Creative Commons Attribution-NonCommercial-ShareAlike 3.0 Unported License


 ) and click Play (
  ).
).
 ) to scrub through the animation.