For more information on the Plug-in Manager, see Plug-in Manager.
To create an HLSL Shader material
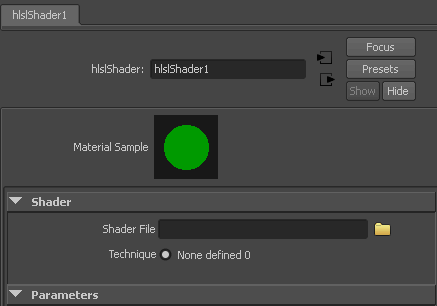
The new shading material appears in the Hypershade, and the HLSLShader material node appears in the Attribute Editor.

Once the .fx file is configured on the hlslShader node, the plug-in automatically loads attributes (if any exist) into the Attribute Editor.
Because texture lookup is performed by the hardware shading code itself, Maya cannot provide automatic support for its native texture placement nodes.
If you wish to use Maya’s texture placement nodes with your hardware shaders, you have to implement the texture placement calculations within your shader code and then expose the placement parameters as uniforms on the shader. The attributes representing these texture placement uniform parameters can then be connected to the corresponding attributes on Maya’s texture placement node, allowing artists to use the node as they would for a native Maya shader.
 Except where otherwise noted, this work is licensed under a Creative Commons Attribution-NonCommercial-ShareAlike 3.0 Unported License