To use interactive skin binding
 .
.
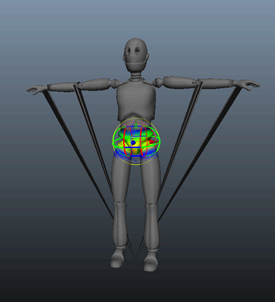
In this example, the Minimum Weight value is set to 0, which sets the manipulators to be the approximate length of the bone objects, and gives them a default volume based on the surrounding mesh.
The mesh is smooth bound to the skeleton, and a volume manipulator displays on one of the selected joints.
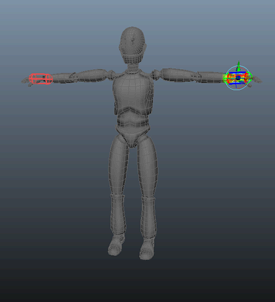
If you see jagged deformations when you initially bind, this indicates an area where vertices are not yet included in the area of influence of any volume manipulator.
In the example image above, some vertices around the fingertips and elbows are not yet included. The vertices collapse because they have zero weight values.
As you increase the size or change the shape of the volume manipulators to include those vertices, the jagged artifacts disappear.
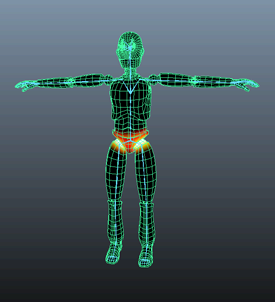
Your goal at this stage is to get a rough feel for where the influence grabs the skin.


 to open the