Before you auto-capture
an EDL, make sure all the preferences are set correctly. Once you
set the auto-capture options, you can capture the EDL.
To auto-capture an EDL:
- From the clip library, click Import EDL.
- From the Import EDL menu, click Load.
The EDL Load menu appears.
- Select the EDLs that you want to load.
- Optional: Enable Same Library Reel, if
you want to load a series of EDLs and capture these open EDLs to
the same reel in the clip library (using Multiple EDLs).
- Click Load.
The selected EDLs are
loaded into the Import EDL module.
- Enter a name for the clip in the Name
field.
- Enter a library name in the Library Reel
field.
- In the EDL list, select the events that
you want to capture. Do any of the following:
- To select a single event, click the event
number entry. Click the event number entry of another event to unselect
the first entry.
- To select a range of events, hold Shift, select an event, and click
the last event in the range that you want to select. You can also
click and drag to select a range of events.
- To add to a range of events, hold the Ctrl key or the pen button when
you select an event.
- To select all events, use the Select
All or Unselect All buttons.
NoteWhen no event is
selected, all events in the EDL are captured.
- Optional: Use the Mark and Unmark buttons
to keep track of events that you want to capture. See
Capture Group.
- Click Capture.
The Auto-Capture menu
appears.
- Ensure that the correct VTR is selected
in the Device Name box.
NoteMake sure the VTR
is in Remote mode; otherwise, the clips will not be transferred.
You can switch the VTR from Local to Remote mode only on the VTR
panel. If the Local box in the menu is enabled, the VTR is in Local
mode. See
Controlling a VTR.
The frame at the current
position of the selected device is displayed in the image window.
You can use the controls below the image window to play all the
clips on the selected device. See
Viewing Captured and Assembled Material.
- Specify any VTR options in the Engineering
menu. See
Setting Video Input and Output Engineering Menu Controls.
- Optional: Set the value in the Capture
Handles field.
If Force Handles is enabled,
clips will be recaptured if they do not contain at least as many
handles as specified in the Capture Handles field. See
Capture Group.
- To capture all open EDLs that share the
same library reel, enable Multiple EDLs.
NoteIf you already have
one EDL loaded, and then load another EDL with the Same Library
Reel option enabled, both EDLs will be captured on the same reel
in the clip library as long as Multiple EDLs is enabled in the Capture
menu.
- Set any options for audio sources. See
Defining Audio Tracks to be Captured.
- Click Auto-Capture.
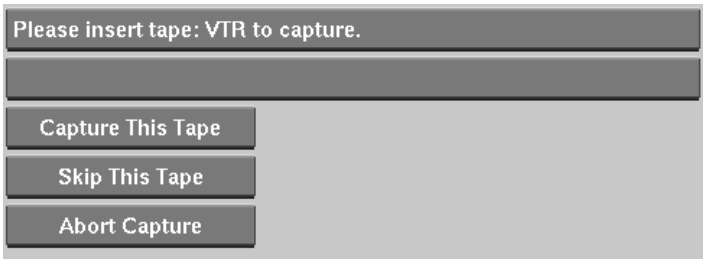
If a tape is not already
loaded, you are prompted to insert one into the VTR. The options
for capture appear.
- Click Capture This Tape to begin the
auto-capture.
To minimize VTR transport,
the clips are sorted according to their positions on the tape. Clips
are always captured in C Mode, regardless of the display sort mode
you selected.
- When required, select a different tape
to capture from in the Capture Order list.
You will need to repeat
this for every tape that you are using during the auto-capture.
- When the auto-capture is complete, click
Exit Auto-Capture.
Each clip is named according
to the event number or clip name comment, and is assigned in and
out points set to the location used by the EDL at the time of capture.
Tracks that are not used by the event are not assigned an output
channel (denoted by “--”).
- Click Exit Import EDL.
The clips appear in the
clip library on a reel specified in the Library Reel field.