Chapter 3, Project Management
| Working With Scenes | Working With Grades | ||
Chapter 3, Project Management |
|||

|
Warning: Do not save a cut until you have created at least one scene. |
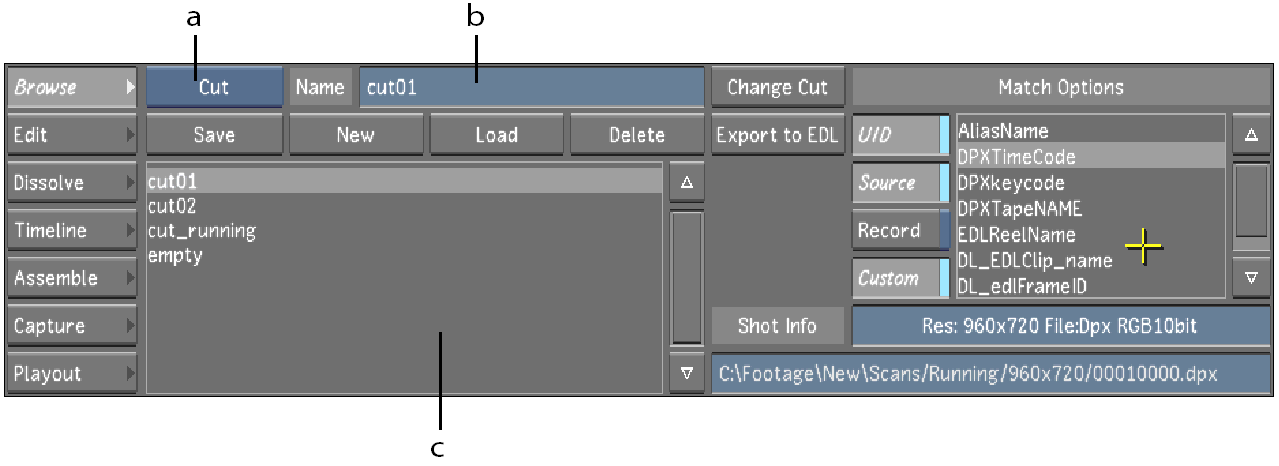
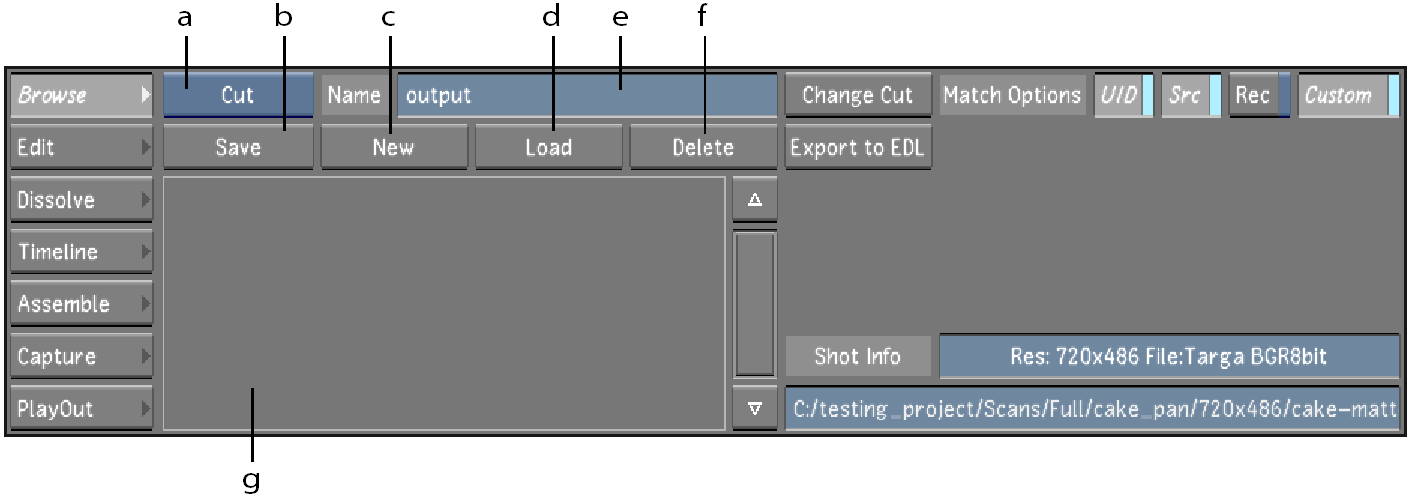
The Browse menu gives you access to all the tools you need to create and manage cuts and change lists. A cut contains edited shots in a timeline, as well as any modifications to the shots such as grading, dust removal, or effects.
A change list applies to a specific cut and contains information about how the contents of a cut has changed. When you apply a change list to its parent cut, the cut is modified to match the change list. Change lists are described in Using Change Lists.
Note: Spaces are not permitted in naming conventions. It is recommended that underscores be used instead of spaces when working on either Linux or Windows.
 "Show full-size image")
|
|
|

Before you begin a new project, you should create a cut. When you create a cut, the current cut is duplicated and given the name of the new cut.
Hint: An empty cut is automatically created when you create a new scene. You can use this cut as a starting point anytime you need to create a new cut.
Click Editing, and then click Browse to display the Browse menu.
Select the "empty" cut in the Cut Name list, and then click Load.
A cut with no shots is loaded into the timeline.
Enter the name for the new cut in the Cut Name field.
Click New.
A new cut is created from the current timeline. The name given to the cut appears in the Cut Name list.
Use the tools in the Browse menu to manage your cuts. You can load, save, change, and delete cuts from this menu.
You can load an existing cut to resume work on a previously saved timeline.
Click Editing, and then click Browse to display the Browse menu.
Display the Cut Name list by selecting Cut from the Cut/Change List option box.
Select the cut in the Cut Name list, and then click Load.
The selected cut is loaded into the timeline.
The most recent changes to a cut are not saved automatically. You explicitly save your cut in the Browse menu, although you can set up a regular autosave interval. See System & Menu Settings.
Click Editing, and then click Browse to display the Browse menu.
Click Save.
The cut is saved.
Click Editing, and then click Browse to display the Browse menu.
Display the Cut Name list by selecting Cut from the Cut/Change List option box.
Enter the new name for the cut in the Cut Name field.
Click New.
A new cut is created. The name of the new cut is added to the Cut Name list.
You can load a new cut without changing the grade settings. This is called changing a cut and it allows you to apply the grade settings from the current cut to the cut you are loading.
For example, assume you create a grade with a cut file. You then receive a new EDL and create a new cut from it. This new cut is similar to the first one because it uses many of the same shots, so you would like to use the grade settings that are already done to prevent manually reloading individual grade settings. You load the grade with the original cut, and then change to the new EDL cut. The grade settings that were in the original cut are transferred to the shots.
The Lustre match function is based on Heuristic Evaluation. This means that even when there is not an exact match, the grade may still be applied if the match is close enough based on Lustre's internal set of rules. For example, if the source timecode has changed on a clip from one cut to the other but the shot IDs still match, the change cut function still works.
Note: An alternative to the procedure below is the Match Grade feature. It allows you to apply current grade settings to a new assembled timeline without having to first create a cut file and then apply the Change Cut option. See Match Grade.
Make sure a graded cut is already loaded into the timeline.
Click Editing, and then click Browse to display the Browse menu.
Display the Cut Name list by selecting Cut from the Cut/Change List option box.
Select the cut you want to change to in the Cut Name list.
Click Change Cut.
The new cut is loaded with the grade settings from the old cut.
When working with a multi-layer Timeline, and Solo mode is disabled, the layers are flattened and only the grade settings from the shots that are visible in the Storyboard are applied to the new cut. When working with a multi-layer Timeline and Solo mode is enabled, only the grade settings from the active layer are applied to the new cut. If the new cut has multiple layers, then the grade setting is applied to each layer.
Click Setup, and then click Grade to display the Grade menu.
Click New Version to save the grade with the newly associated cut.
You can delete a cut when you no longer need it.
Click Editing, and then click Browse to display the Browse menu.
Display the Cut Name list by selecting Cut from the Cut/Change List option box.
In the Cut Name list, select the cut you want to delete.
Click Delete.
The cut is deleted.
A change list tracks changes to the shots and layers that make up a cut. You use a change list when you want to save changes to a cut without overwriting the cut file. Using this process you can review changes in a cut prior to saving the cut file itself.
The change list tracks the following types of changes:
Addition of shots to the cut
Removal of shots from the cut
Addition of layers to the cut
Removal of layers to the cut
Rearrangement of shots
Replacement of shots
A change list always maintains a relationship with the cut from which it is created (the parent cut). You can apply a change list only to its parent cut.
After making modifications to the shots in a cut, you can create a change list to save the changes.
After modifying the shots in your cut, click Editing, and then click Browse to display the Browse menu.
Select Change List from the Cut/Change List option box.
The Change List controls appear.
 "Show full-size image")
|
|
|
|
|
|
|
|
Type a name for the change list in the Change List Name field.
Click New.
A change list is created. You can see the name of the parent cut in parentheses next to the change list name.
You apply the changes stored in a change list to the cut from which the change list was created. This cut is the parent cut.
After you have loaded a change list to its cut, you can continue making changes and save them as a second change list. This second change list contains the changes in the first change list, so should you need to reload all the changes to the parent cut, you do not need to reload the first change list.
Load the parent cut to which you want to apply the changes.
Select Change List from the Cut/Change List option box.
Select the change list in the Change List Name list.
Click Load.
The changes stored in the change list are applied to the parent cut.
You can delete a change list when you no longer need it.
Click Editing, and then click Browse to display the Browse menu.
Display the Change List Name list by selecting Change List from the Cut/Change List option box.
In the Change List Name list, select the change list you want to delete.
Click Delete.
The change list is deleted.
