Rendering a single frame using Maya Hardware 2.0


In this section, you render the current frame using Maya Hardware 2.0.

Maya Hardware 2.0 allows you to set many options for your render, such as the object type filter (for example, if you only want to render your polygons and lights and exclude your cameras), to set the gamma correction, enable ambient occlusion or anti-aliasing and so forth.

Using Maya Hardware 2.0

To turn on the Maya Hardware 2.0 renderer

  1. In the main menu, select Window > Rendering Editors > Render Settings (or click the Render Settings icon in the Render View window).
  2. In the Render Settings window, set the Render Using setting to Maya Hardware 2.0.

Selecting Maya Hardware 2.0 options

Click the Maya Hardware 2.0 tab to view the available options.

Setting the object type filter

  1. Expand the Batch Render Options section and then the Object Type Filter section.
  2. De-select all options with the exception of NURBS Surfaces and Polygons to render only your apple model, the counter top plane and the wall plane.

Enabling anti-aliasing

  1. Expand the Multisample Anti-aliasing section.
  2. Select Enable to enable anti-aliasing.
  3. Select 16 from the Sample Count drop-down box. Depending on your graphics card, this may be the highest level of anti-aliasing.

Rendering the frame

  1. Click 
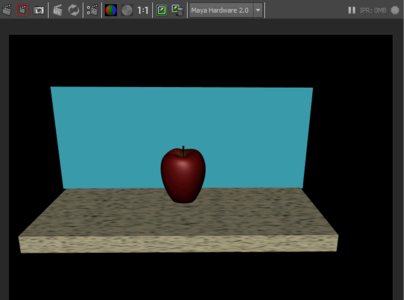
in the status line to render the current frame.

You can re-adjust the anti-aliasing Sample Count, or experiment with the other options as you like, and re-render to see the difference in results.