In this section, you work with IPR (Interactive Photorealistic Rendering) for mental ray rendering.
The advantage of rendering with IPR is that, after you render an image, you can adjust the shading and lighting attributes of the scene and then quickly update part or all of the rendered image to review the effect of your changes. IPR is useful for iterations when you need to fine-tune specific attributes. Updates to the image are not always instantaneous, but they are full quality.
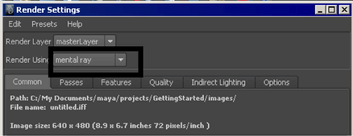
Using the mental ray for Maya renderer
To use IPR for mental ray rendering, you must first select the mental ray for Maya renderer.
You need to specify the exact region of the perspective view you want to render.
A grey rectangular border shows the region to be rendered. This region defines the area of the final image, and allows you to decide what appears or does not appear in the final image. (The left and right borders of the rectangle may be positioned at the edge of the window.)
The Render View appears as follows.
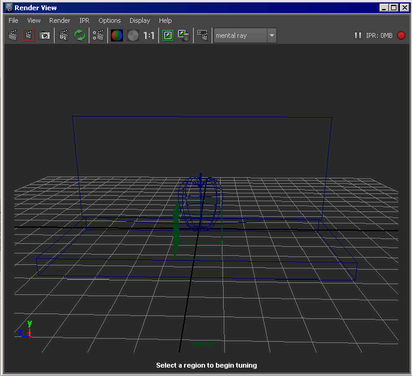
The message displayed at the bottom of the IPR Render View window states “Select a region to begin tuning”. In the next step, you create a subregion of the image to render using IPR.
To select a subregion to render using IPR
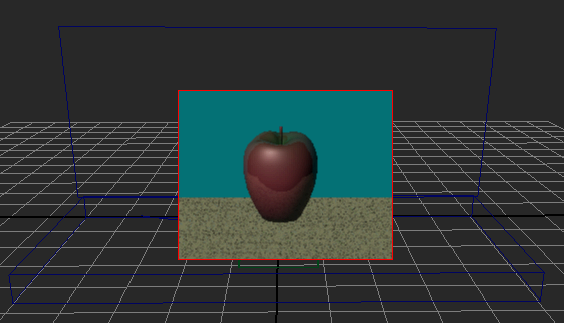
When using IPR, this selected region updates as you alter any shading, texture, or lighting attributes. Selecting a smaller region quickens the update. You can select regions throughout the image to see those areas update.
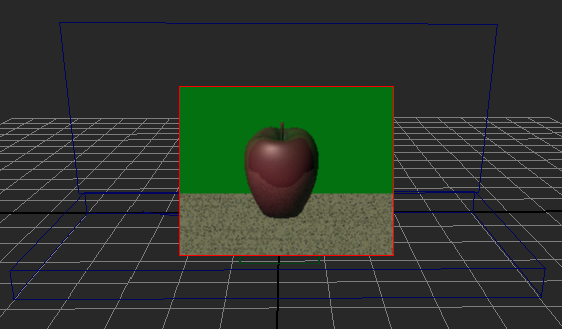
The area within the selected region of the Render View updates immediately as you alter the color; the wall turns green.
When you drag within the color wheel of the Color Chooser window, the selected region updates occur immediately.
(You won’t alter any other attributes in this lesson. The purpose of the lesson is to learn the process of rendering, not to perfect the results at this point.)
So far, you’ve used IPR to see changes you made to a shader. If you add lights to the scene rather than use the default lighting, you can also use IPR to help adjust the lighting.