Next, you will create an environment that will be used to reflect onto the teakettle.

Watch Part 2 of the tutorial.
Creating a cloudy sky background environment
First, you will create a sky texture with clouds for the background of the scene.
The environment shader allows you to determine the type of image that is produced in the background of your scene. The environment can be either a 2D image or a series of images that produces a 3D environment.

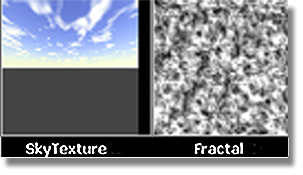
There are three types of textures: Surface, Environments, and Solid.

The Surface section contains 2D textures.
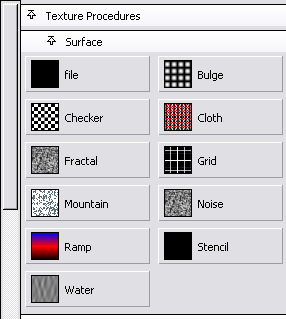
The Environments section contains procedural environments that give the appearance of real objects in the scene without adding additional geometry.

The Solid section contains textures that appear to be created from a block of solid material, like wood or marble.

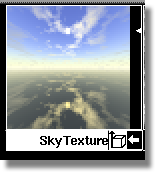
This opens a parameter window called SkyTexture. The sky texture is a very “procedural texture” that simulates a sky. “Procedural” means that the program executes a series of commands to create the texture, instead of using a 2D image of the sky. The sky texture can simulate a sunrise or sunset, or you can create a sunset as it might appear on some faraway planet.

For this example, you will not be creating an animated sky, but you will create a static sky.

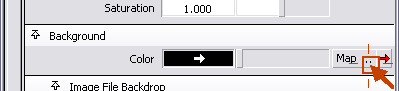
This section contains variables that control the clouds in the sky. Currently, there are no clouds in the sky texture, as you can see in the Multi-lister swatch. One way to create clouds is to map a two-dimensional texture to the Cloud texture variable.

The Texture Procedures window appears.


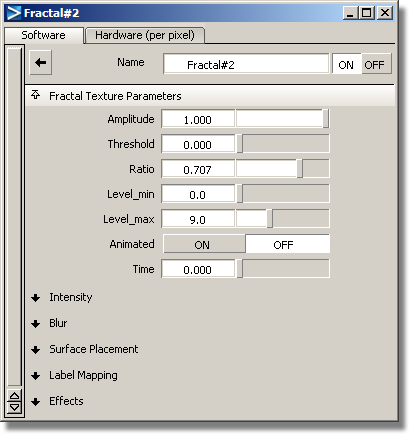
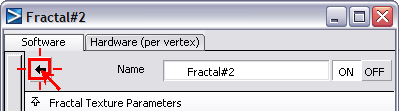
A new control window appears called Fractal. You do not need to edit the default variables for the fractal texture, because they are sufficient for producing a good cloud image.
This brings you back to the SkyTexture control window.


The floor disappears from the SkyTexture swatch in the Multi-lister.


Now, drag the slider back to its maximum value. Notice how the sky texture changes from black to orange and finally to a very bright washed out color.
Set the Elevation value to 40, to mimic the sun at noon. Change the size of the sun variable from a value of 0.531 to 2.0 and change the azimuth value from 145.0 to 0.0.

The SkyTexture swatch updates.
Now, you will render the scene to see the sky texture.
The File Browser opens to the pix directory of the Lessons project.
The File Browser closes and the render begins.


