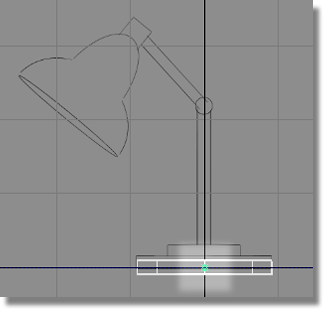
In this section, you will continue to build the lamp stand from cylinders.
 Watch Part
2 of the tutorial.
Watch Part
2 of the tutorial.
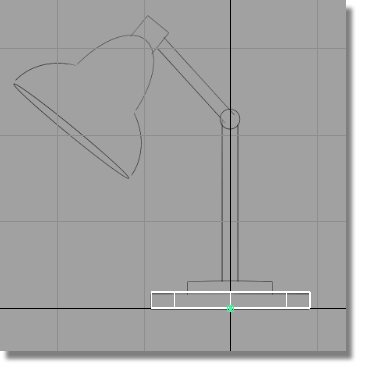
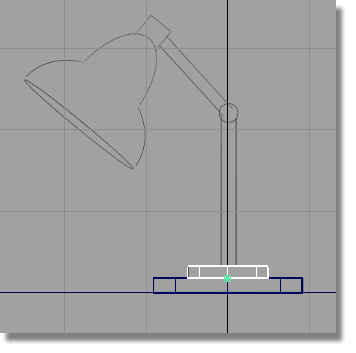
Next, align the cylinder to the grid in the Back view, to make the cylinder look like it is sitting on the ground. To do this accurately, you need to set the pivot point of the cylinder.
When scaling or rotating an object, the transformation is applied about the object’s pivot point. When moving and snapping an object, it is the pivot point that is snapped to the specified position.
The pivot point is indicated by a small green icon. This is displayed only when the object is picked. By default, the pivot is at the center of the primitive.
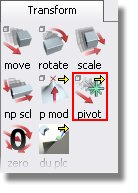
The position of the pivot is modified using the Transform > Local > Set Pivot tool.
Hold the  and
and  (Windows) or
  and
and  (Mac) keys down together
to turn on curve snapping.
(Mac) keys down together
to turn on curve snapping.
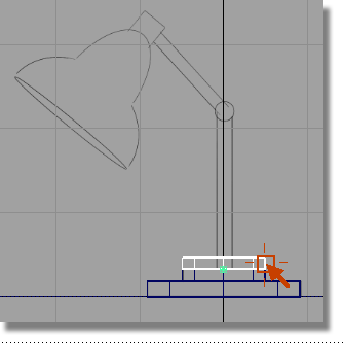
 . Using the right mouse button
keeps the pivot point centered as it moves downwards.
. Using the right mouse button
keeps the pivot point centered as it moves downwards.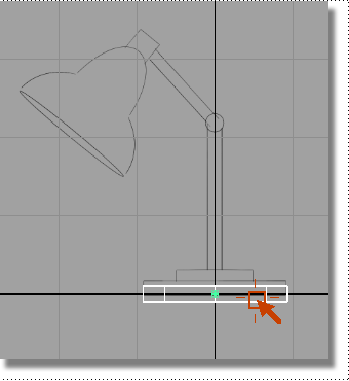
The pivot point snaps precisely onto the bottom edge of the cylinder.
Release the and (Windows) or and (Mac) keys and the mouse
button.
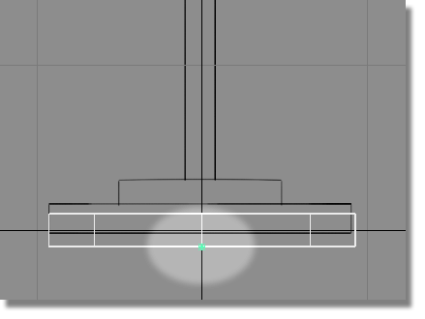
Next, move the cylinder onto the grid.
(Windows) or (Mac) key to turn on grid
snap mode, and press and drag with the  in any direction. The cylinder
moves so that its pivot point always snaps to a grid intersection.
in any direction. The cylinder
moves so that its pivot point always snaps to a grid intersection.
Drag the cylinder to the origin.
Release the (Windows) or (Mac) key to turn off grid
snap mode.
. The location of the pivot
point makes the scaling easier to control.
The cylinder now has a convenient pivot point location. To save time, copy this cylinder and then move and scale it to create the other components.
 .
.
 .
.
Your screen appears not to have changed. However, a second cylinder has been placed in the same location as the first, and is selected, ready to be moved or scaled.
As the cylinder is already selected, you do not need to click the cylinder to move it.
(away from the objects)
to move the new cylinder vertically away from the original.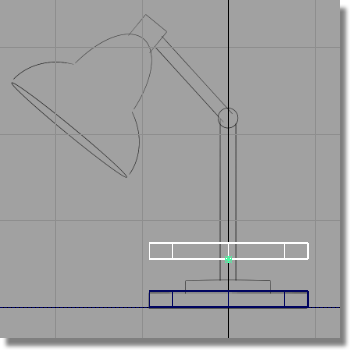
Next, snap this cylinder to the top of the first cylinder.
Hold
down the and (Windows) or and (Mac) keys together to turn
on curve snapping. Click the top edge of the original cylinder with
the .
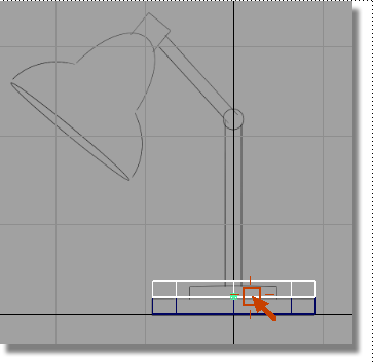
The second cylinder moves to the top of the first cylinder.
Release
the and (Windows) or and (Mac) key to turn off curve
snap mode.
to scale the cylinder to
match the width shown in the sketch.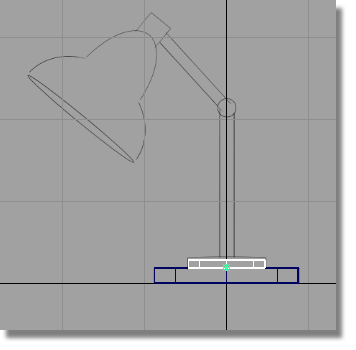
to adjust the height of
the cylinder to match the sketch.
The same technique can be used to create the main pillar of the lamp stand.
followed by Edit > Paste
to create a third cylinder.
A third cylinder is created in the same position as the second, and is active, ready to be moved.
and (Windows) or and (Mac) keys to turn on curve
snapping mode.
to scale the cylinder. Resize
the cylinder to match the width of the pillar. Remember to click
and drag in the background, away from the objects.
to adjust the height of
the cylinder to match the sketch.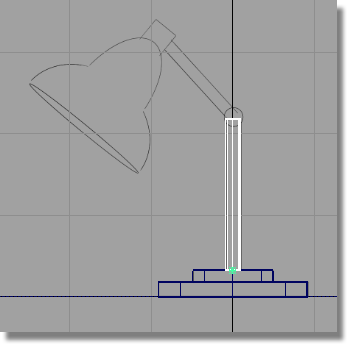
Next, build the angled arm of the lamp.
followed by Edit > Paste.
to move the cylinder into
place.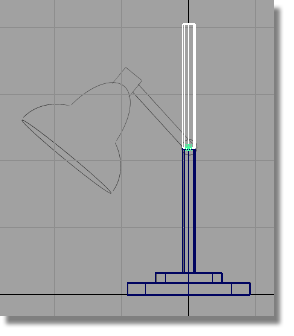
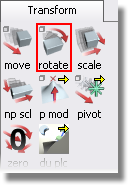
The Transform > Rotate tool is used to rotate an object around its pivot point. The axis of rotation is determined by which mouse button you use:
rotates around the x-axis
 rotates around the y-axis
rotates around the z-axis
, rotate the cylinder about
the y-axis until it is approximately in position.
rotates around the y-axis
rotates around the z-axis
, rotate the cylinder about
the y-axis until it is approximately in position. 
to adjust the length of
the second pillar.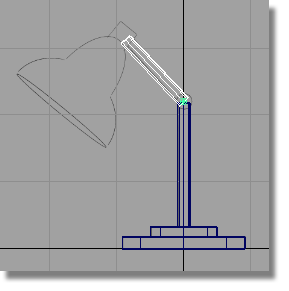
Add one more cylinder to complete the design of the arm.
 . Hold down the (Windows) or (Mac) key to turn on grid
snapping. Click near the grid intersection closest to the hinge.
. Hold down the (Windows) or (Mac) key to turn on grid
snapping. Click near the grid intersection closest to the hinge.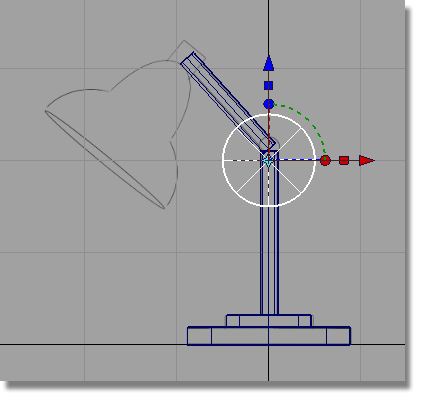
to move the cylinder to
the hinge position.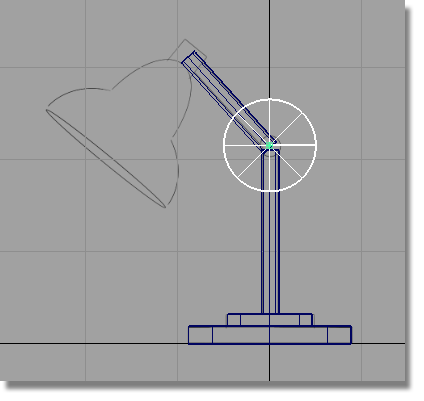
to resize the cylinder to
match the hinge in the sketch.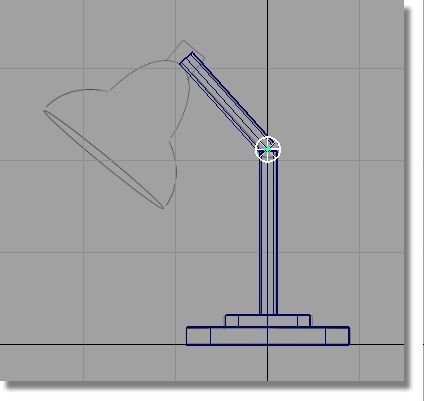
You have now completed the modeling for the base and the arm.


 to step back.
 to save the current scene,
and call your file
to save the current scene,
and call your file