In this section, you will organize your model by grouping. One group will be the base of the lamp, the other group will be the angled arm and hinge. The groups will be named and managed using the Object Lister. The Object Lister is a schematic view of the objects in your scene. It is very useful for managing the components of a design.
 Watch Part
3 of the tutorial.
Watch Part
3 of the tutorial.
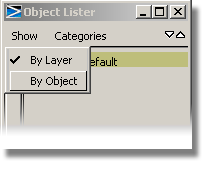
Using the Object Lister to control visibility
Use the Object Lister to turn off the sketch, making the geometry easier to select.
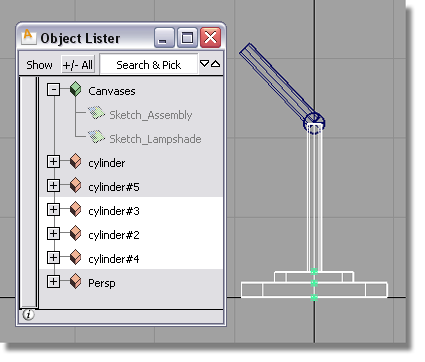
The objects in your scene are listed.
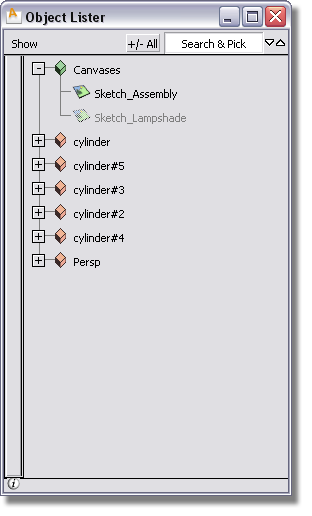
The sketch is shown at the top of the list, followed by the cylinders you created.
 on the Sketch_Assembly name
in the Object Lister. A submenu appears. Keep the mouse button held
down and move to visible.
on the Sketch_Assembly name
in the Object Lister. A submenu appears. Keep the mouse button held
down and move to visible.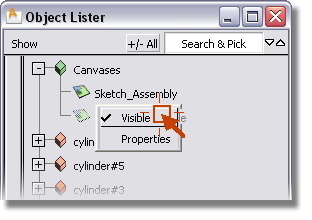
Release the mouse button and the sketch disappears from the screen.
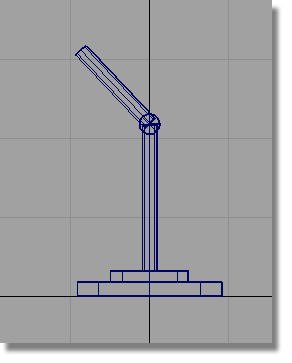
Individual objects can be grouped so they can be selected with a single click. A group has a single pivot point.
 from the Alias palette.
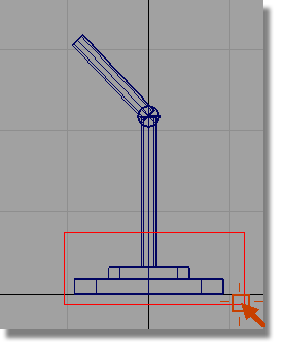
The selected objects are highlighted in white and are also highlighted in the Object Lister.
Note that each cylinder is showing a different pivot point.
 from the main menu.
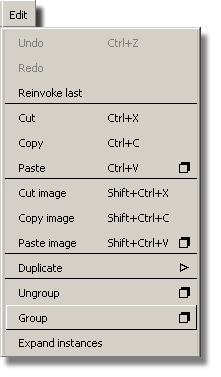
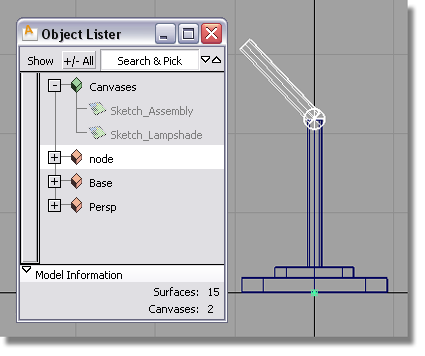
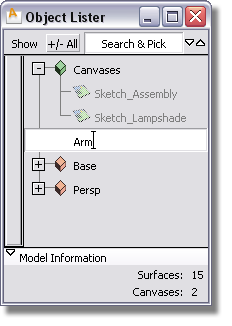
The grouped objects are now shown with a single pivot point at the origin. The separate cylinders in the Object Lister have now been replaced by a single item named node.
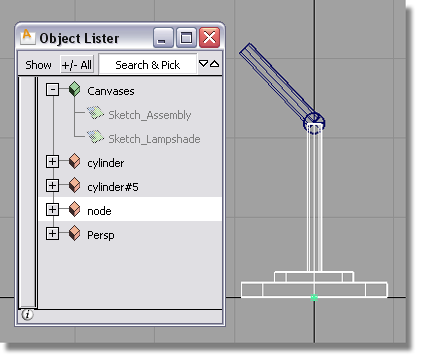
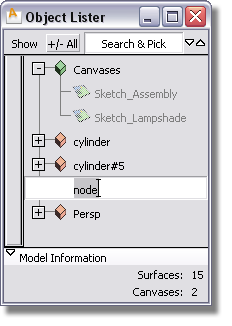
The word node is highlighted.
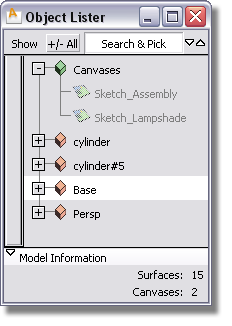
Type Base to name the group, then
press  (Windows) or
  (Mac).
Next, group and name the upper arm of the lamp.
 .
and pick the top two cylinders.
.
and pick the top two cylinders.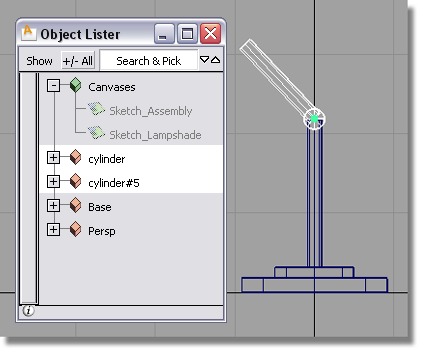
).
to deselect all the objects.
 to display all four views,
and check that all the objects are in the right locations.
to display all four views,
and check that all the objects are in the right locations.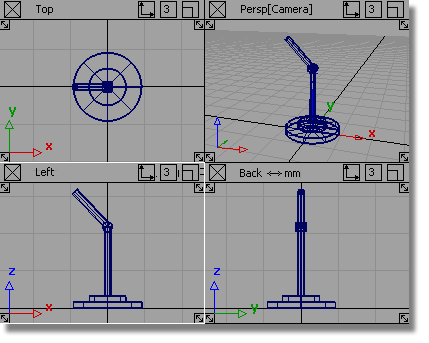


 to save the current scene,
and call your file
to save the current scene,
and call your file