In this section, you will create the flexible component that connects the base to the joystick handle.
Opening the tutorial file (optional)
If you successfully completed Part 2, you can proceed directly to the next step, Creating the zig-zag curve.
If you were not successful in part 2, open the file called joystick_part3.wire, located in the wire directory of the CourseWare project. This file contains the completed model from Part 2.
 Watch Part
3 of the tutorial.
Watch Part
3 of the tutorial.
To create the profile for the sleeve, you will first create a simple curve across the gap between the handle and the base. Then, you will increase the number of CVs in the curve so a detailed zig-zag shape can be created.
 or F6 to maximize
the Left view.
or F6 to maximize
the Left view. 
 and
and  (Windows) or and
  (Mac) keys down together
and click-drag with the
(Mac) keys down together
and click-drag with the  .
.
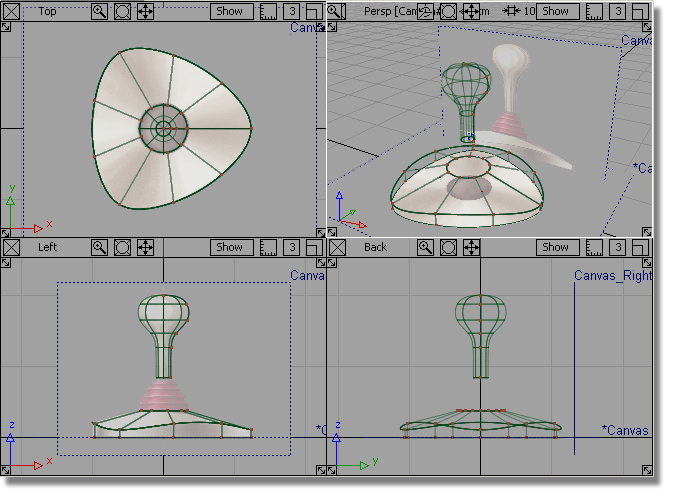
You will start with a single span curve stretched across the gap between the bottom of the handle and the top of the base. You will use curve snapping to accurately place the sleeve curve between the end of the handle and the base curves.
 .
+
.
+  (Windows) or +
  (Mac) and keys to turn on
curve snapping. Click on the base of the handle to place the first
edit point. Without releasing the mouse button, drag the edit point
until it snaps to the corner.
(Mac) and keys to turn on
curve snapping. Click on the base of the handle to place the first
edit point. Without releasing the mouse button, drag the edit point
until it snaps to the corner.
Keep the + (Windows) or + (Mac) keys held down and
click near the top of the base to place the second edit point. Without
releasing the mouse button, drag the edit point until it snaps to
the corner.

A single span curve is created that has two Edit Points (one at either end) and 4 CVs.
You will now increase the number of CVs in this curve so you can create the zig-zag profile of the sleeve.

The curve currently has only 1 span.
 (Windows) or
  (Mac).
The curve is rebuilt with 8 spans, and now has 11 CVs. A preview of the rebuilt curve is shown in the view.
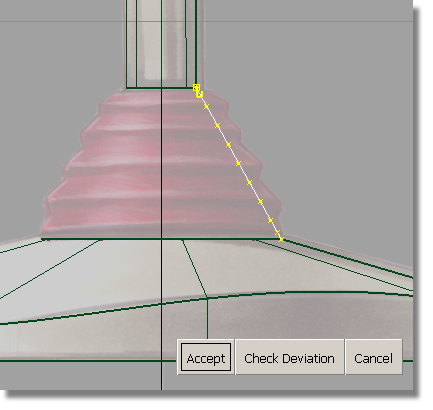
Choose Accept to confirm the rebuild.
 to deselect the curve.
Next, you will select some of the CVs to be moved to shape the curve.
Looking at the top of the curve, the first CV is shown as a small square, and the second CV is shown as a U. You will leave these two CVs unselected, so the sleeve profile stays connected to the handle, and the direction of the end tangent is not modified.
 .
.

Leave the last two CVs unselected so the sleeve curve remains connected to the base profile, and the direction of the end tangent is not modified.

 to the right until a gentle
zig-zag shape is created, as shown.
to the right until a gentle
zig-zag shape is created, as shown.
to deselect the CVs.
Next, you will create the sleeve surface.
 .
.
You are prompted to select a curve to revolve.

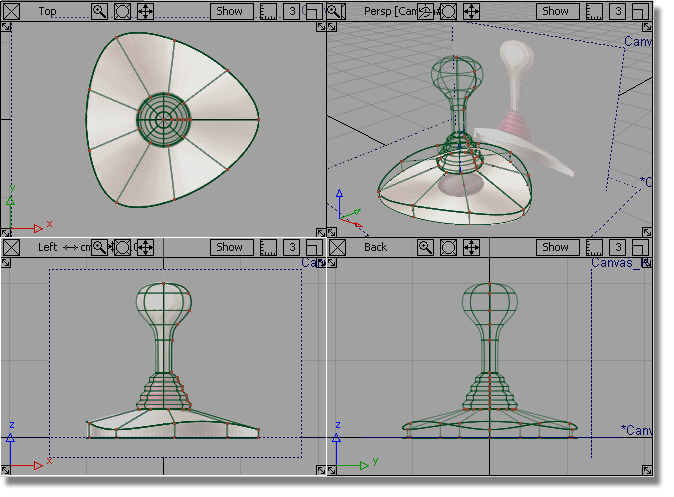
The surface is created and the green handles displayed.
to deselect the surface.
The green handles disappear.


 to save the current scene.


