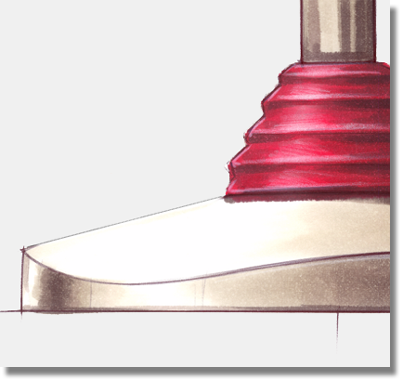
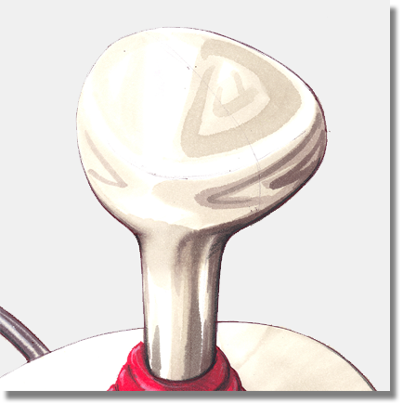
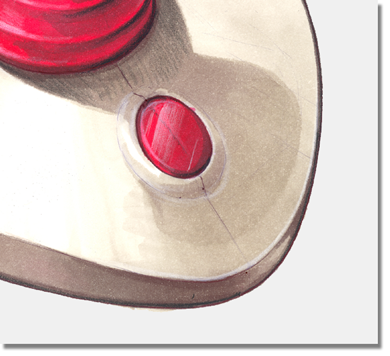
In this section, you will refine the design by directly moving the CVs of the handle and base surfaces. The sketches shown below show the design changes:
The top of the base has changed from being a straight surface, to a gently rounded surface.

The top of the handle has a triangular, angled shape.
A button has been added to the base.
Opening the tutorial file (optional)
If you successfully completed Part 5, you can proceed directly to the next step, Deleting Construction History.

If you were not successful in part 5, open the file called joystick_part6.wire, located in the wire directory of the CourseWare project. This file contains the completed model from Part 5.
 Watch Part
6 of the tutorial.
Watch Part
6 of the tutorial.
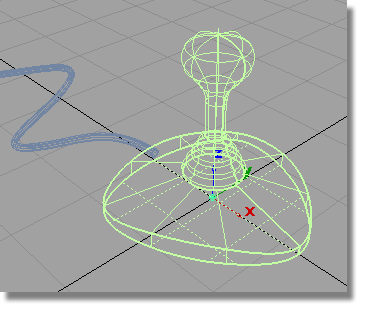
All the surfaces are currently shown in dark green. This indicates that they have construction history, which means that when the curves are modified the surfaces will update.
In this section of the tutorial, instead of using the curves to modify the surfaces, you will be modifying the surfaces directly.
To do this, you will first delete the construction history for the surfaces.
 to click the Joystick layer,
and select Pick Objects from the pull-down
menu.
to click the Joystick layer,
and select Pick Objects from the pull-down
menu.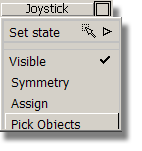
All the joystick surfaces are selected.
 . A dialog box appears asking
if you want to delete the construction history for the objects.
. A dialog box appears asking
if you want to delete the construction history for the objects. 
Click Yes to delete the history.
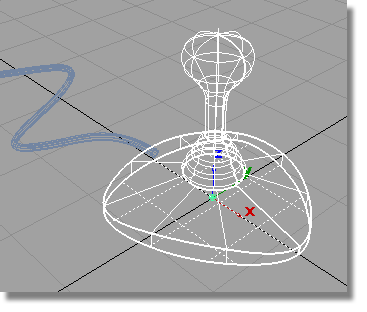
 to unpick all the surfaces.
You have already used CVs to create and shape curves. Surfaces also have CVs which can be used in the same way to directly modify the surface shape.
By default, the CVs for a surface aren’t displayed, so next, you will turn on the CVs for the top of the base.
 and select the top surface
on the base.
and select the top surface
on the base.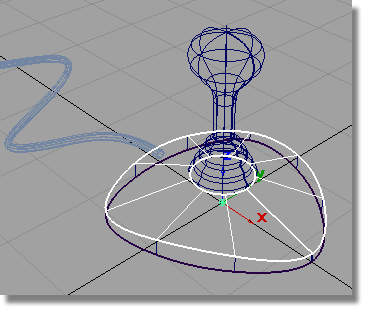
The CVs and Hulls are displayed.
to deselect the surface.
 or F5 to switch
to the Top view.
or F5 to switch
to the Top view.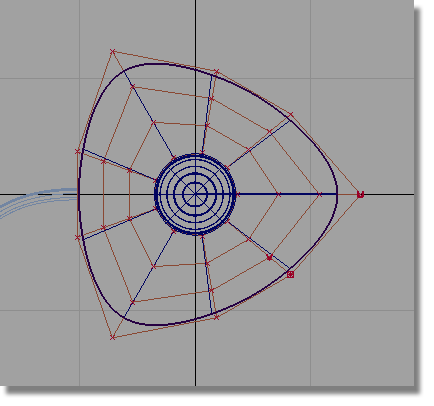
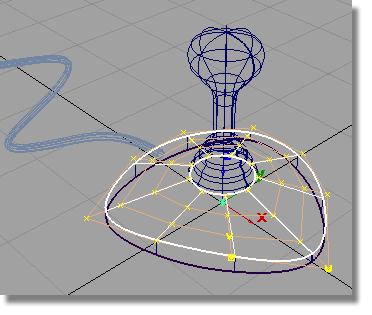
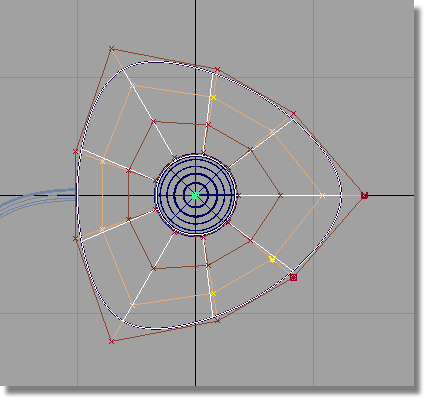
The CVs on the surface are arranged in rows, connected by hull lines. The arrangement of hulls on this surface is shown below.
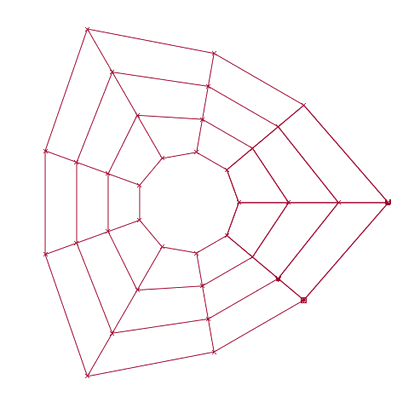
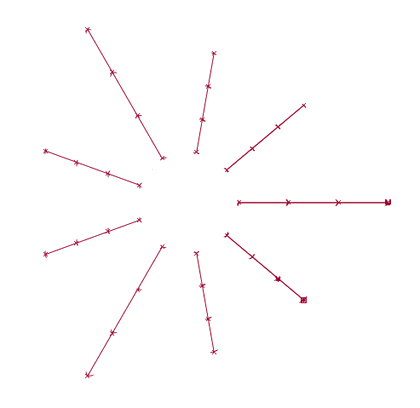
The hulls go in two directions. One set of hulls radiates out from the middle of the surface.
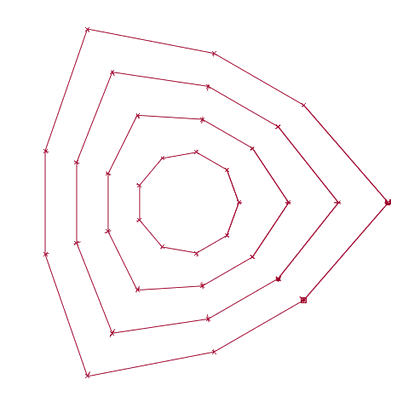
The other set of hulls goes around the surface.
You will select the two center hulls from this set to sculpt a gentle curve into the top surface of the joystick base.
 .
. 
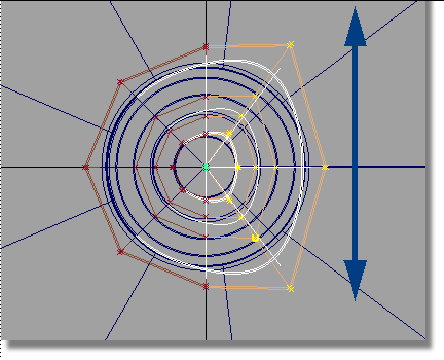
Click the red hull line connecting the second row of CVs in from the outer edge.
The row of CVs is selected and highlighted in yellow.

Both rows of CVs are now selected.

You will now move these hulls, and the associated CVs, upwards in the Left view, to sculpt the surface.
 or F6 to switch
to the Left view.
or F6 to switch
to the Left view.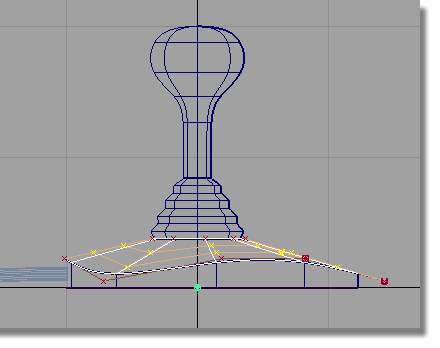
 to move the hulls upwards.
Move them enough to create a gentle curve on the top edge of the
surface.
to move the hulls upwards.
Move them enough to create a gentle curve on the top edge of the
surface.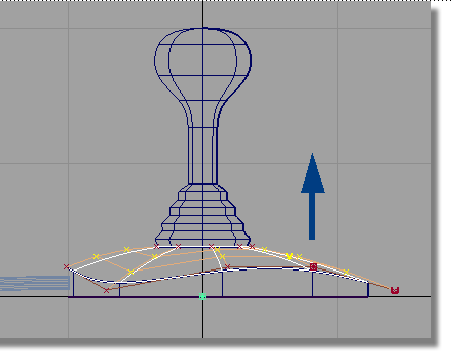
The surface bends to give a rounded shape to the top of the joystick base.
to unpick the surface.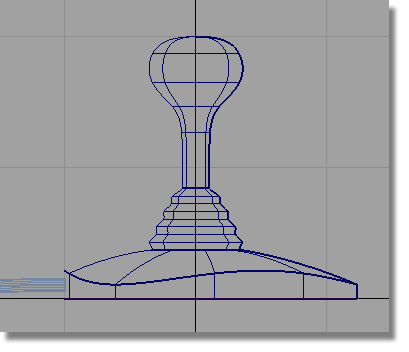
Sculpting the Top of the Handle
Next, you will refine the shape of the top of the joystick handle.
and select the handle surface.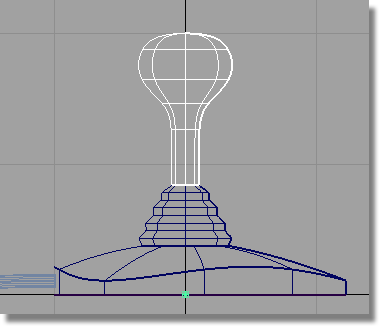
to unpick the surface.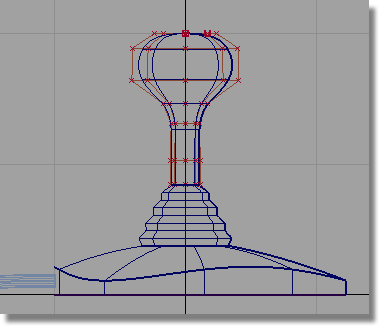
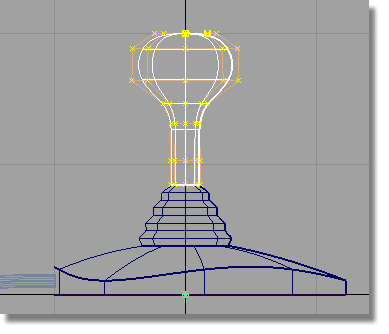
Next, you will select the CVs that shape the top of the handle.
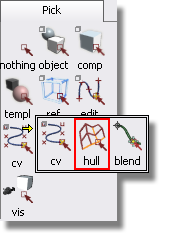
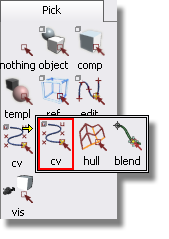
on the Pick
> Hull icon to open the tool drawer. Move the mouse
to the CV icon and release to select
the Pick Point Types > CV tool.
 . Drag a pick box around
the top right set of CVs shown below.
. Drag a pick box around
the top right set of CVs shown below.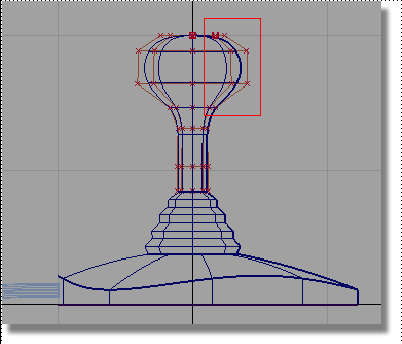
The CVs are selected and highlighted in yellow.

The first modification will be to the plan shape of the handle, so the transforms will be made in the Top view.
or the F5 hotkey
to switch to the Top view. 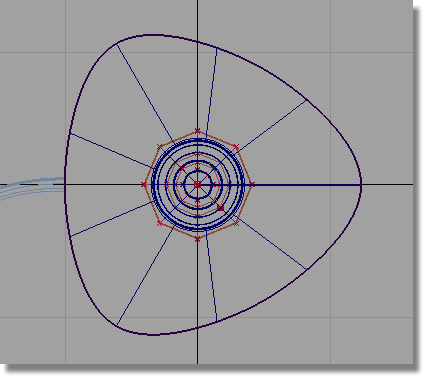
 and
and  (Windows) or and
  (Mac) keys together and
click and drag the to zoom.
(Mac) keys together and
click and drag the to zoom.
to reshape the handle.
The selected area of the handle surface is stretched.
to unpick the CVs.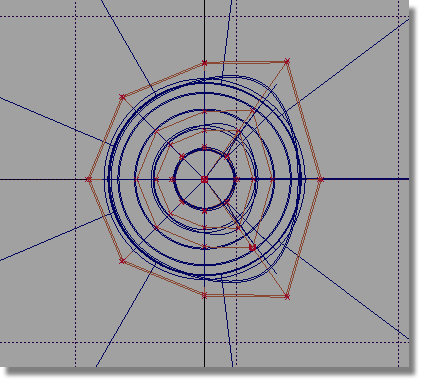
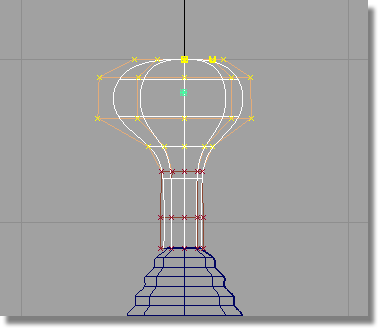
Next, you will select the CVs to the left of the handle, so you can create a soft pointed shape.
and drag a pick box over
the central CVs on the left of the handle.
The center-line CVs are selected and highlighted in yellow.

 the stretch the handle surface
outwards to the side.
the stretch the handle surface
outwards to the side.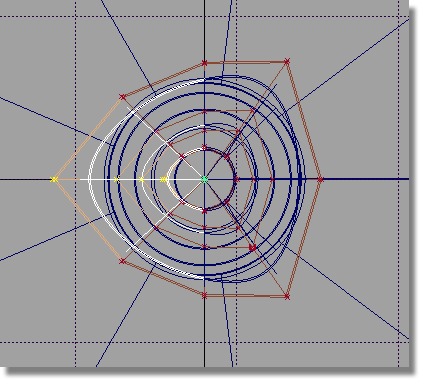
to unpick the CVs.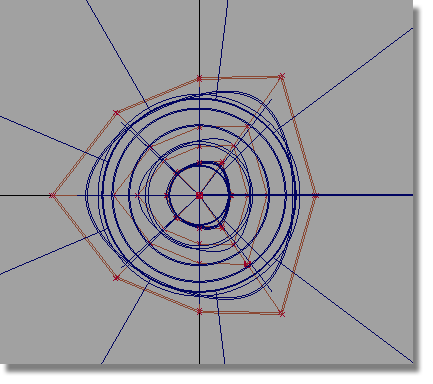
The top of the handle now has a smooth triangular shape.
Next, you will adjust the angle of the top of the handle, to make it more ergonomic.
or F6 to switch
to the Left view.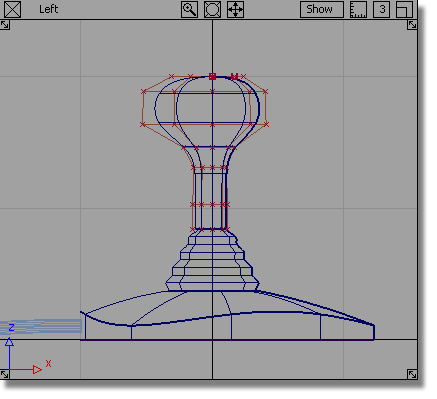
and click and drag a box
around all the CVs at the top of the handle.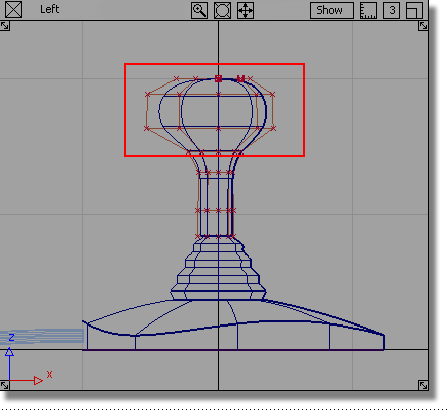
The CVs for the handle grip are selected.

Rotation always works around the object’s pivot point. The pivot point for the CVs defaults to the origin. To rotate the CVs correctly, you will position the pivot point at the center of the selected CVs, using the Center pivot tool.
The pivot point for the CVs is placed in the center of the CVs.
to rotate the CVs about
the y-axis.
to move the CVs slightly
to the right to create a smooth transition from shaft of the handle.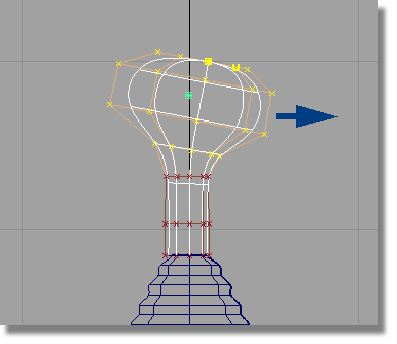
to deselect the object.
 or F8 to evaluate
the design
or F8 to evaluate
the design
 to save the current scene.


