In this section, you will create a button from a modified sphere.
Opening the tutorial file (optional)
If you successfully completed Part 6, you can proceed directly to the next step, Creating a primitive sphere.
If you were not successful in part 6, open the file called joystick_part7.wire, located in the wire directory of the CourseWare project. This file contains the completed model from Part 6.
 Watch Part
7 of the tutorial.
Watch Part
7 of the tutorial.
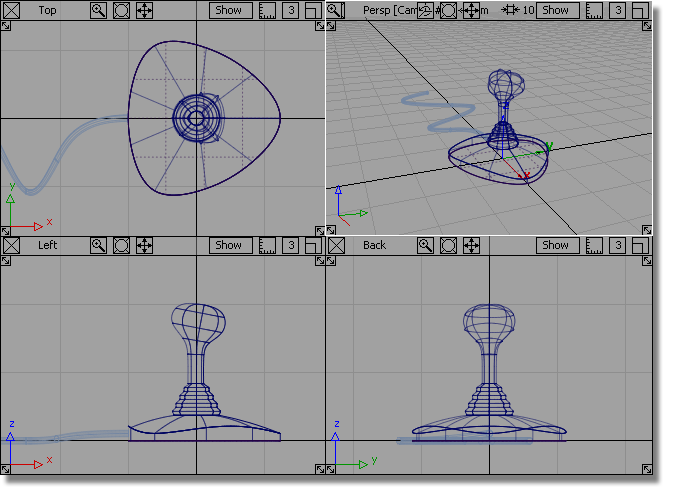
You will now create the button for the joystick, by placing and transforming a primitive sphere.


The layer is shown in yellow. This means that it is the active layer, and any new curves or surfaces are placed on it.
 .
.

Click the Go button at the bottom of the sphere option box.
 (Windows) or
  (Mac) key to turn on grid
snapping. Click near the grid intersection just inside the right-hand
edge of the base.
(Mac) key to turn on grid
snapping. Click near the grid intersection just inside the right-hand
edge of the base.
A small sphere is placed on the grid intersection.
 to move the sphere to half
way between the handle and the edge of the base.
to move the sphere to half
way between the handle and the edge of the base.
to stretch the sphere sideways. 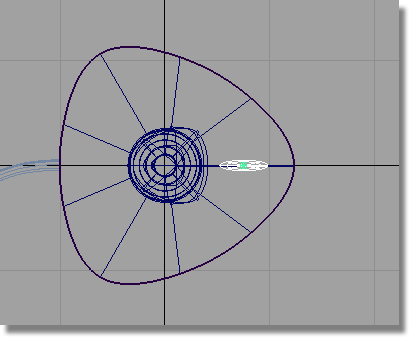
 to stretch the sphere upwards,
making an oval shape for the button.
to stretch the sphere upwards,
making an oval shape for the button.
 (F6) to
switch to the Left view.
(F6) to
switch to the Left view.
to move the sphere vertically
until the center of the sphere is approximately aligned to the top
edge of the base.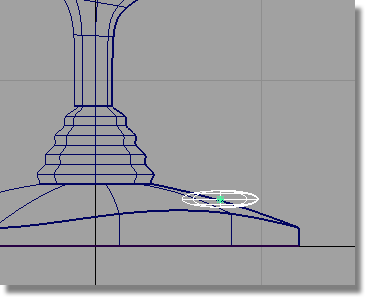
to rotate the sphere to
approximately match the angle of the base.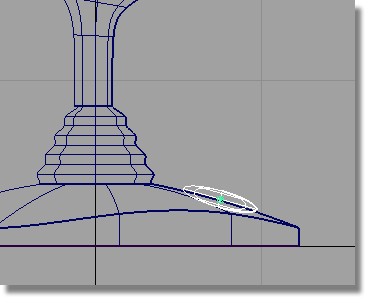
 to unpick the sphere.
 to switch to the Perspective
view.
to switch to the Perspective
view.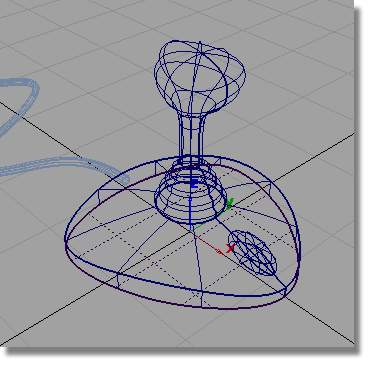
 to save the current scene.


