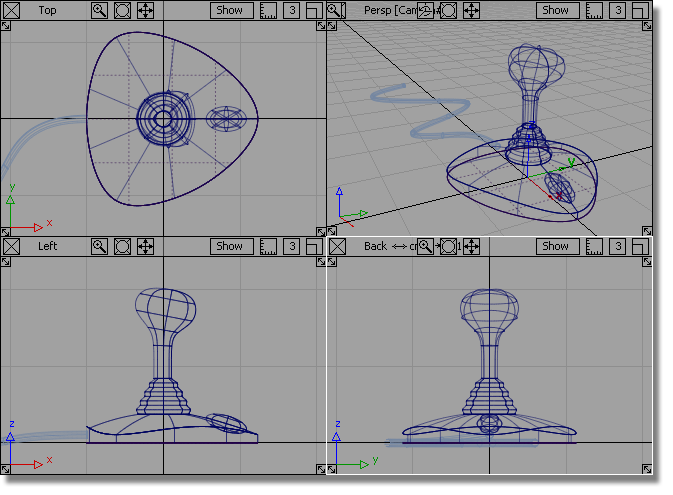
In this section, you will view the model using Hardware Shading.
Opening the tutorial file (optional)
If you successfully completed Part 7, you can proceed directly to the next step, Shading the view.
If you were not successful in part 7, open the file called joystick_part8.wire, located in the wire directory of the CourseWare project. This file contains the completed model from Part 7.
 Watch Part
8 of the tutorial.
Watch Part
8 of the tutorial.
In the previous desk lamp tutorial, Diagnostic Shading was used to visualize the model. In this tutorial, you will use Hardware Shade. Hardware shading allows for more visual effects and introduces you to the techniques you will use for rendering in later tutorials.
You will start by making the cable surface pickable, so it can be shaded.
 on the Cable layer,
choose Set State, then Pickable to
make cable surface active.
on the Cable layer,
choose Set State, then Pickable to
make cable surface active.
 and
and  (Windows) or and
  (Mac) keys and use the to tumble the view.
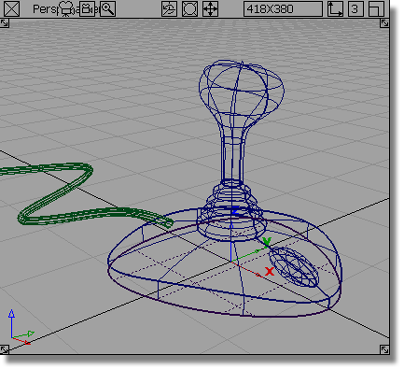
 .
. 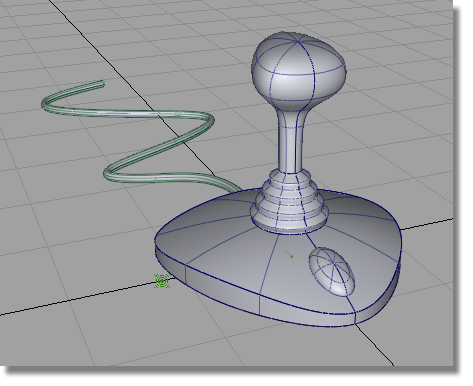
The model is shaded in the default colour.
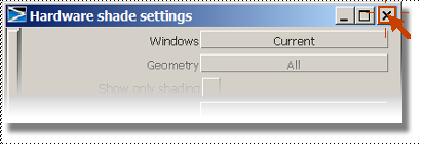
❒ to open the option box.
 (Windows) or
  (Mac) to drop the shadow
slightly below the base.
(Mac) to drop the shadow
slightly below the base.
A shadow appears underneath the joystick and cable.
on the Shadow
Position menu, which is set to DIRECTLY ABOVE by
default. Choose 45 DEGREES RIGHT and release
the mouse button.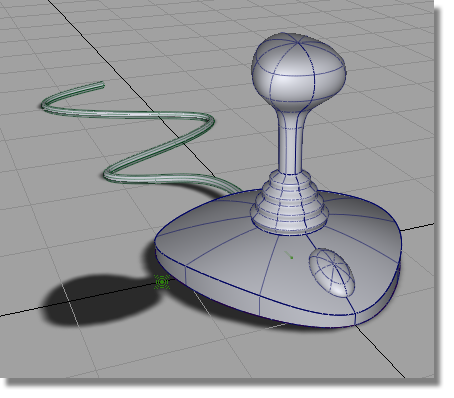
(Windows) or (Mac) to soften the shadows.
To view the design more clearly, you will now turn off the wireframe, grid, and lights.
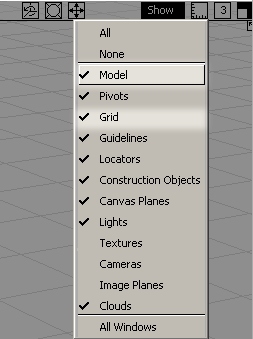
The joystick design is displayed in shaded mode, with no model lines, grid lines, or lights showing.

The scene returns to a wireframe view with grid and lights.

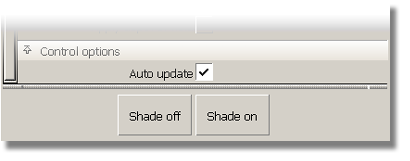
Now that the Hardware Shade is set up, you don’t
need to go into the option box the next time you want to shade the
model. Just choose WindowDisplay > Hardware Shade to toggle the shading on
or off.
 to save the current scene.


