With the Physique component, you can use Biped to animate a deformable skin, usually a mesh object. However, some animations don't require deformation. For example, a knight clad entirely in rigid metal armor doesn't need to deform as skin does. Also, figures seen from a distance don't require the same degree of realism as figures seen close up.


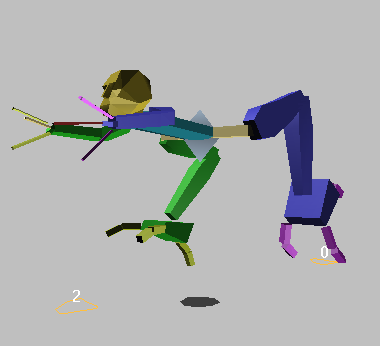
Jointed character linked with biped skeleton
Characters available commercially often come in two varieties: jointless and jointed. Jointless characters have a seamless mesh at limb joints. Jointless characters should be attached to the biped using Physique. A jointed character has separate objects with ball joint geometry for the limbs, and lends itself to the linking technique described in this topic.
Linking objects and other geometry to the biped can also be used in cases such as the following:
To link a mechanical character to the biped (without Physique):
With mechanical or jointed characters, you can simply link objects to the biped without using the Physique modifier.
 (Figure Mode), then position and fit the biped to your mesh objects.
 (Select And Link) to link each object to its corresponding part on the biped.
All of keyframe animation applied to the biped will animate the model.