In the Motion Mixer, you begin the mixing process by opening the Mixer, then adding objects to mix, and then loading motion clips to clip tracks. One clip track is created automatically if a biped is selected while you open the Mixer, but you'll probably need more to hold all the motions you want to use with your mixed objects.
When you open the Mixer while a biped is selected, a trackgroup, a clip track, and a balance track are assigned to that biped. If a non-biped object is selected, the Mixer opens empty.
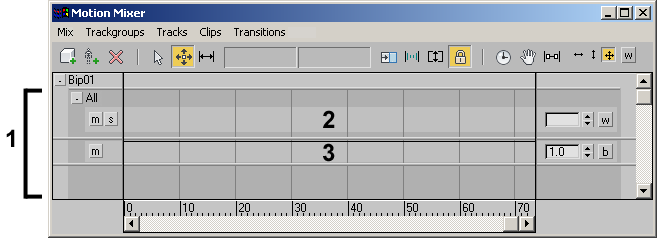
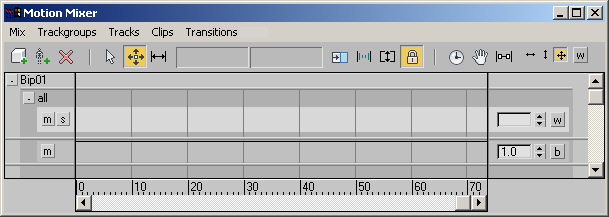
1. Trackgroup
2. Clip track
3. Balance track
This section discusses clip tracks. To learn about trackgroups, see Filtering Mixer Tracks. For information on the balance track, see Adjusting Track Weight.
Adding and Merging Non-Biped Object to a Mix
When you add a non-biped object to a mix, its keyable controllers are replaced by mixer controllers, which store the object's original animation as well as the Mixer animation.
If you merge a non-biped object containing Mixer controllers into a new scene, it comes in with its mix name preserved from the original file, but without any mixed animation.
There are two types of tracks to which you can add clips:
A tall track with room for two rows of clips. You can put one motion file on the top tier and another on the bottom, and place a transition in the area where the two clips overlap. Transitions on these tracks are similar to Motion Flow transitions between clips.

Transition track
Each biped in the Mixer is automatically given a balance track, used for adjusting balance between clips in Layer and Transition tracks. Clips cannot be added to the balance track.
To add a Transition or Layer track to a trackgroup:
To convert a clip track from one type to another:

To add a biped to the Motion Mixer:
 (Add Biped).
Several bipeds can be added to the mixer at once. When you click OK, highlighted bipeds are added to the mixer. Each is automatically assigned a trackgroup, a clip track, and a balance track.
To add a non-biped object to the Motion Mixer:
 (Add Max Objects).
When you click OK, the highlighted objects are added to the mixer under a single object mix . A track is automatically assigned to the object.