You can use a bitmap file or procedural map to map an image to the material's ambient color. The image is painted on the shaded parts of the object.
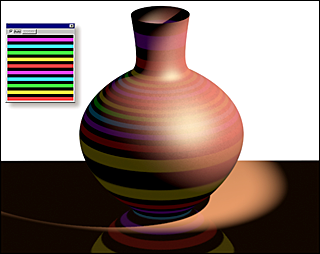
Using a map for the ambient color
 Environment, then adjust the Ambient color setting on the Common Parameters rolllout of the Environment dialog.
 lock button to the right of the Ambient Color and Diffuse Color buttons on the Maps rollout (or on the Basic Parameters rollout). This unlocks the ambient and diffuse map settings and makes the Ambient Color map button available.
3ds Max opens the Material/Map Browser.
(If you choose Bitmap as the map type, 3ds Max opens a file dialog that lets you choose the image file.)
Alternatively, you can use the  Slate Material Editor to wire a map node to the Ambient Color component.


 Material Editor