The Schematic View is a node-based scene graph that gives you access to object properties, materials, controllers, modifiers, hierarchy, and non-visible scene relationships such as wired parameters and instancing.
Here, you can view, create, and edit relationships between objects. You can create hierarchies, assign controllers, materials, modifiers, or constraints.
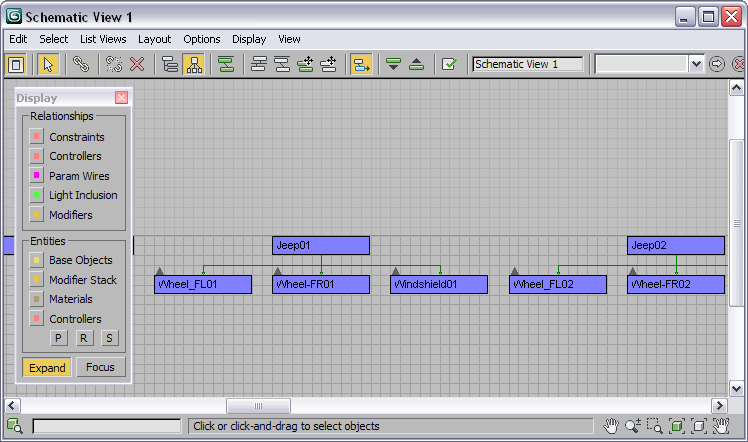
You can use the Schematic View Display floater to control what entities and relationships you want to see and work with. Use Schematic View to navigate complex hierarchies or scenes with large numbers of objects. Use Schematic View to understand and explore the structure of files you didn't create yourself.
One powerful feature is the list view. You can see the nodes in a text list which you can sort by criteria. The list views can be used to navigate extremely complex scenes quickly. You can use the relationship or instance viewer within Schematic View to see light inclusions or parameter wirings within the scene. You can control the display of instances or see a list of object occurrences.
Schematic View also allows for background image or grid, and automatic arrangement of nodes based on physical scene placement. This makes arranging nodes for character rigs easier.
Choose between a variety of arrangement selections so you can auto-arrange, or work in a free mode. The layout of the nodes is saved with the named Schematic View window. You can load a background image as a template for laying out the nodes in the window.
Here are some of the notable features of Schematic View:
How the Components of Schematic View Behave

Everything displayed in the Schematic View window is shown as a box with a name. There are various conventions to indicate different states regarding these objects.
See the following topics describing the Schematic View user interface.
This topic includes procedures for using the Schematic View window.
Schematic View has several menus, which appear on the menu bar of the Schematic View window.
Schematic View supports several list views that display objects and their relationships in a list. These include list views for instances, object occurrences, and relationships. Use these lists to quickly edit your parameter wiring, detach relationships, or make instances unique. Use the List options to synchronize the list with the viewport or the node display in the Schematic View window.
The Schematic View Preferences dialog controls what is shown and what is hidden based on categories. You can filter the objects appearing in the Schematic View window, so you see only what you need to.
Schematic View has two toolbars, one at the top and the other at the bottom of the Schematic View window.
The Display Floater controls by category what is displayed in the Schematic View window. The Schematic View Preferences dialog also filters that display of the window. Use these to manage the clutter of the window, and the performance speed.
The Schematic View right-click menu contains controls for selecting, displaying, and manipulating selections of nodes. It gives you quick access to List Views, Display Floater and lets you switch between Reference and Hierarchy Mode quickly.
The Schematic View commands are for managing Schematic View windows. They are available from the 3ds MaxGraph Editors menu.


 Solid End
 Open end
 Red Border
 End Arrow
 White Fill
 White Border
 Up Arrow
 Down Arrow
 Overlap