Teapot produces a teapot. You can choose to make the whole teapot at once (the default), or any of its parts. Since the Teapot is a parametric object, you can choose which parts of the teapot to display after creation.
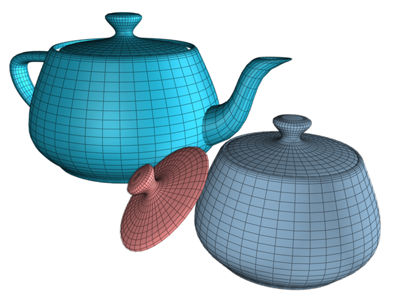
Examples of teapots
The Teapot primitive in 3ds Max derives from the original data developed by Martin Newell in 1975. Beginning with a graph-paper sketch of a teapot that he kept on his desk, Newell calculated cubic Bezier splines to create a wireframe model. James Blinn, also at the University of Utah during this period, produced early renderings of exceptional quality using this model.
The teapot has since become a classic in computer graphics. Its complexly curved and intersecting surfaces are well suited to testing different kinds of material mappings and rendering settings on a real-world object.
 Teapot.
As you drag, a teapot emerges with the pivot point at the center of its base.
Teapot Parts group, turn off all parts except the one you want to create.
The part you left on appears. The pivot point remains at the center of the teapot's base.
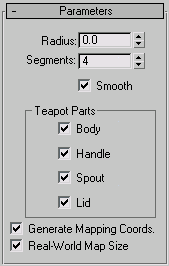
The teapot has four separate parts: body, handle, spout, and lid. Controls are located in the Teapot Parts group of the Parameters rollout. You can check any combination of parts to create at the same time. The body alone is a ready-made bowl, or a pot with optional lid.
Parameters rollout, turn on all parts. (This is the default.)
You can apply modifiers to any separate part. If you later turn on another part, the modifier affects the additional geometry as well.
Turn check boxes on or off for teapot parts. By default, all are on, producing a complete teapot.
Controls the scaling method used for texture mapped materials that are applied to the object. The scaling values are controlled by the Use Real-World Scale settings found in the applied material's Coordinates rollout. Default=off.


 Create panel
  (Geometry)