


The next object to texture is the arbor trellis on the balcony of the house. Its geometry is complicated, and requires a new mapping technique.
Create the weathered wood material:
3ds Max Design opens a file dialog. In the file dialog, navigate to the \sceneassets\images folder, choose the file oldwood.jpg, then click Open.
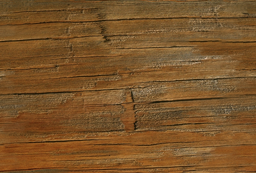
Weathered wood texture for the trellis
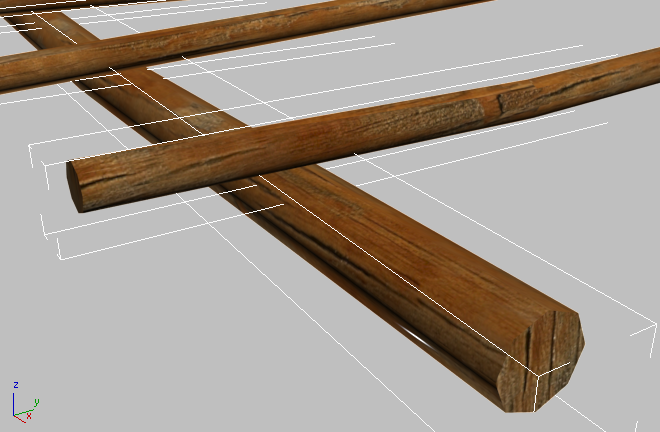
 (Show Shaded Material In Viewport) to turn it on. (If you use a legacy viewport driver, this button's tooltip reads, "Show
Standard Map In Viewport.")
(Show Shaded Material In Viewport) to turn it on. (If you use a legacy viewport driver, this button's tooltip reads, "Show
Standard Map In Viewport.")
 (Select Objects In Current Layer).
This selects the arbor trellis that can support a grapevine.
 (Assign Material To Selection).
You can’t see the texture in viewports yet, because the trellis is made of editable meshes.
 (Zoom),
  (Pan), and
  (Orbit) to adjust the viewport so it shows a closer view of the trellis.
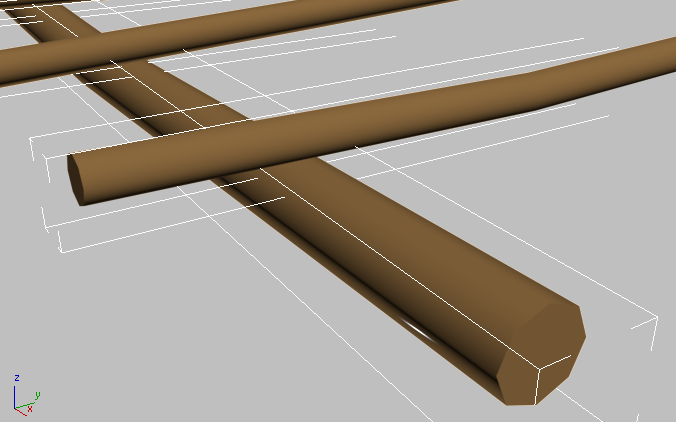
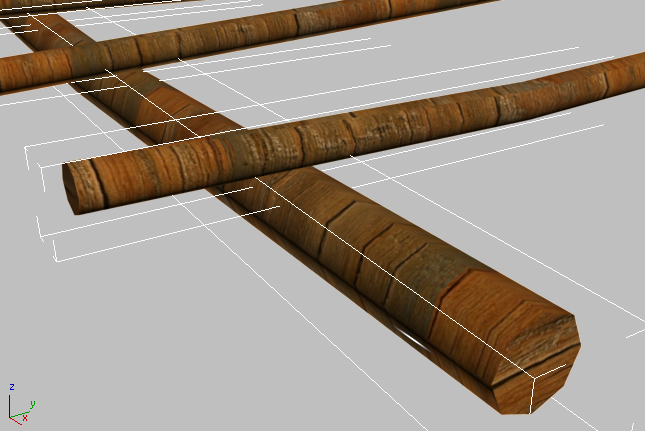
The trellis requires a mapping modifier, but UVW Map won’t work. If you were to try (you don’t have to go through the steps), you could see that none of the projection options work, because of the crosswise configuration of the trellis beams.
Trellis close-up: Poor mapping with UV Map
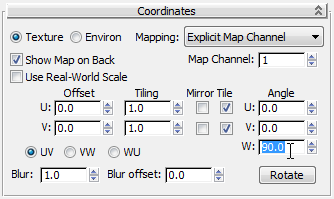
The solution is to use a Mapscaler modifier instead of UVW Map.
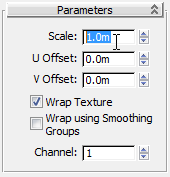
 Modify panel, choose Mapscaler from the Modifier List drop-down list.
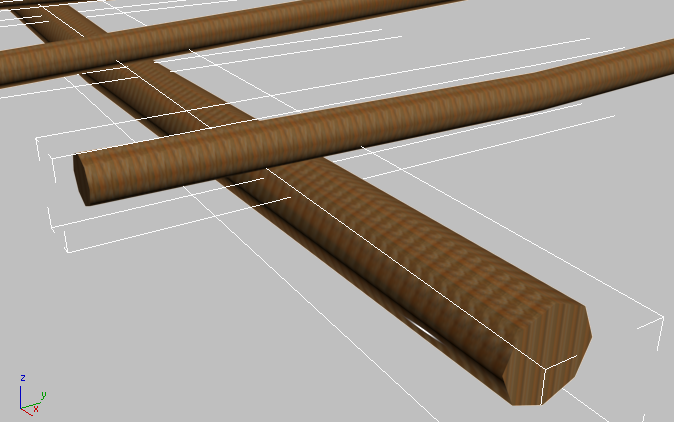
The MapScaler modifier maintains the map scale relative to each object (in this case, the cylindrical beams), and by default it wraps the texture so the wood grain wraps around each beam.
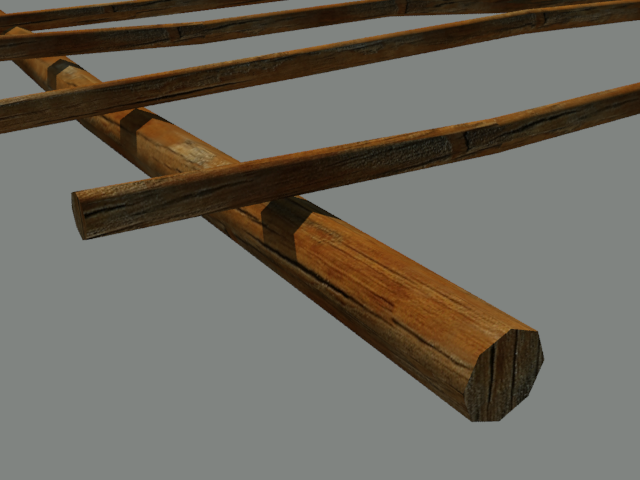
This effect is already good, but the grain should actually follow each beam. Adjusting the Mapscaler and map settings can fix this.
Now the beams in the trellis look the way they should.
The effect of the Mapscaler modifier shows up even better if you  render the close-up.
If a Select Camera dialog appears, choose Camera-Terrace, and then click OK; otherwise, click the Point Of View (POV) viewport
label (it now shows “Perspective”), and choose Cameras  Camera-Terrace to restore the long camera view.