


Many architectural models include instanced objects, such as furniture or lighting fixtures. This lesson demonstrates a Material Editor option that improves ease of use when you texture instanced objects.
 Open med_villa_mat_propagate.max.
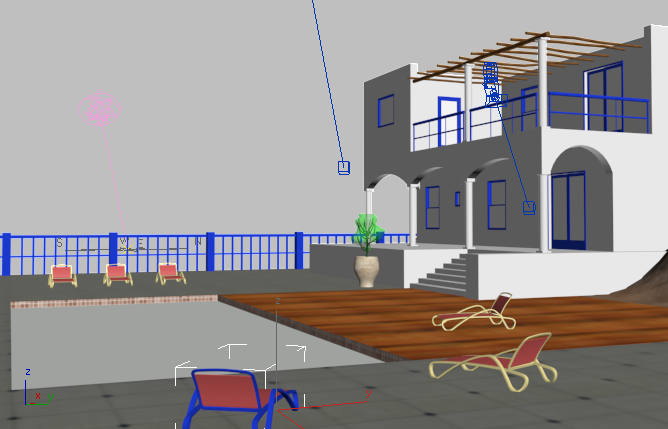
This is the same scene you have been working on, but the Material Editor option Propagate Materials To Instances has been turned off.

 (the Hidden icon) by the Chairs layer to unhide the Chairs layer.
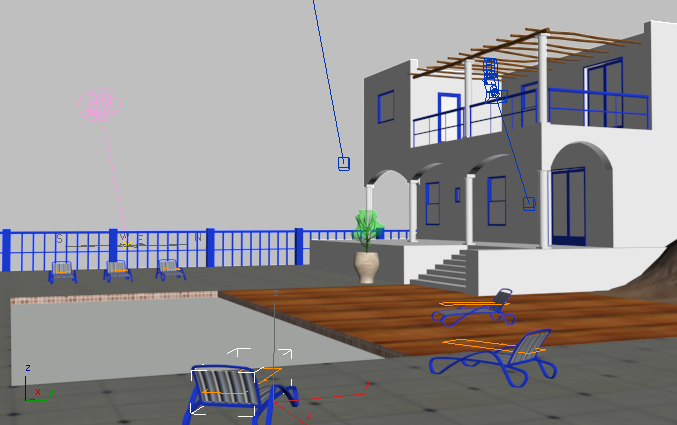
Six lounge chairs are now visible on the terrace of the villa.
Apply the railings material to the chair piping:
The chairs are instances. They contain two elements: a yellow frame and a red set of cushions (these colors are just 3ds Max Design object colors: The chairs don’t have materials yet).
 Slate Material Editor, click the Blue Railings material node to make it active (you might have to navigate in the active View so you can see this node again), and then
click
Slate Material Editor, click the Blue Railings material node to make it active (you might have to navigate in the active View so you can see this node again), and then
click  (Assign Material To Selection).
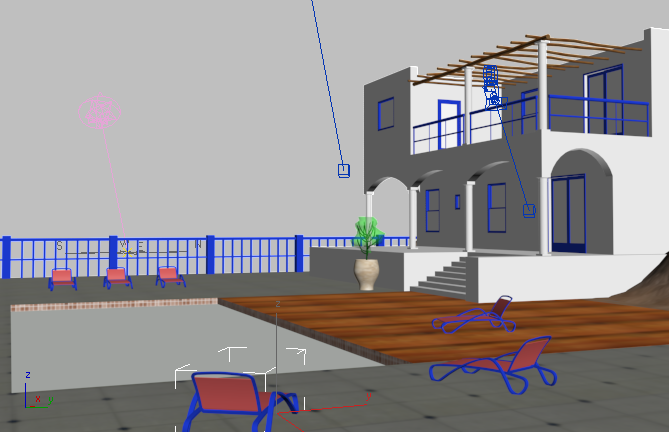
The chair’s frame turns blue, but the other chairs are not affected.
 Propagate Materials To Instances.
 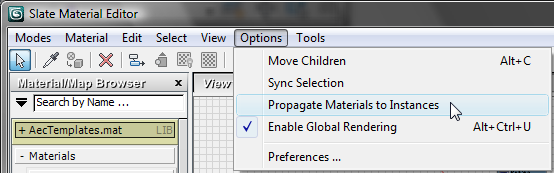 (Assign Material To Selection) once again.
This time, all the chair frames turn blue at once.
If you work with instanced objects, you want to make sure that Propagate Materials To Instances is turned on. (When it is on, there is a check mark next to it on the menu.)
Create a material for the chair fabric:
3ds Max Design opens a file dialog. In the dialog, navigate to the \sceneassets\images folder, choose the file fabric-stripes.jpg, then click Open.
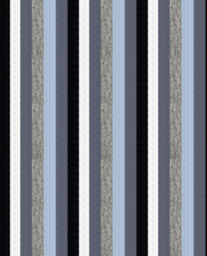
Fabric pattern for the chairs
 (Show Shaded Material In Viewport) to turn it on. (If you use a legacy viewport driver, this button's tooltip reads, "Show
Standard Map In Viewport.")
(Assign Material To Selection).
(Show Shaded Material In Viewport) to turn it on. (If you use a legacy viewport driver, this button's tooltip reads, "Show
Standard Map In Viewport.")
(Assign Material To Selection).
 Modify panel, choose UVW Map from the Modifier List drop-down list.
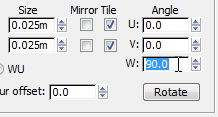
Alignment group, choose Y as the active axis.
Modify panel, choose UVW Map from the Modifier List drop-down list.
Alignment group, choose Y as the active axis. 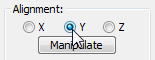
Now the all the chairs are striped lengthwise.
You can see a final version of the scene by opening med-villa-mat_done.max.
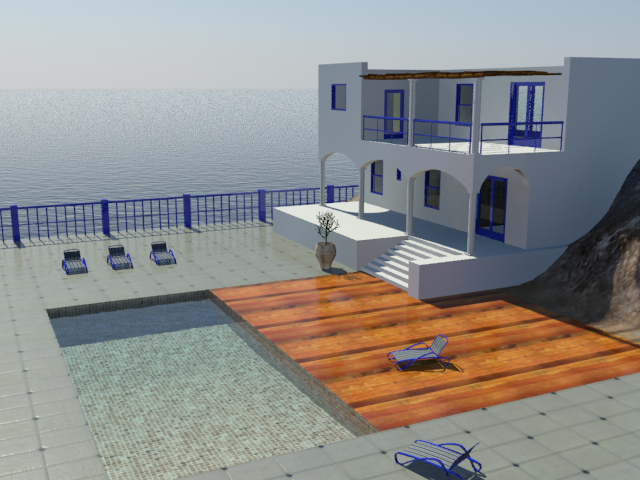
A rendering of the villa after you have completed the tutorial
This tutorial has shown you how to:
The final rendering for this tutorial still lacks a little drama, but you will correct that when you use this villa model again in some of the lessons on lighting, which follow. Some of the rendering tutorials also use the villa model to demonstrate how you can further enhance the realism of a scene.